10
9
HOW TO OPERATE
• Close zippers, snaps, and hooks to avoid
snagging other items.
Remove pins, buckles, and other hard
objects to avoid scratching the washer
interior.
• Empty pockets and turn them inside out.
• Turn down cuffs and turn synthetic knits
inside out to avoid piling.
• Tie strings and sashes so they do not
tangle.
• Treat spots and stains.
(see “Special Guides for Removing stains”
on page 17)
Preparing clothes for washing
• Drop items into washer loosely. Items
should move easily through wash water for
best cleaning and wrinkle-free results.
• Load washer properly and select correct
load size setting.
Overloading and selecting a setting too
small for the wash load can:
- cause poor cleaning
- increase wrinkling
- create excessive lint
- wear out items faster (because of pilling)
• Mix large and small items in each load.
Load evenly to maintain washer balance.
An off balance load can make the washer
vibrate during spin.
• Reduce wash time when using a small
load size setting. Loads with only a few
small items need less wash time.
• Use a large load size setting to reduce
wrinkling with permanent press clothes and
some synthetic knits. These items should
have more room to move in the water than
heavy items (towels, jeans)
Loading
• Separate heavily soiled items from, lightly soiled ones, even if they would normally be
washed together.
• Separate dark colors from light colors, colorfast items from non-colorfast item.
Sorting
To obtain the best washing results, you must operate your washer properly.
This section outlines important information.
,
,
,
PREPARATION FOR WASHING
,
,
,
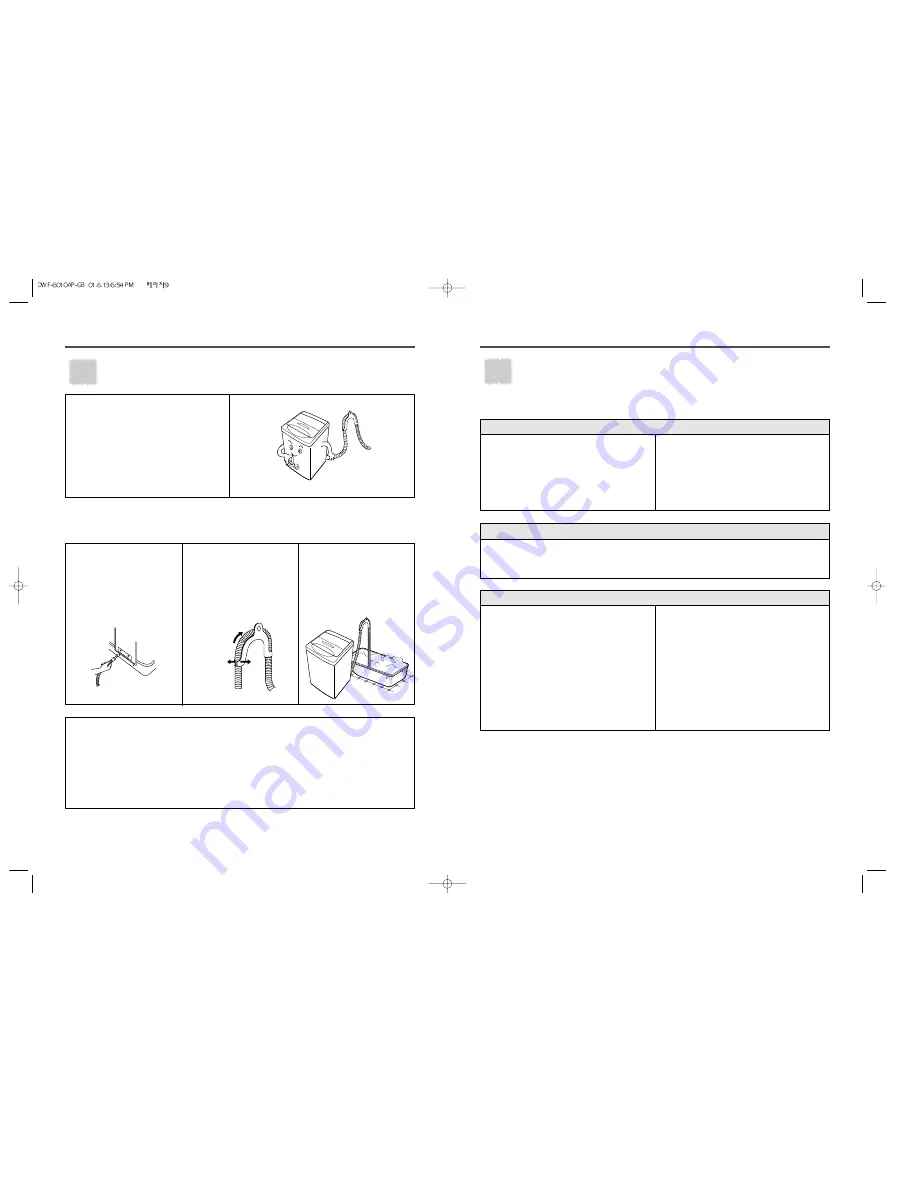
DRAIN HOSE SETTING
Before operating your washer, install
drain hose properly.
First, connect the drain hose to the
drain outlet at the rear side of your
washer, and then fasten it tightly with
the hose clamp.
The other end of drain hose set as
below.
Pump Model
NOTES
1. The highest point of the drain hose must be more than 3.28ft above the floor.
If not, the water in the washer could be drained during operation.
2. Be sure that the height of the drain hose must be less than 4.6ft above the floor. If so, the
water in the washer may not drain.
3. The hose guide MUST be fitted to the drain hose. The drain hose should not extend more
than 2.17in from the end of the hose guide. This is to prevent ‘SYPHONING’. If necessary
the drain hose can be trimmed to length.
!
Connect the drain hose to
the drain outlet at the rear
side of the washing
machine, and fasten it
tightly with the clamp
supplied.
@
Attach the hose guide
included in the accessory
kit, to guide the drain
hose over the tub or
standpipe.
#
Hook the drain hose to
the edge of the bath tub,
paying attention that
there are no bends or
constrictions along the
drain hose. (Water
draining to Bath tub
easily)
PULL HOSE
THROUGH
FLEX HOSE
GUIDE
APART


