48
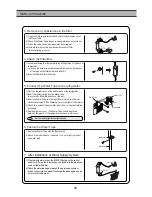
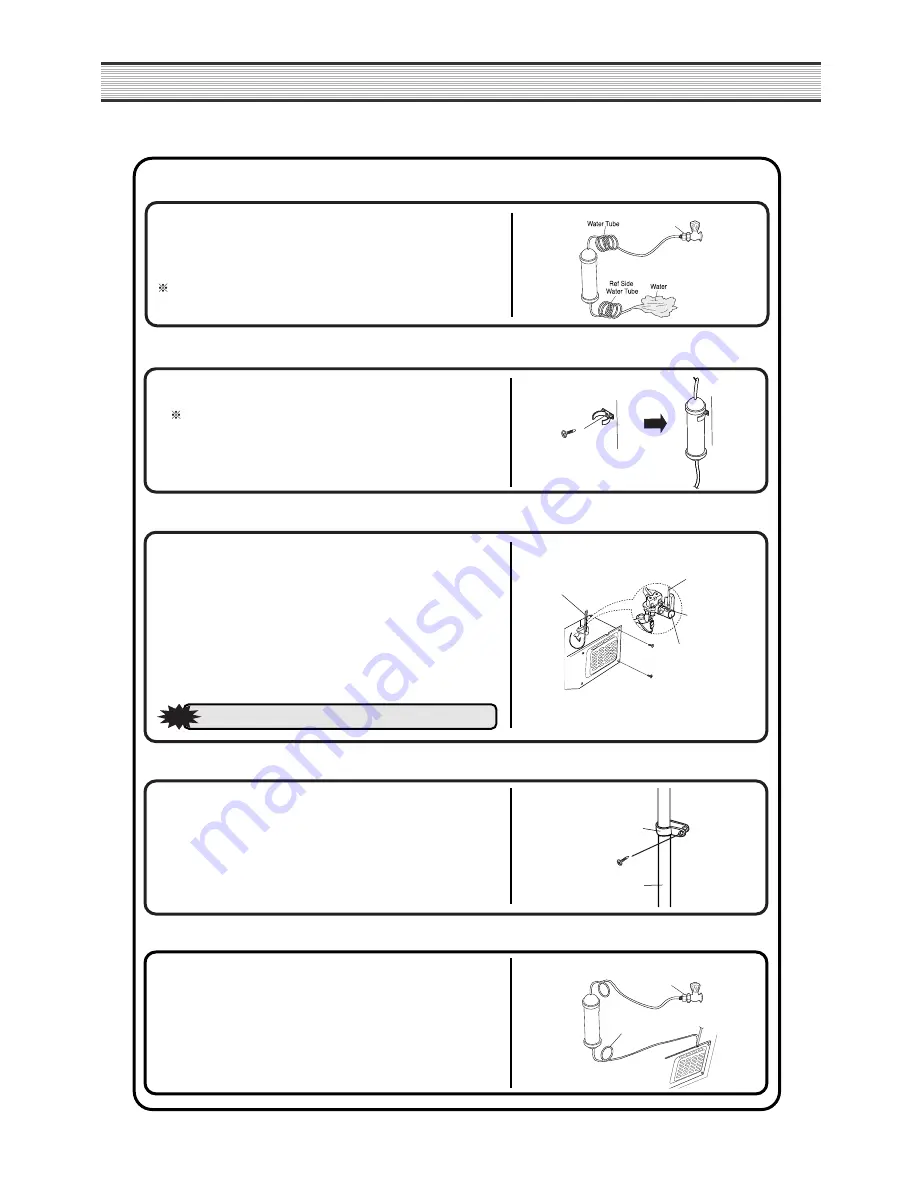
6. Fasten the Water Tube.
4. Attach the Filter Box
5. Connect the Water Tube to the refrigerator.
1) Remove the rear cover at the bottom back of the refrigerator.
2) Insert the fastening ring into the Water tube.
(Be careful to follow the direction of the nut.)
3) Insert the Water Tube into the top of Water Valve, turn the nut
clockwise to fasten it. (The Water valve is to the right of the motors.)
4) Check for any bent tubes or water leaks; if so, re-ckeck instalation
procedure.
5) Replace the rear cover. (The Water Tube should be placed
between the groove of the refrigerator back and motor cover.)
Water Tube
Water Tube
Nut
1) Screw and fasten the filter holder to the left/right side of the back of
refrigerator.
In case the holder is not fastened well, remove the back paper
of the tape on the filter holder and attach it."
2) Insert the filter box into the holder.
1) Fasten the Water Tube with the [Fastener A] .
2) Check if the tube is bent or sqeezed. If so, set it right to prevent
any water leak.
Fastener A
Water Tube
3. Remove any substances in the filter.
1) Open the main tap water valve and check if water comes out of
the Water Tube.
2) Check if the Water Valve is open in case water does not come out.
3) Leave the valve open until clean water is coming out.
Initial water may contain some substances out of filter
(manufacturing process).
Connector
Tap
Set the tube upright as the figure shows.
Achtung
Achtung
7. After installation of Water Supply System
1) Plug the refrigerator, press the [WATER] button on the control
panel for 2~3 minutes to remove any air (bubble) in the pipes and
drain out the initial water.
2) Check the water leak again through the water supply system
(tubes, connectors and pipes) Rearrange the tubes again and do
not move the refrigerator.
Water Tube
Connector
Tap
Water Valve
INSTALLATION GUIDE
Summary of Contents for FRS-T24FA Series
Page 3: ...2 EXTERNAL VIEWS 1 EXTERNAL SIZE...
Page 4: ...3 EXTERNAL VIEWS...
Page 6: ...5 3 Cold Air Circulation Freezer Compartment Refrigerator Compartment EXTERNAL VIEWS...
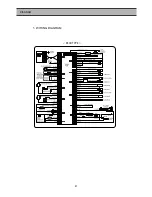
Page 42: ...41 RSCR TYPE 1 WIRING DIAGRAM DIAGRAM...
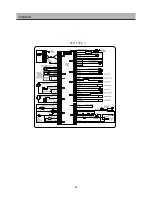
Page 43: ...42 DIAGRAM CSR TYPE...
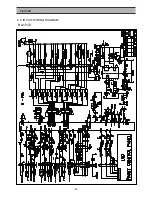
Page 44: ...43 DIAGRAM 2 CIRCUIT WIRING DIAGRAM Main PCB...
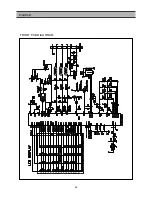
Page 45: ...44 FRONT PCB DIAGRRAM DIAGRAM...

