3.2.8. Piston
1) Visual check
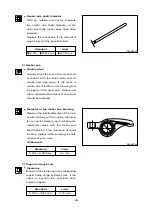
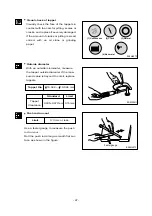
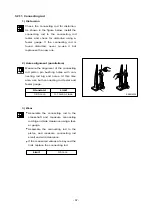
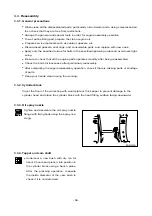
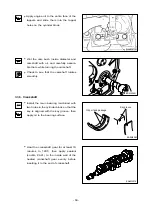
Visually check the pistons for cracks,
scuff or wear, paying particular attention
to the ring groove.
2) Clearance between the piston and
cylinder liner
•
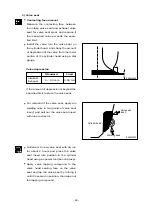
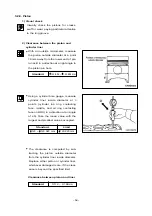
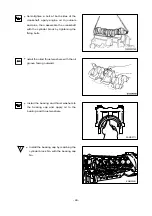
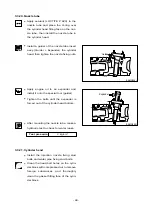
With an outside micrometer, measure
the piston outside diameter at a point
18mm away from the lower end of pis-
ton skirt in a direction at a right angle to
the piston pin hole.
•
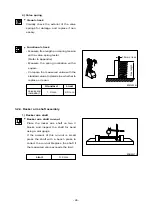
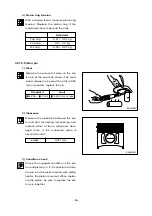
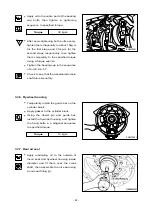
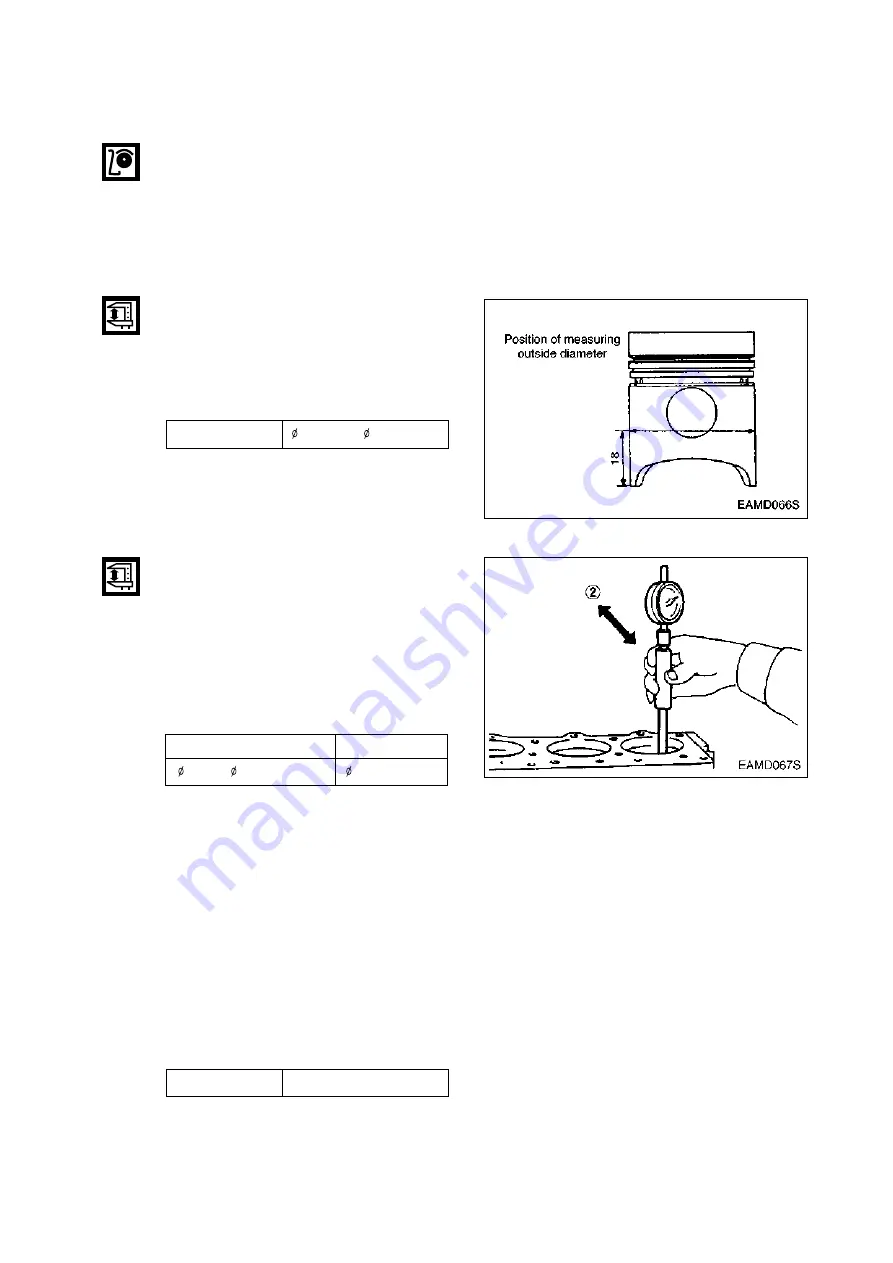
Using a cylinder bore gauge, measure
cylinder liner inside diameter at 3
points (cylinder top ring contacting
face, middle, and oil ring contacting
face on BDC) in a direction at an angle
of 45(. Take the mean value with the
largest and smallest values excepted.
•
The clearance is computed by sub-
tracting the piston outside diameter
from the cylinder liner inside diameter.
Replace either piston or cylinder liner,
whichever damaged more, if the clear-
ance is beyond the specified limit.
Clearance between piston and liner
- 54 -
Standard
122.854 ~ 122.886 mm
Standard
0.114 ~ 0.169 mm
Standard
Limit
123 ~ 123.023 mm
123.223 mm

