S0707260
Page 21
Swing Motor
REASSEMBLY
Reassembly of the motor is basically accomplished by reversing disassembly steps.
Use a torque wrench to make sure that assembly fasteners are tightened to specified values. Always begin
a bolt tightening sequence from the innermost part of the assembly, working outward toward the ends in
careful, even rotation.
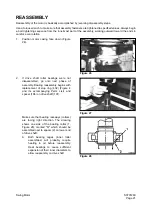
1.
Position motor casing face down (Figure
26).
2.
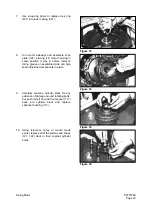
If drive shaft roller bearings were not
disassembled, go onto next phase of
assembly. Bearing reassembly begins with
replacement of stop ring (432) (Figure 4
and its accompanying Parts List) and
spacer (106) on drive shaft (101).
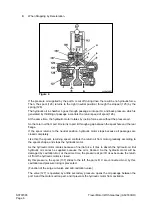
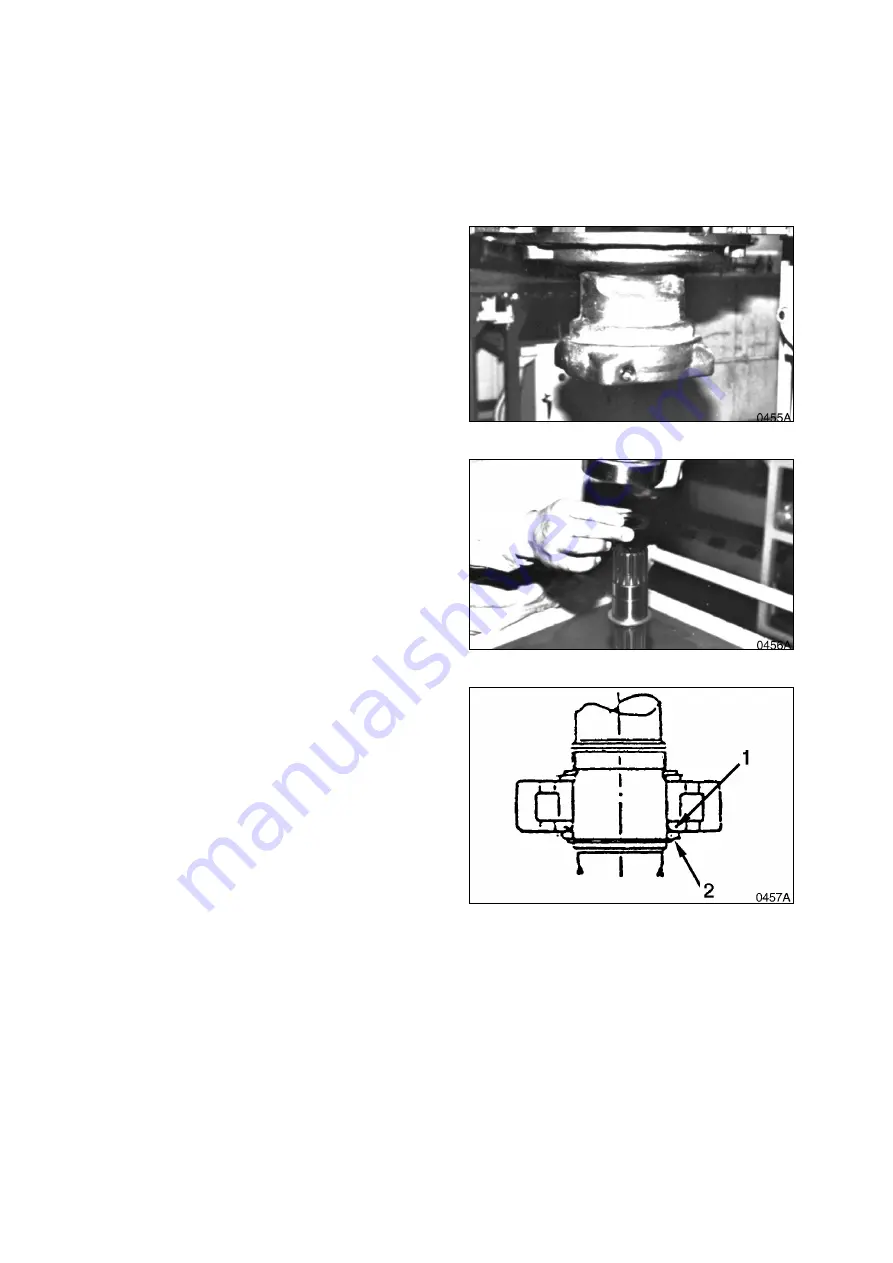
Make sure that bearing raceways (collars)
are facing right direction. The drawing
shows one side of the bearing collar (1,
Figure 28), marked "R," which should be
assembled next to spacer (2) on lower end
of drive shaft.
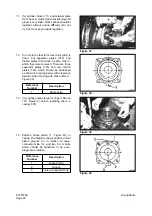
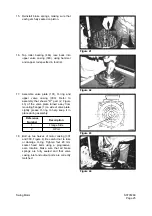
A.
Both bearing cages (inner roller
assemblies) will probably require
heating in oil before reassembly.
Heat bearings to cause sufficient
expansion of their inner diameters to
allow reassembly on drive shaft.
Figure 26
Figure 27
Figure 28
Summary of Contents for Solar 420LC-V
Page 1: ...Return to Master Table of Contents 1HYDRAULICS...
Page 33: ...S0703010K Page 2 Accumulator TABLE OF CONTENTS General Description 3 Specifications 4...
Page 43: ...S0704090K Page 8 Center Joint Swivel...
Page 63: ...S0705000 Page 20 Cylinders Return to Master Table of Contents...
Page 70: ...S0707260 Page 7 Swing Motor...
Page 74: ...S0707260 Page 11 Swing Motor SPECIAL TOOLS Figure 5...
Page 91: ...S0707260 Page 28 Swing Motor...
Page 103: ...S0707365 Page 12 Travel Motor With Gearbox A6V160HD PARTS LIST Travel Motor Figure 12 HTS6331...
Page 107: ...S0707365 Page 16 Travel Motor With Gearbox A6V160HD Travel Motor Control HTS6331 Figure 14...
Page 136: ...S0707365 Page 45 Travel Motor With Gearbox A6V160HD 29 Remove gasket Figure 91 Figure 91 3061...


