Chapter 2 Embroidery Guide
7.
Setting Cyclic Embroidery
— —
Click
to have access to the Parameter
Management Interface, where user should click “Embroidery Assistant Parameters” and set
the cyclic embroidery according to the hints.
IV.
Confirm Embroidery
1.
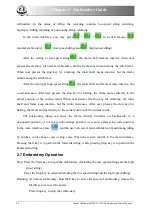
After the assistant operations, user can click
to activate the window. After user
selects
, the figure
(Cancel Embroidery) turns to
(Confirm
Embroidery), which means the machine has entered the Embroidery Ready Status.
If
is chosen, the embroidery machine will still be in the status of “Cancel
Embroidery”. At this moment, the machine will keep still even user presses the start key.
But the hint window will be displayed on the screen to ask user to confirm the embroidery
2.
Set Offset Point
After user confirms the embroidery, he can click
to set the offset point
according to the hints if needed (Note: When the embroidery begins, the setting for the
offset point will become unavailable
).
3.
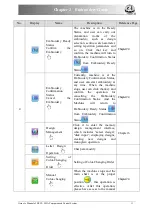
Set the Methods for Color-changing and Start
Switch among
(Auto Color-changing, Auto Start),
(Auto
Color-changing, Manual Start) and
(Manual Color-changing, Manual Start)
4.
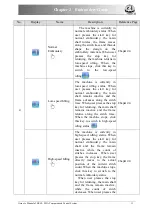
Set Status between Normal Embroidery and Idling
Switch among
(Normal Embroidery),
(Low Speed Idling) and
(High Speed Idling).
Owner’s Manual of BECS- 285A Computerized Control System
19


