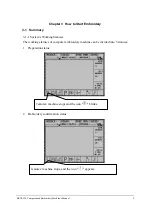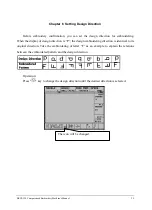
Chapter 3 How to Start Embroidey
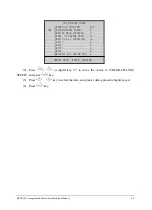
DESIGN MANAGEMENT
①SELECT DESIGN FOR EMB.
②SHOW MEMORY DESIGN
ARROW: MOVE, ENTER: CONFIRM
③DISK INPUT
④COPY
⑤EDIT
⑥DELETE
⑦DIVIDE
⑧COMBINE
⑨PACKED DESIGN
⑩CLEAR ALL
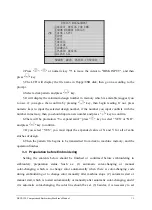
2.Press "
“, “
" or numeric key "3" to move the cursor to "DISK INPUT", and then
press "
" key.
3.The LCD will display the file name in floppy/USB disk, then go on according to the
prompt.
4.Select a disk pattern and press "
" key.
5.It will display the minimum design number in memory which is available (suggest you
to use), if you agree, then confirm by pressing "
" key, then begin reading. If not, press
numeric keys to input the selected design number, if the number you input conflicts with the
number in memory, then you should input a new number and press "
" key to confirm.
6.There will be promotion: “To expand satin?” press “
” key to select “YES” or “NO”,
and press "
" key to confirm.
7.If you select “YES”, you must input the expanded value of X and Y for all of satin
stitches of design.
8.Then the pattern file begins to be transmitted from disk to machine memory, and the
operation finishes.
3-3 Preparation before Embroidering
Setting the contents below should be finished or confirmed before embroidering in
embroidery preparation status. Such as: (1) automatic color-changing or manual
color-changing, which is to change color automatically when there is color-changing code
during embroidering or to change color manually after machine stops. (2) automatic start or
manual start, which is to start automatically or manually after automatic color-changing, and if
it is automatic color-changing, the color line should be set. (3) besides, it is necessary to set
BECS-328 Computerized Embroidery Machine's Manual
14


