Chapter 7 Frame Operations
B.
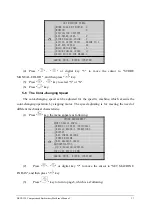
Press “
" or "4" key to move the cursor to " AUTO SET ORIGIN", and then press
"
" key to continue.
C.
The computer will prompts: “PRESS ENTER TO CONTINUE”, and you can press
"
" key to move frame to the new origin point, which let the pattern at the center of frame.
Otherwise, press any other key.
Attentions: This function doesn’t do the function of “Save Pattern’s Origin Point”, in case
of clearing the last origin.
7-6 Moving Frame along the Border
After selecting the pattern but before starting embroidery, the frame will run along the
periphery for checking whether it exceeds the limits.
Operation:
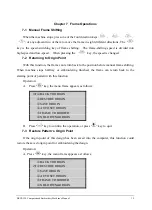
A.
Press "
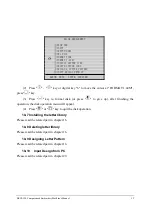
" key, the menu frame appears as follows:
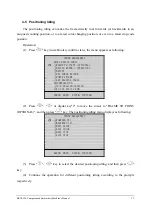
①
BACK TO ORIGIN
②
RESTORE ORIGIN
③
SAVE ORIGIN
④
AUTO SET ORIGIN
⑤
FRAME TO BORDER
⑥
NDL DOWN&ORIGIN
①
BACK TO ORIGIN
②
RESTORE ORIGIN
③
SAVE ORIGIN
④
AUTO SET ORIGIN
⑤
FRAME TO BORDER
⑥
NDL DOWN&ORIGIN
B.
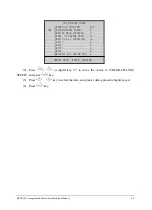
Press “
" or "5" key to move the cursor to " FRAME TO BORDER", and then press
"
" key to continue.
C.
The computer will prompts: “FRAME ALONG DESIGN RANGE!”, and you can
press "
" key to move frame along the border. Otherwise, press any other key.
7-7 Returning to the Origin Point with needle down
This function is designed for returning to the origin point after releasing the cloth from the
frame (in roll-cloth embroidery). Prior to this operation the parameter “AUTO ORIGIN” in
BECS-328 Computerized Embroidery Machine's Manual
32


