Chapter 19 Adding Patch Codes to a Design
BECS-328 Computerized Embroidery Machine's Manual
83
Chapter 19
Adding Patch Codes to a Design
During embroidering, you may want to shift the frame in order to stick a patch
expediently. The ways /f shifting frame have: manual frame shifting and auto frame shifting.
Manual frame shifting is done as following: First, the machine automatically stops at a
stitch of stop code while embroidering. Second, you shift the frame to the deserved position by
pressing the frame-shifting keys, and stick a patch. Then, pressing “
” and “
” keys, you
will make the frame move to the stop position. Finally, you pull the bar to continue
embroidering.
Auto frame shifting is done as following: First, you add patch codes to the design, which
is describe in the next paragraph. Then, you select the design and set it into embroidery
confirmation status. Again, you set the offset point for this design. Finally, you pull the bar and
start to embroider. The machine will pause at a stitch of patch code and automatically shift the
frame to the offset point, which will let you stick a patch expediently. You can pull the bar to
continue embroidering after stick the patch.
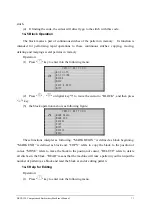
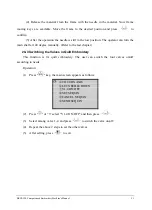
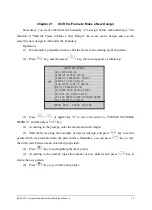
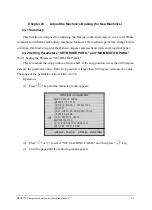
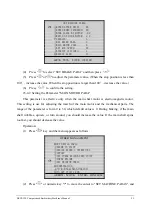
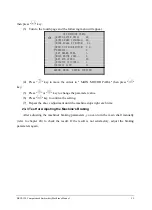
The operation of adding patch codes to a design is as following:
(1)
Press "
" key, and then press "
" key, the menu appears as following:
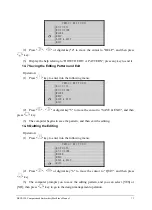
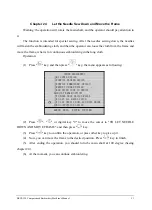
(2)
Press "
"
、
"
" or digital key "3" to move the cursor to "ADD PATCH CODE TO
DESIGN", and then press "
" key.
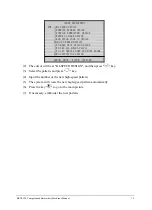
OTHER MANAGEMENT
①HI-SPEED DESIGN
②COMPILE PACKED DESIGN
③COMPILE EMBROIDER. DESIGN
ARROW:MOVE, ENTER:CONFIRM
④FRAME TO MAKE DESIGN
⑤ADD PATCH CODE TO DESIGN
⊗
ADJUST BRAKE(OPTION)
⑦TO MAKE TRUE DESIGN RANGE
⑧TO SET ALL HEADS PATCH
⑨TO LET NEEDLE DOWN AND MOVE FRAME
⑩NO OUTPUTTING DESIGN
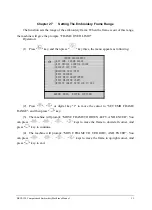
(3)
Select the pattern for being added patch code, and press "
" key
(4)
According to the prompt, you will be asked to add a patch code for each of color
codes and stop codes, or not do so.
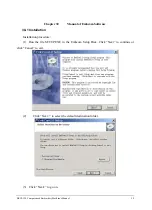
(5)
Press "
" key to go to the main picture.


