Chapter 12
Taping Embroidery
94
Owner’s Manual of BECS- A15 Computerized Control System
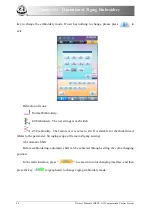
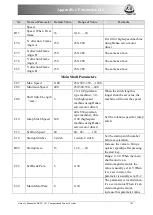
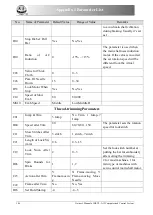
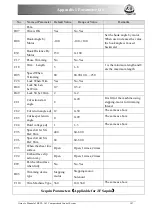
Move cursor to “Sway Zig Rod to 100”. According to the hint in dialogue window, user
can pull bar to let all the swing rods act once. Click “
”to exit.
Users can adjust swing range by using this function.
2.
Clamp Foot Up/ down
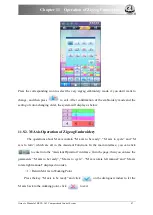
Move cursor to “Test lift clamp foot”. According to the hint in dialogue window, user can
pull bar to let all the clamp feet go up/down. Pull the bar again to let them down/up again.
Click “
”to exit.
12.6
Steps on Special Embroidery
1.
Input design, carry out design selection, changing and editing according to requirement.
2.
Modify the relating parameters, select color-changing order and choose the special
embroidery mode.
3.
Check special heads and make sure they are in perfect condition.
4.
Pull bar to start embroidering.
12.7 Mechanical Category and Driving Mode Selection for
Special Embroidery Machines
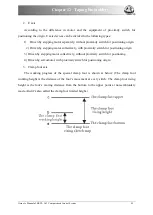
Taping machines have three types of the motion parts in the sense of mechanics. We
define them as M axis, E axis and clamp foot axis. M axis rotates a certain degrees at every
stitch to trace the stitch, which ensures cords or tapes always in front of needle movement. E
axis swings once at every one or two stitch to make the Zigzag embroidery. Clamp foot axis is
used for lifting and lowering the clamp foot.
1.
M axis
The mechanism of M axis can be divided to two types. One is with clutch device, whose
action is controlled by electric valve or by hand. Its advantage is that only the M axis of the
patching embroidery is moving and non-patching embroidery heads stay still at mending. This
will enhance the quality and efficiency of mending. The other type is without clutch device.
Both of the two types are driven by servomotor and the origins of their M axis are positioned
by proximity switch.

