Chapter 7 Memory Design Edit
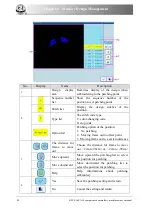
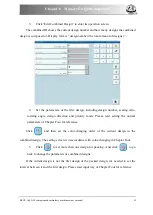
3. Stitch check orientation front-panel: use for orient “current stitch” (stitch that need
check and edit).
Stitch edit function key: use for switch stitch code, insert stitch, delete stitch and move the
stitch position.
Help key: press this key to enter the usage explanation of keys in this edit window.
4. Stitch information: Use for information about total stitch amount, serial number,
position and type of current stitch.
7.2.2.
Document and View Operation
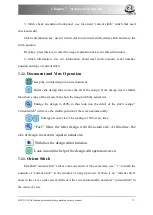
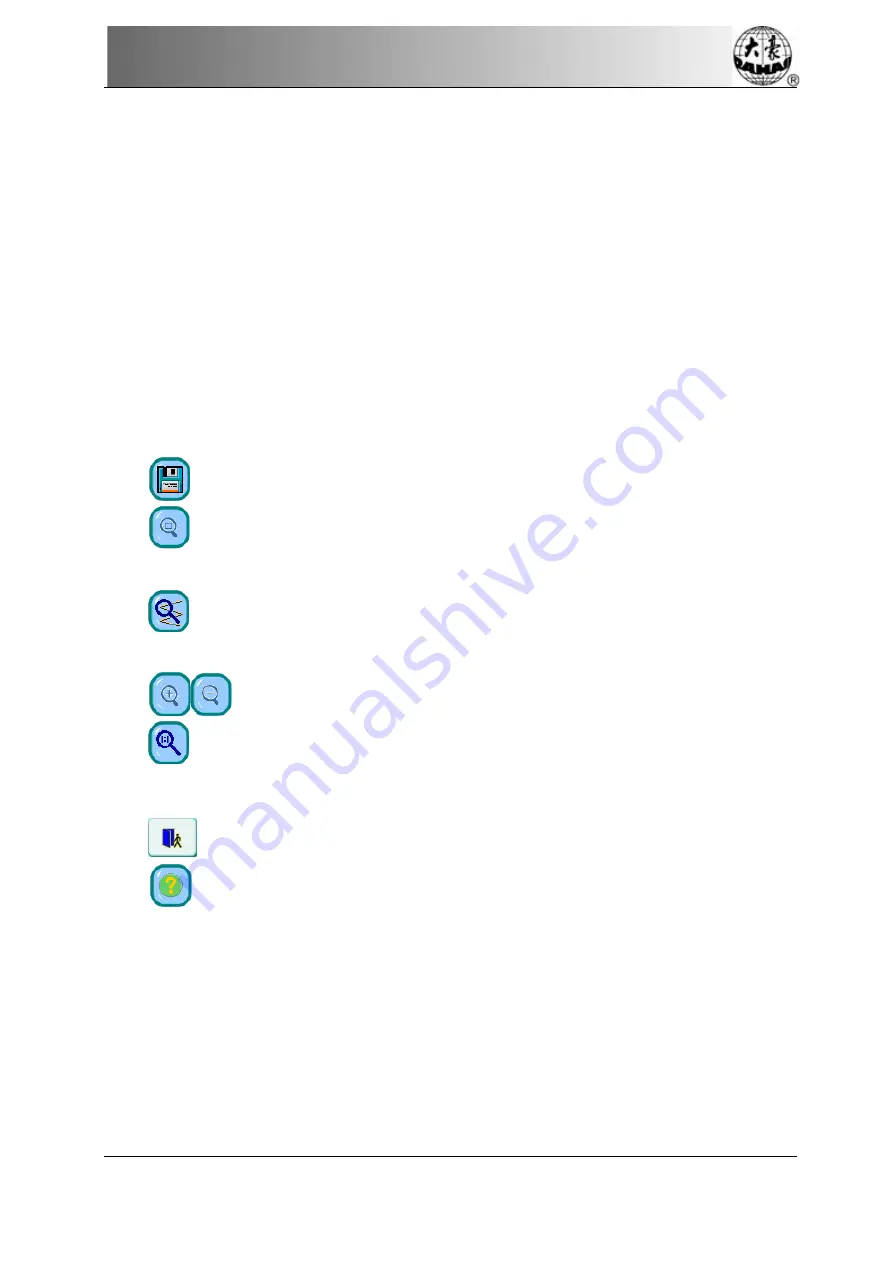
Keep the current design to a new document.
Reduce the design thus can see the all of the design. If the design size is smaller
than show scope of the screen, then show the design with the actual size.
Enlarge the design to 450% to thus look into the detail of the stitch vestige."
Current stitch" will move the middle position of the screen automatically.
Enlarge or zoom view. The scaling is 150% every time.
“Fact”: Show the letter design with the actual size. At this time, the
size of design in screen is equal to actual size.
Withdraw the design editor function.
Look into online help of the design edit operation screen.
7.2.3.
Orient Stitch
Establish “current stitch” arrives some one stitch. At the same time, use “
+
” to mark the
position of “current stitch” in the window of design preview. If there is no “current stitch"
show in the view, so the system will renew the view automatically, and show “current stitch" in
the centre of view.
BECS- A18/A58 computerized embroidery machine owner’s manual
71
Summary of Contents for BECS-A18
Page 2: ......


