28
Please note system will not send out the email immediately when the alarm occurs. When the
alarm, motion detect or the Abnormality event activates the email, system sends out the email
according to the interval you specified here. This function is very useful when there are too many
emails activated by the Abnormality events, which may result in heavy load for the email server.
Health email enable: Please check the box here to enable this function. This function allows
the system to send out the test email to check whether the connection is OK or not. Select
this function and then set interval for those test email. The send interval ranges from 30 to
1440 minutes.
Note: Click test button to test whether current EMAIL config is OK.
3.2.7 Alarm Center
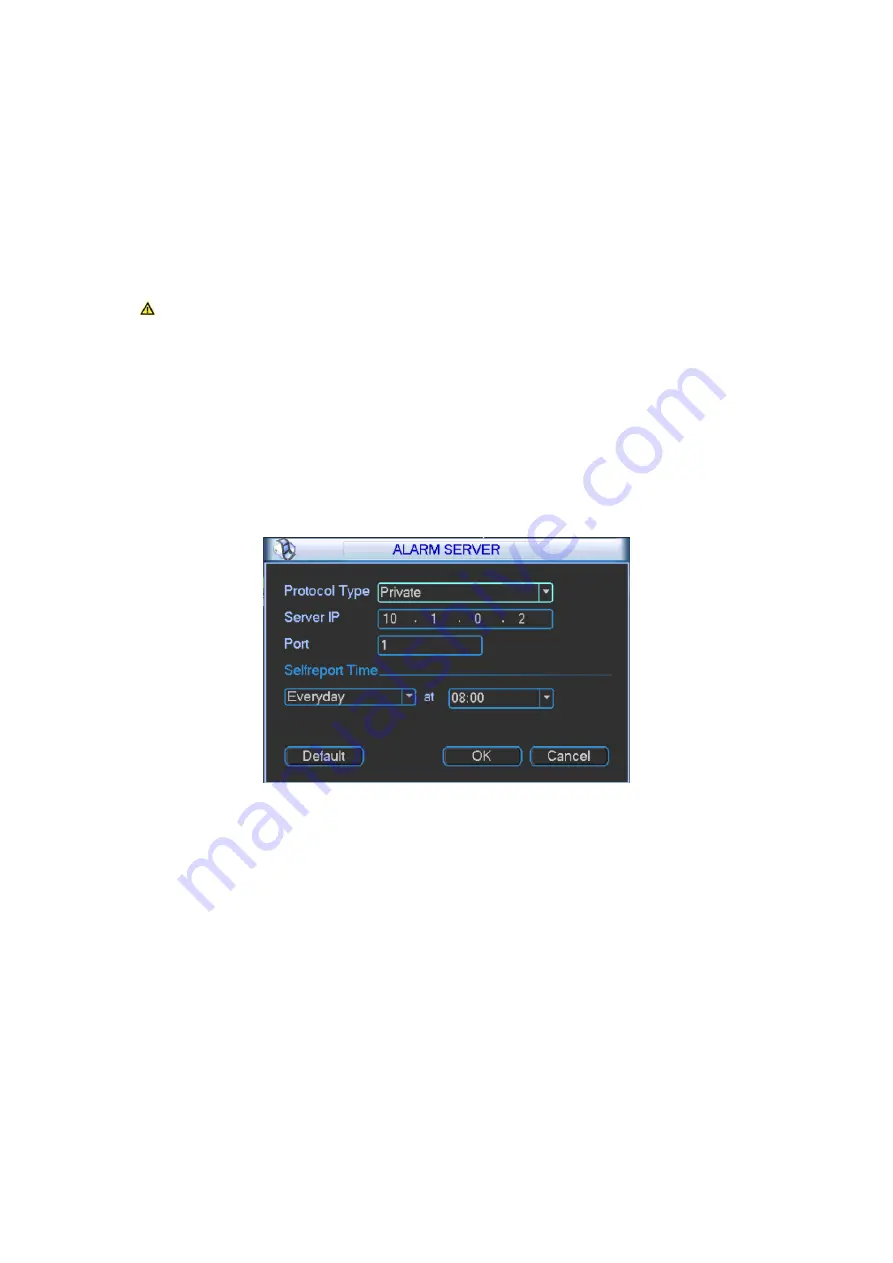
This interface is reserved for you to develop. If alarm occurs locally, its alarm signal will be
uploaded to alarm center. For you to use alarm center, please set server IP and port first. When
alarm occurs, the device will send data according to protocol format and client will receive
designated data. Please see Figure 3- 11.
Figure 3- 11
3.2.8 iSCSI
1) Click system setting
network
network service setting
iSCSI setting. Set its
parameter, including host IP, port.
2) Click storage path setting.
3) Select corresponding remote directory and then click OK to enable.
4) Input correct username and password. Click Add.
5) Click OK.
Please see Figure 3- 12 as guide.
Summary of Contents for DH-M70-D-0204HO
Page 1: ...i Distributed Decoding System User s Manual V 2 0 1 ...
Page 27: ...21 Figure 3 2 3 2 Network Network interface is shown below as in Figure 3 3 ...
Page 35: ...29 Figure 3 12 3 2 9 Shutdown ...
Page 51: ...45 Figure 4 25 4 5 2 System Config 4 5 2 1 General ...
Page 59: ...53 Figure 4 34 4 5 2 8 NTP ...
Page 71: ...65 Figure 4 46 ...
Page 81: ...75 Figure 4 58 Group setting is as follows please see Figure 4 59 and Figure 4 60 ...
Page 87: ...81 Figure 4 67 ...
Page 90: ...84 Figure 4 71 4 5 3 7 Snapshot ...
Page 93: ...87 Figure 4 74 Figure 4 75 ...
Page 100: ...94 Figure 4 86 Step 4 Click Add See Figure 4 87 Figure 4 87 ...


