117
Section 3: Start dialogue button.
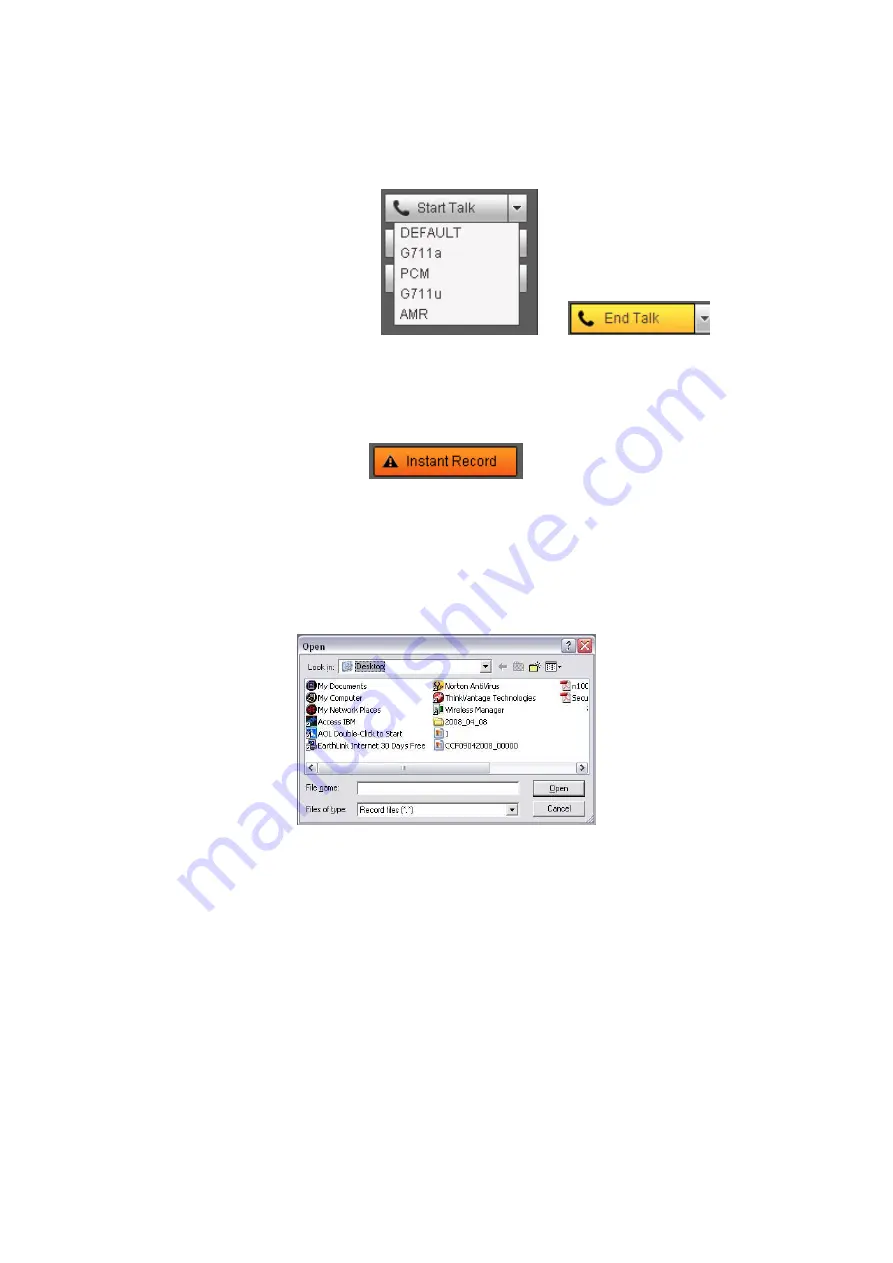
You can click this button to enable audio talk. Click
【
▼
】
to select bidirectional talk mode. There
are four options: DEFAULT, G711a, G711u, PCM, and AMR. After you enable the bidirectional talk,
the Start talk button becomes End Talk button and it becomes yellow. See Figure 5-11.
Figure 5-11
Section 4: Instant record button. Click it, the button becomes yellow and system begins
manual record. See Figure 5-12. Click it again, system restores previous record mode..
Figure 5-12
Section 5: Local play button.
The Web can playback the saved (Extension name is dav) files in the PC-end.
Click local play button, system pops up the following interface for you to select local play file. See
Figure 5-13
Section 6: From the left to the right, you can see video quality/fluency/ full
screen/vertical-sync/1-window/4-window/6-window/8-window/9-window. You can set video
fluency and real-time feature priority.
Section 7: PTZ operation panel. Please refer to chapter 5.5.2 for detailed information.
Section 8: Image setup and alarm setup. Please refer to chapter 5.5.3 for detailed
information.
Section 9: It is to display several channels at one window. Please refer to chapter 5.5.4 for
detailed information.
5.5.1
Real-time Monitor
In section 2, left click the channel name you want to view, you can see the corresponding video in
current window.
On the top left corner, you can view device IP(10.10.6.129), channel number(1), network monitor


