94
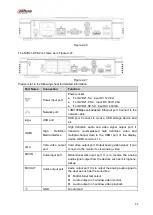
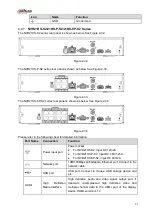
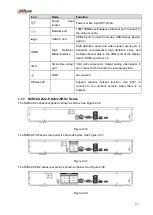
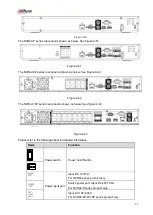
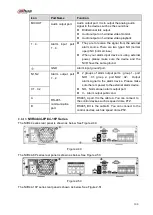
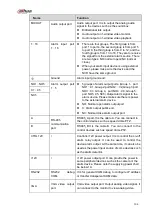
Please refer to the following sheet for detailed information.
Port Name
Connection
Function
Power input port
Power socket.
For NVR22-S2, input DC 12V/4A.
For NVR22-P-S2, input DC 48V/1.5A.
For NVR22-8P-S2, input DC 53V 120W.
Network port
10M/100Mbps self-adaptive Ethernet port. Connect to the
network cable.
USB port
USB port. Connect to mouse, USB storage device and
etc.
HDMI
High
Definition
Media Interface
High definition audio and video signal output port. It
transmits uncompressed high definition video and
multiple-channel data to the HDMI port of the display
device. HDMI version is 1.4.
VGA
VGA video output
port
VGA video output port. Output analog video signal. It can
connect to the monitor to view analog video.
MIC IN
Audio input port
Bidirectional talk input port. It is to receive the analog
audio signal output from the devices such as microphone,
pickup.
MIC OUT
Audio output port
Audio output port. It is to output the analog audio signal to
the devices such as the sound box.
Bidirectional talk output.
Audio output on 1-window video monitor.
Audio output on 1-window video playback.
GND
Ground end
PoE
PORTS
PoE port
Built-in switch. Support PoE function.
For PoE series product, you can use this port to provide
power to the network camera.
2.2.10
NVR42/42N/42-P/42-8P/42-16P Series
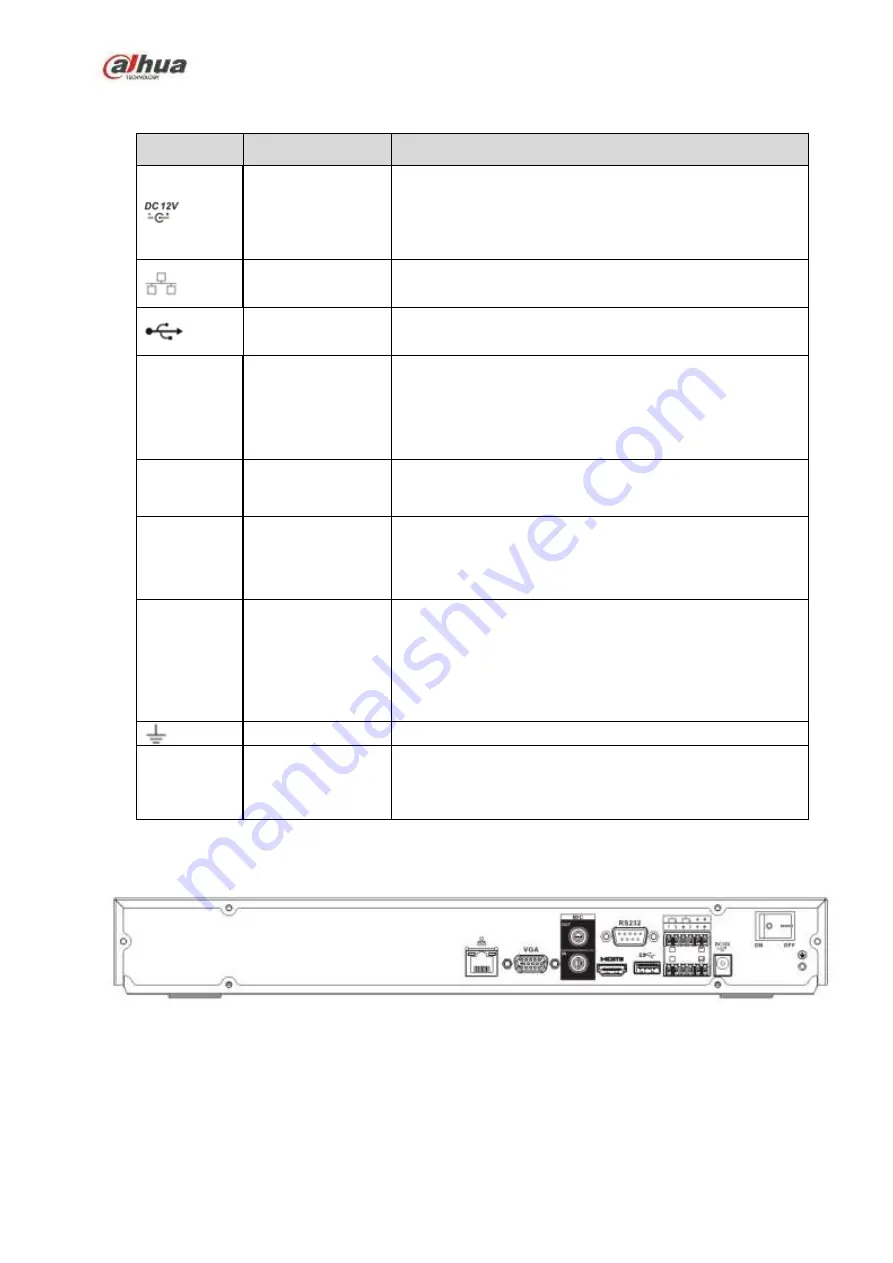
The NVR42 series rear panel is shown as below. See Figure 2-39.
Figure 2-39
The NVR42N series rear panel is shown as below. See Figure 2-40.
Summary of Contents for NVR100 series
Page 1: ...Dahua Network Video Recorder User s Manual V 3 0 0 ...
Page 164: ...154 Figure 3 4 3 6 5 NVR41HS W S2 Series Please refer to Figure 3 5 for connection sample ...
Page 175: ...165 Figure 3 18 3 6 19 NVR78 Series Please refer to Figure 3 19 for connection sample ...
Page 176: ...166 Figure 3 19 3 6 20 NVR78 16P Series Please refer to Figure 3 20 for connection sample ...
Page 177: ...167 Figure 3 20 3 6 21 NVR78 RH Series Please refer to Figure 3 21 for connection sample ...
Page 178: ...168 Figure 3 21 3 6 22 NVR70 Series Please refer to Figure 3 22 for connection sample ...
Page 179: ...169 Figure 3 22 3 6 23 NVR70 R Series Please refer to Figure 3 23 for connection sample ...
Page 180: ...170 Figure 3 23 3 6 24 NVR42V 8P Series Please refer to Figure 3 24 for connection sample ...
Page 181: ...171 Figure 3 24 ...
Page 193: ...183 Figure 4 14 Figure 4 15 Step 2 Set network camera login password WARNING ...
Page 201: ...191 Figure 4 24 Step 2 Click device display edit interface See Figure 4 25 ...
Page 278: ...268 Figure 4 114 Figure 4 115 ...
Page 289: ...279 Figure 4 126 Figure 4 127 ...
Page 291: ...281 Figure 4 129 Click draw button to draw the zone See Figure 4 130 ...
Page 295: ...285 Figure 4 133 Click Draw button to draw a zone See Figure 4 134 Figure 4 134 ...
Page 300: ...290 Figure 4 139 Click draw button to draw the zone See Figure 4 140 ...
Page 313: ...303 Figure 4 151 Figure 4 152 ...
Page 314: ...304 Figure 4 153 Figure 4 154 ...
Page 380: ...370 Figure 4 236 ...
Page 424: ...414 Figure 5 60 Figure 5 61 ...
Page 425: ...415 Figure 5 62 Figure 5 63 ...
Page 449: ...439 Figure 5 97 Figure 5 98 ...
Page 452: ...442 Figure 5 101 Figure 5 102 ...

