Local Configurations
50
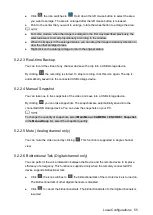
Select the check box of event type, and then click
to clear the defined
period.
When selecting MD&Alarm, the respective check box of MD and Alarm will be
cleared.
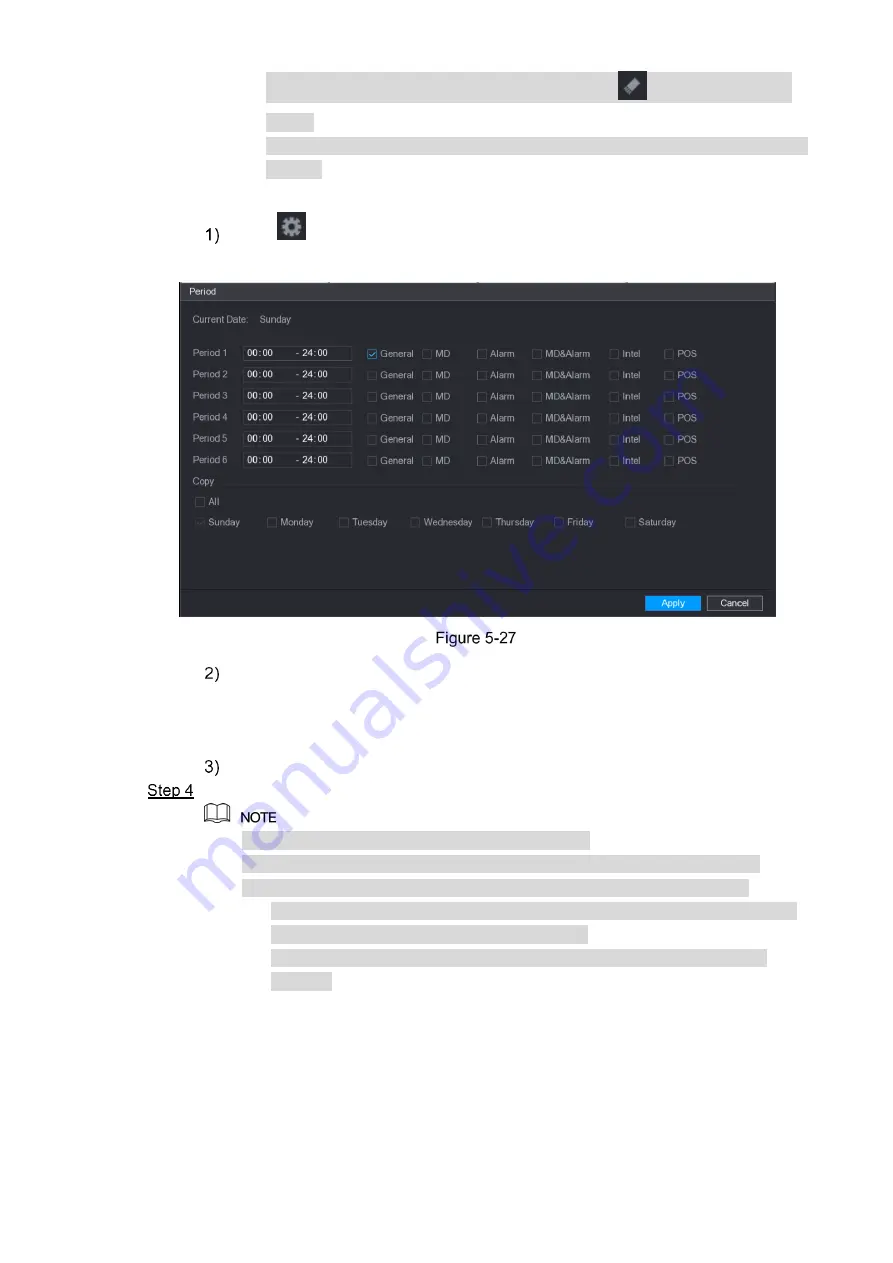
Define the period by editing. Take Sunday as an example.
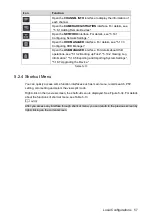
Click
.
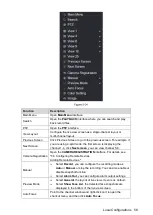
The
Period
interface is displayed. See Figure 5-27.
Enter the time frame for the period and select the event check box.
There are six periods for you to set for each day.
Under
Copy
, select
All
to apply the settings to all the days of a week, or select
specific day(s) that you want to apply the settings to.
Click
Apply
to save the settings.
Click
Apply
to complete the settings.
Click
Copy
to copy the settings to other channels.
After configuring the recording schedule settings, you need to perform the
following operations to start recording according to the defined schedule.
Enable the alarm event and cofigure the settings for the recording channel.
For details, see "5.10 Alarm Events Settings."
You need to enable the recording function, see "5.9.1 Enabling Record
Control."
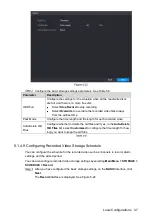
5.1.4.10
Configuring Snapshot Storage Schedule
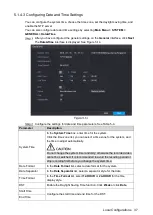
You can configure the storage schedule for the snapshot such as channels to take snapshot,
alarm settings, and the armed period.
You can also configure snapshot storage settings by selecting
Main Menu > STORAGE >
SCHEDULE > Snapshot
.
Summary of Contents for Smart 1U
Page 1: ...DIGITAL VIDEO RECORDER User s Manual V1 0 0...
Page 30: ...Connecting Basics 20...
Page 80: ...Local Configurations 70 No Icon Description...
Page 181: ...Local Configurations 171 Select the Enable check boxes to enable IoT function See Figure 5 152...
Page 234: ...Local Configurations 224...
Page 280: ...Glossary 270 Abbreviations Full term VGA Video Graphics Array WAN Wide Area Network...
Page 298: ...Earthing 288...


