112
Record
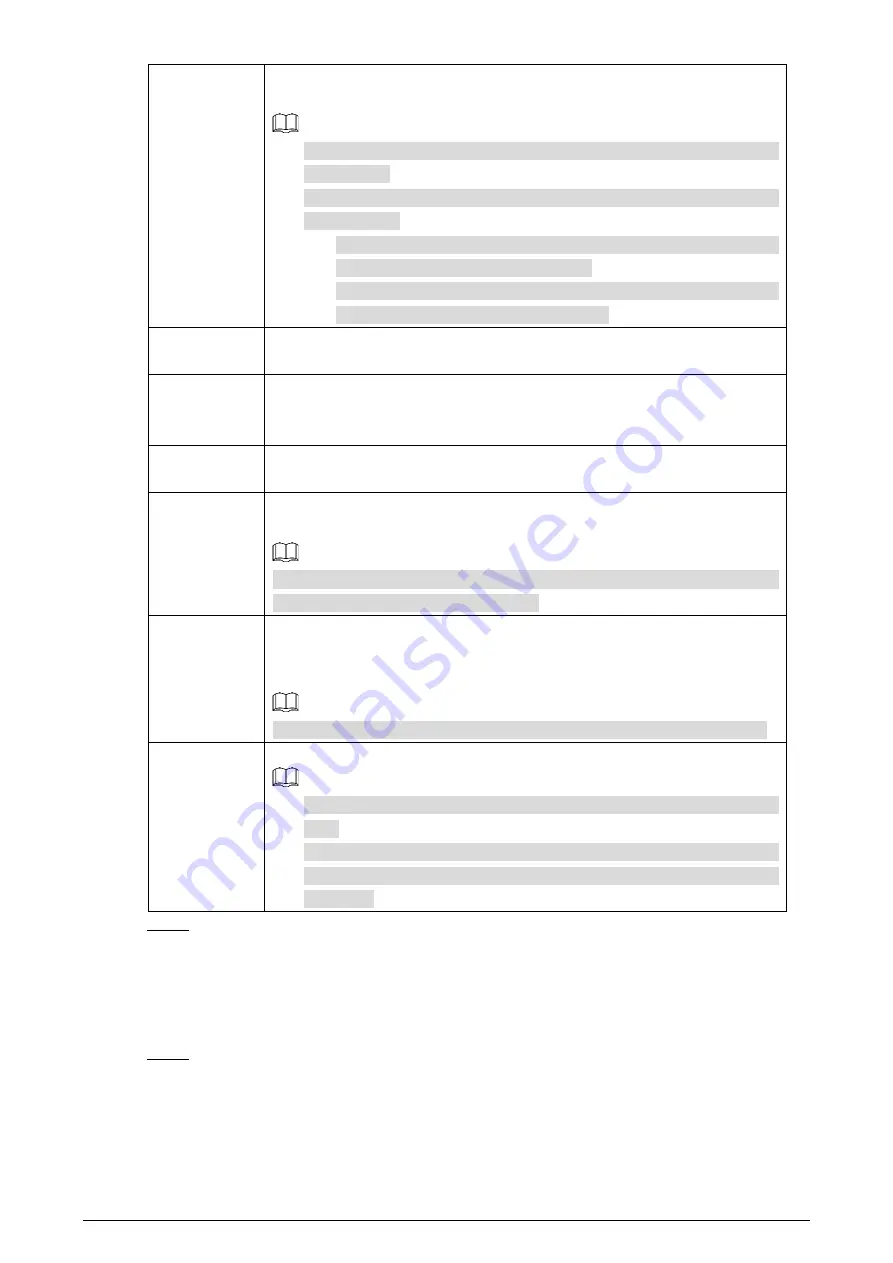
Enable this function and alarm recording will be triggered when there is an
alarm.
To view and set storage path of recorded videos, see "4.1.2.5 Configuring
Storage Path".
The following two conditions must be satisfied before alarm recording
function works:
You have enabled motion detection recording. See "4.7.1.1 Configuring
Video Recording" for detailed operations.
You have enabled auto recording. See "4.7.3 Configuring Record
Control Parameters" for detailed operations.
Record Delay
Set a length of time for the Camera to delay turning off recording after an alarm
is ended.
Relay-out
You can connect this relay-out port to such alarm Cameras as light and siren.
When an alarm is triggered, those alarm Cameras will work. Select the check box
to enable this function.
Alarm Delay
Set a length of time for the Camera to delay turning off alarm after an event is
actually ended.
Send Email
Select the
Send Email
check box and an e-mail will be delivered to the Camera
user once an alarm is triggered.
Set your e-mail first before enabling the
Send Email
function. See "4.2.5
Configuring SMTP" for detailed operations.
PTZ
Select the check box of
PTZ
and select an item from
None
,
Preset
,
Tour
, and
Pattern
in the
Activation
bar. Once an alarm is triggered, your PTZ will execute
the item you have selected in the
Activation
bar.
Set PTZ first before enabling this function. See "3.2 PTZ" for detailed operations.
Snapshot
Select the
Snapshot
check box to take a snapshot when there is an alarm.
To view and set storage path of snapshots, see "4.1.2.5 Configuring Storage
Path."
To make the snapshot function take effect, you need to firstly enable
motion-detection snapshots. See "4.7.1.2 Configuring Snapshot" for detailed
operations.
Click
Save
.
Step 5
4.5.1.2
Configuring Video Temper
When your camera lenses are masked, an alarm will be triggered.
Select
Setting > Event > Video Detection > Video Temper
.
Step 1
The
Video Temper
interface is displayed. See Figure 4-58.


