32
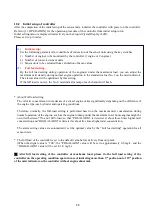
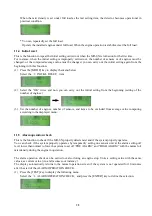
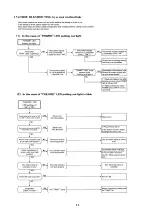
(1) Power ON
Unlock the snap type lock or the knurled lock on the right side of the controller, and then open the panel
front side toward the left side.
Turn the power switch on.
The power is supplied to the system and the controller begins the self-diagnosis after the power switch is
turned on.
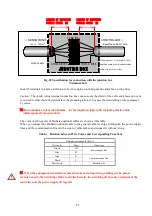
All the LED lamps are lighted for 3 seconds during the controller check (self-diagnosis).
The initial setting screen is displayed on the LCD unit. Proceed with settings as the setting screen
progressively indicates.
(2) Controller check
The controller checks itself (controller self-diagnosis) after the power is turned on.
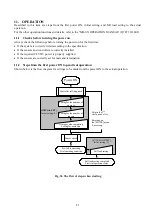
(3) Initial setting: To set the number of engines and sensors
After the power is turned on for the first time, the initial setting must be carried out (the initial setting
screen is displayed).
After the completion of initial setting, the initial setting process is skipped and the system jumps to the trial
or normal operating condition when the power is turned on next time and after as the initial setting is not
repeatedly required.
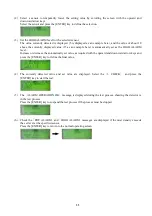
1) Set the number of engines to be monitored by selecting 1 or 2 engines and defining the selected number
by pressing the [ENTER] key.
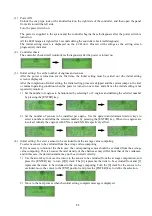
2) Set the number of sensors to be installed per engine. Use the upward and downward arrow keys to
select a number and define the selected number by pressing the [ENTER] key. When two engines are
involved, identify the engines with ENG.A and ENG.B respectively at first.
(4) Initial setting: To select a sensor to be excluded from the average value computing
To select a sensor to be excluded from the average value computing
If it is necessary to monitor the chain case, the corresponding sensor should be excluded from the average
value computing. This is because the mist density of the chain case may differ from that of the crankcase,
and in this case, the deviation alarm may not be activated correctly.
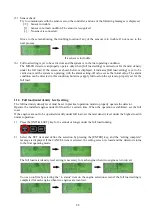
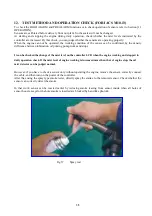
1) Use the arrow key to move the cursor to the sensor to be excluded from the average computation, and
press the [ENTER] key to turn [0][1] dark. The [0] represents the item to be excluded from and [1]
represents the items to be included in the average computing. Turn the [0] dark for the sensor to be
excluded, move the cursor to the [ENT] position, and press the [ENTER] key to define the selection.
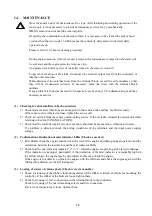
2) Move to the next process when the initial setting complete message is displayed.
Original content from www.daihatsu.cc
Issued to HORIZON TANKERS LIMITED S.A.


