26
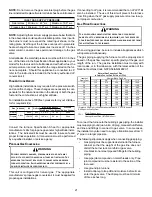
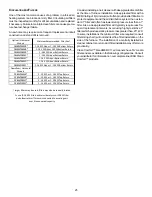
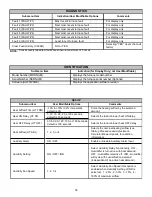
Air cleaner installation
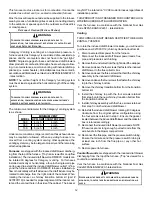
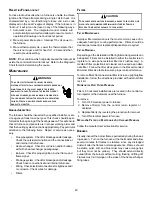
location
Maximum
Heating Airflow
Filter (Media)
Dimensions Part
Number
Air Cleaner
Family
Side or bottom return
1200 CFM
16 in X 20 in x 5¼"
AM11-1620-5
AM11-5
Side or bottom return
1600 CFM
16 in X 25 in x 5¼"
AM11-1625-5
Side or bottom return
1600 CFM
20 in X 20 in x 5¼"
AM11-2020-5
Side or bottom return
2000 CFM
20 in X 25 in x 5¼"
AM11-2025-5
Side return
(for 2 separate returns)
2 X 1600 CFM
2, 16 in X 25 in x 5¼"
AM11-3225-5
AM11-3225
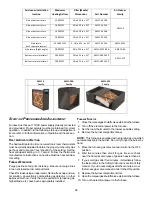
Side return (Right angle)
2000 CFM
20 in X 25 in x 5¼"
AM11-2025-5RA
AM11-5RA
Bottom return (platform)
2000 CFM
20 in X 25 in x 5¼"
AM11-2832-5PP
AM11-5PP
Bottom return (platform)
2000 CFM
20 in X 25 in x 5¼"
AM11-2843-5PP
AM11-5
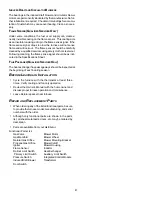
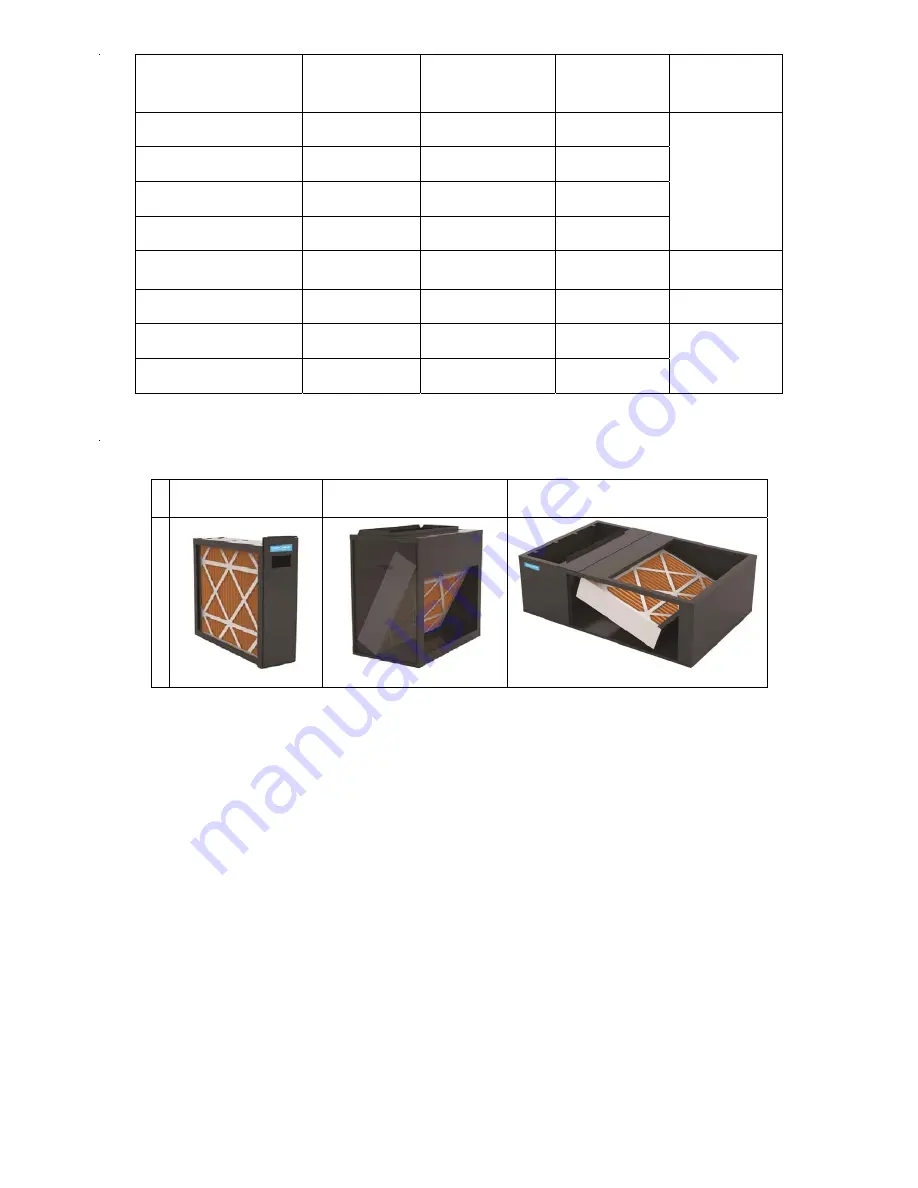
Family
AM11-5RA
Family
AM11-5PP
Family
S
TART
-
UP
P
ROCEDURE
A
ND
A
DJUSTMENT
Furnace must have a 115 VAC power supply properly connected
and grounded. Proper polarity must be maintained for correct
operation. In addition to the following start-up and adjustment
items, refer to further information in
Operational Checks
sec-
tion.
H
EAT
A
NTICIPATOR
S
ETTING
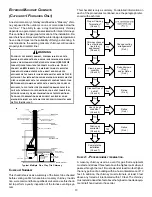
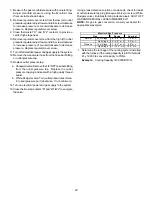
The heat anticipator in older, non-electronic room thermostats
must be correctly adjusted to obtain the proper number of cycles
per hour and to prevent “overshooting” of the setting. Set the
heat anticipator setting to 0.7 amps. Follow the thermostat
manufacturer’s instructions on how to adjust the heat anticipa-
tor setting.
F
URNACE
O
PERATION
Purge gas lines of air prior to startup. Be sure not purge lines
into an enclosed burner compartment.
Check for leaks using an approved chloride-free soap and wa-
ter solution, an electronic combustible gas detector, or other
approved method. Verify that all required kits (propane gas,
high altitude, etc.) have been appropriately installed.
F
URNACE
S
TARTUP
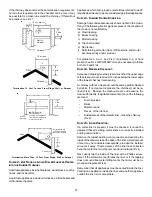
1. Close the manual gas shutoff valve external to the furnace.
2. Turn off the electrical power to the furnace.
3. Set the room thermostat to the lowest possible setting.
4. Remove the burner compartment door.
NOTE:
This furnace is equipped with an ignition device which
automatically lights the burner. Do not try to light the burner by
hand.
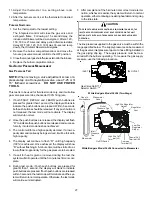
5. Move the furnace gas valve manual control to the OFF
position.
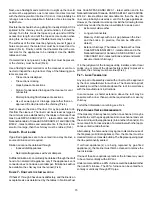
6. Wait five minutes then smell for gas. Be sure check
near the floor as some types of gas are heavier than air.
7. If you smell gas after five minutes, immediately follow
the instructions in the
Safety Instructions
section of this
manual. If you do not smell gas after five minutes, move
the furnace gas valve manual control to the ON position.
8. Replace the burner compartment door.
9. Open the manual gas shutoff valve external to the furnace.
10. Turn on the electrical power to the furnace.

