EWAD120~340MBYNN
Packaged air-cooled water chillers
4PW22683-1
Operation manual
6
O
PERATION
The EWAD units are equipped with a digital controller offering a user-
friendly way to set up, use and maintain the unit.
This part of the manual has a task-oriented, modular structure. Apart
from the first section, which gives a brief description of the controller
itself, each section or subsection deals with a specific task you can
perform with the unit.
Depending on the model there are one or two cooling circuits in the
system. The models EWAD240~340 exist out of two circuits, whereas
the models EWAD120~170 only have one circuit. These circuits are
generally named C1 and C2 in the following descriptions. So all
information about circuit 2 (C2) is not applicable for EWAD120~170
models.
Digital controller
User interface
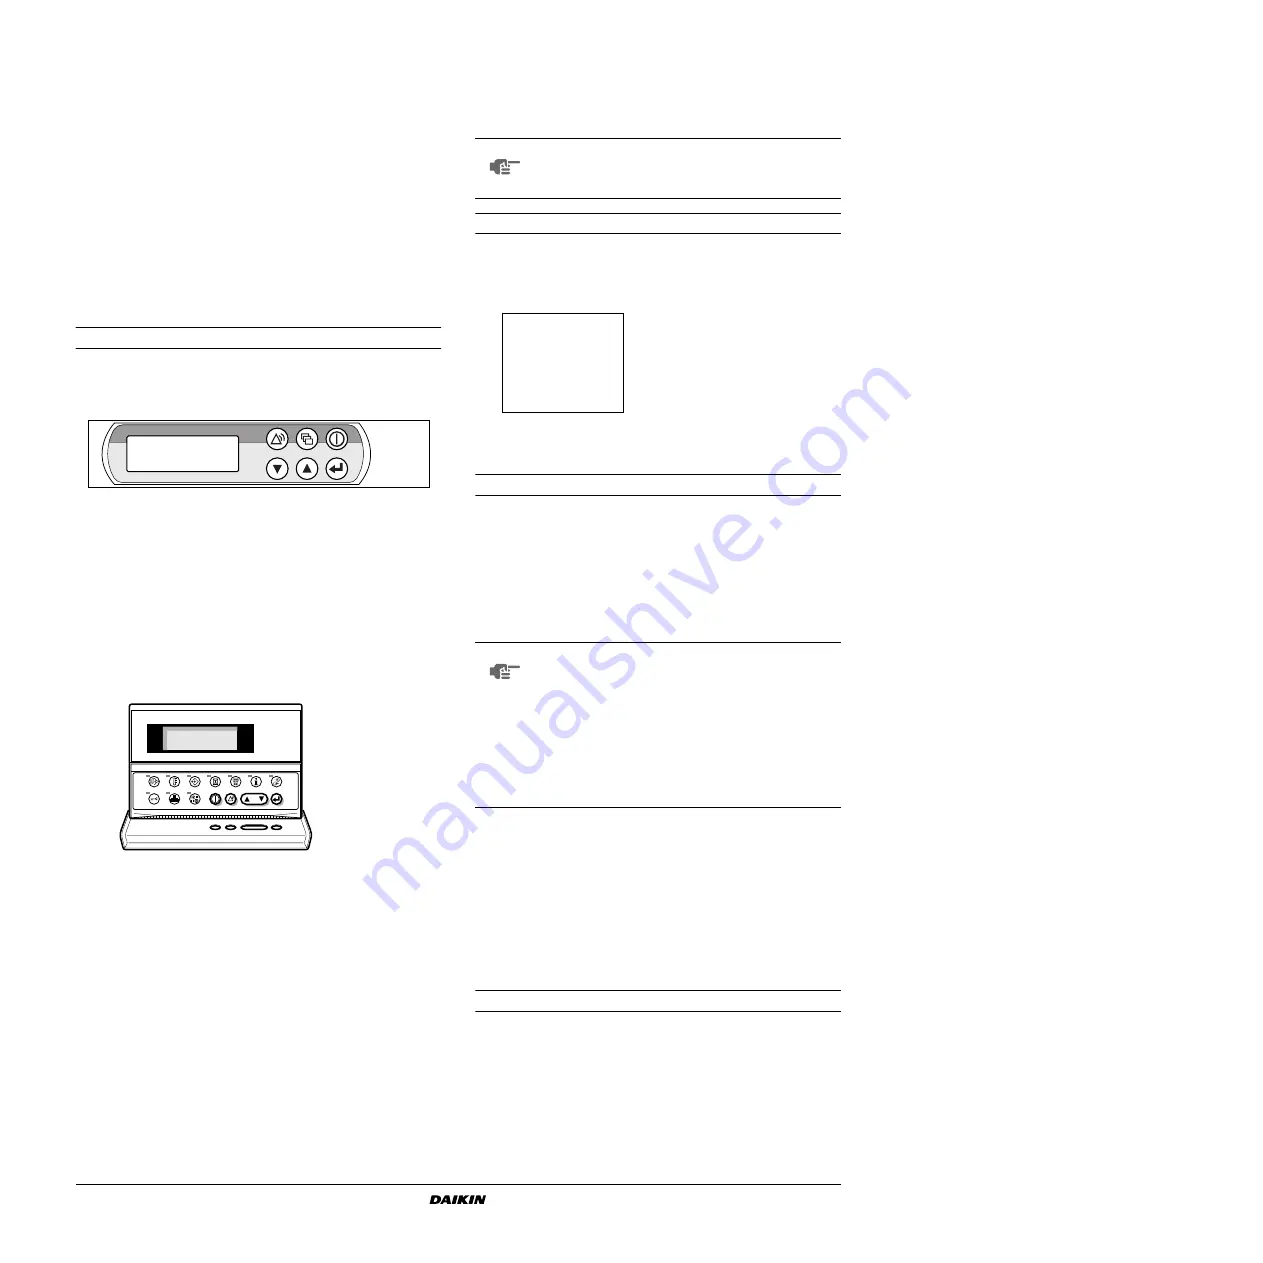
The digital controller consists of an alphanumeric display, labelled
keys which you can press and a number of LEDs.
■
Digital built-in controller
Figure - Digital built-in controller
■
Digital remote controller (to be ordered separately)
Figure - Digital remote controller
How to enter a menu
■
Digital built-in controller
Scroll through the main menu using the
g
and
h
keys to move
the
mark in front of the menu of your choice. Push the
q
key
to enter the selected menu.
■
Digital remote controller
Press the corresponding menu key indicated in "User interface",
paragraph
"Digital remote controller" on page 6
Connection of a remote digital controller to the unit
For a remote digital controller a cable length of up to 600 metres
between the remote digital controller and the unit is allowed. This
gives the opportunity to control the unit from a considerable distance.
Refer to
"Cable for remote digital controller"
in the installation manual
for cable specifications.
For units in a DICN configuration, the remote digital controllers of the
units can be installed at a distance of up to 50 metres by using a
6-ray telephone cable with a maximum cable resistance of 0.1
Ω
/m.
Working with the unit
This chapter deals with the everyday usage of the unit. Here, you will
find how to perform routine tasks, such as:
■
"Setting the language" on page 6
■
"Switching the unit on" on page 7
■
"Consulting actual operational information" on page 7
■
"Adjusting the temperature setpoint" on page 8
■
"Resetting the unit" on page 8
Setting the language
If desired, the operating language can be changed to any of the
following languages: English, German, French, Spanish or Italian.
1
Enter the usersettings menu. Refer to chapter
2
Go to the appropriate screen of the usersettings menu using the
g
and
h
keys.
3
Press
q
to change the operating language until the desired
language is active.
f
key, to enter the main menu
o
key, to start up or to shut down the unit.
p
key, to enter the safeties menu or to reset an alarm.
g
h
keys, to scroll up or down through the screens of a menu
(only in case
W
,
X
or
C
appears) or to raise, respectively
lower a setting.
q
key, to confirm a selection or a setting.
o
key, to start up or to shut down the unit.
p
key, to enter the safeties menu or to reset an alarm.
k
key, to scroll through the screens of a menu (only in case
W
,
X
or
C
appears) or to raise, respectively lower a
setting.
q
key, to confirm a selection or a setting.
u
key, to enter the readout menu.
s
key, to enter the setpoints menu.
z
key, to enter the user settings menu.
e
key, to enter the timers menu.
r
key, to enter the history menu.
t
key, to enter the info menu.
y
key, to enter the input/output status menu.
a
key, to enter the user password menu.
d
key, to enter the DICN menu, also referred to as network
menu.
i
key, has no effect on EWAD units.
NOTE
Temperature readout tolerance: ±1°C.
Legibility of the alphanumeric display may decrease in
direct sunlight.
NOTE
When a remote digital controller is connected to a
stand-alone unit, the adress of the remote digital
controller has to be set to 2 by means of the DIP-
switches on the back of the remote digital controller.
Refer to the installation manual “Setting the adresses
on the remote digital controller“ for setting the adress.
When a remote digital controller is connected to a unit
that is part of a DICN network, the addresses have to
be set according to the instructions in the installation
manual.


