7 Installation
Installation manual
13
EZESHP20 EZLSHP20AUAW1B
Exigo E1500 Trailer Refrigeration Unit
4P726857-1 – 2023.03
b
a
a
Unit
b
Cold room
7.2.3
To install the unit on the cold room
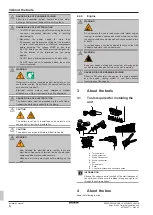
DANGER
Always use a safety harness when working at height.
WARNING
The unit must be fully and correctly fastened to the cold
room wall before removing the safety lifting device. Do not
stand below the unit while fixing the unit to the cold room.
1
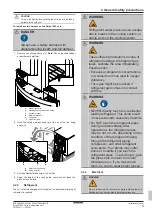
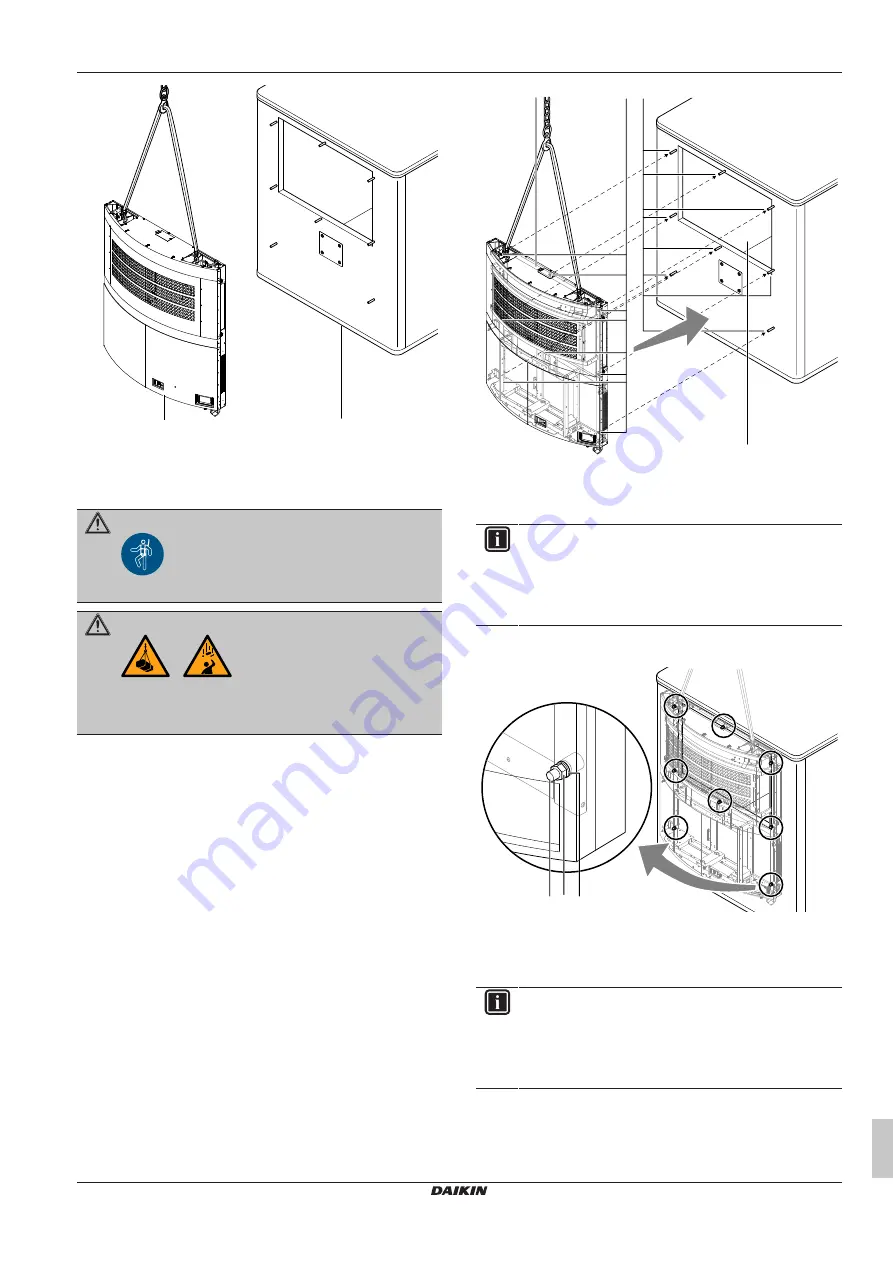
Install the protusion (a) through the cold room opening (b).
2
Ensure that all 8 bolts (c) are fully engaged in the unit frame's
mounting holes (d).
c
d
b
a
a
Protrusion
b
Cold room opening
c
Exigo Frame bolt (×8)
d
Mounting holes
INFORMATION
To ensure some freedom of movement, the unit must
remain suspended. The lifting slings should not be
removed until the installation of the 8 bolts, washers and
nuts is completed, and the unit is in its correct and final
position.
3
Place a washer (e) and lock-nut (f) on each of the 8 bolts (c),
and hand tighten the lock nuts (f).
e
c f
c
Exigo frame bolt
e
Flat washer (Ø13×35×5, DIN 6340 INOX)
f
Lock nut (M12, DIN 982 ZINC.)
See below for details on how to install each bolt.
INFORMATION
The 3 upper bolts can be accessed through the openings
in the top panel. The 4 lower bolts must be accessed
through the open service doors of the unit, and the bolt in
the bottom right-hand corner can only be accessed by
rotating the controller.
4
Place a washer (e) and lock-nut (f) on each of the 2 bolts (c)
accessible through the grid openings, and hand tighten the lock
nuts (f).
5
Remove the screw (h) and washer (i) and open the hatch (g).


