background image

ESIE17-19C


Part 5. Appendix

5.1. Field setting 

Optimized Heating 4

Page 104

 19/08/19 

Version 1.1

8. Press .

9. Select the value to set the desired target temperature:

- 0= 

-2,0°C

- 1= 

-1,0°C

2= 0°C (factory setting)

- 3= 

+1,0°C

- 4= 

+2,0°C

10. Press 

 to confirm.

5.1.1.2.3  To control the indoor unit fan during thermostat off in cooling

1. Press ,  

and 


simultaneously.

2. Press .

3. Select SU.

4. Press 

 to confirm.

5. Press .

6. Select 4.

7. Press 

 to confirm.

8. Press .

9. Select 0 (0: fan ON, 1: fan OFF).

10. Press 

 to confirm.

5.1.1.2.4  To change auto restart ON to OFF

1. Press ,  

and 


simultaneously.

2. Press .

3. Select SU.

4. Press 

 to confirm.

5. Press .

6. Select 10.

7. Press 

 to confirm.

8. Press .

9. Select 0 (0: auto restart OFF, 1: auto restart ON).

10. Press 

 to confirm.

5.1.1.2.5  To control cooling mode only

Prerequisite

: Stop operation of the unit (via the user interface, operation switch, ...).

Prerequisite

: Turn OFF the respective circuit breaker.

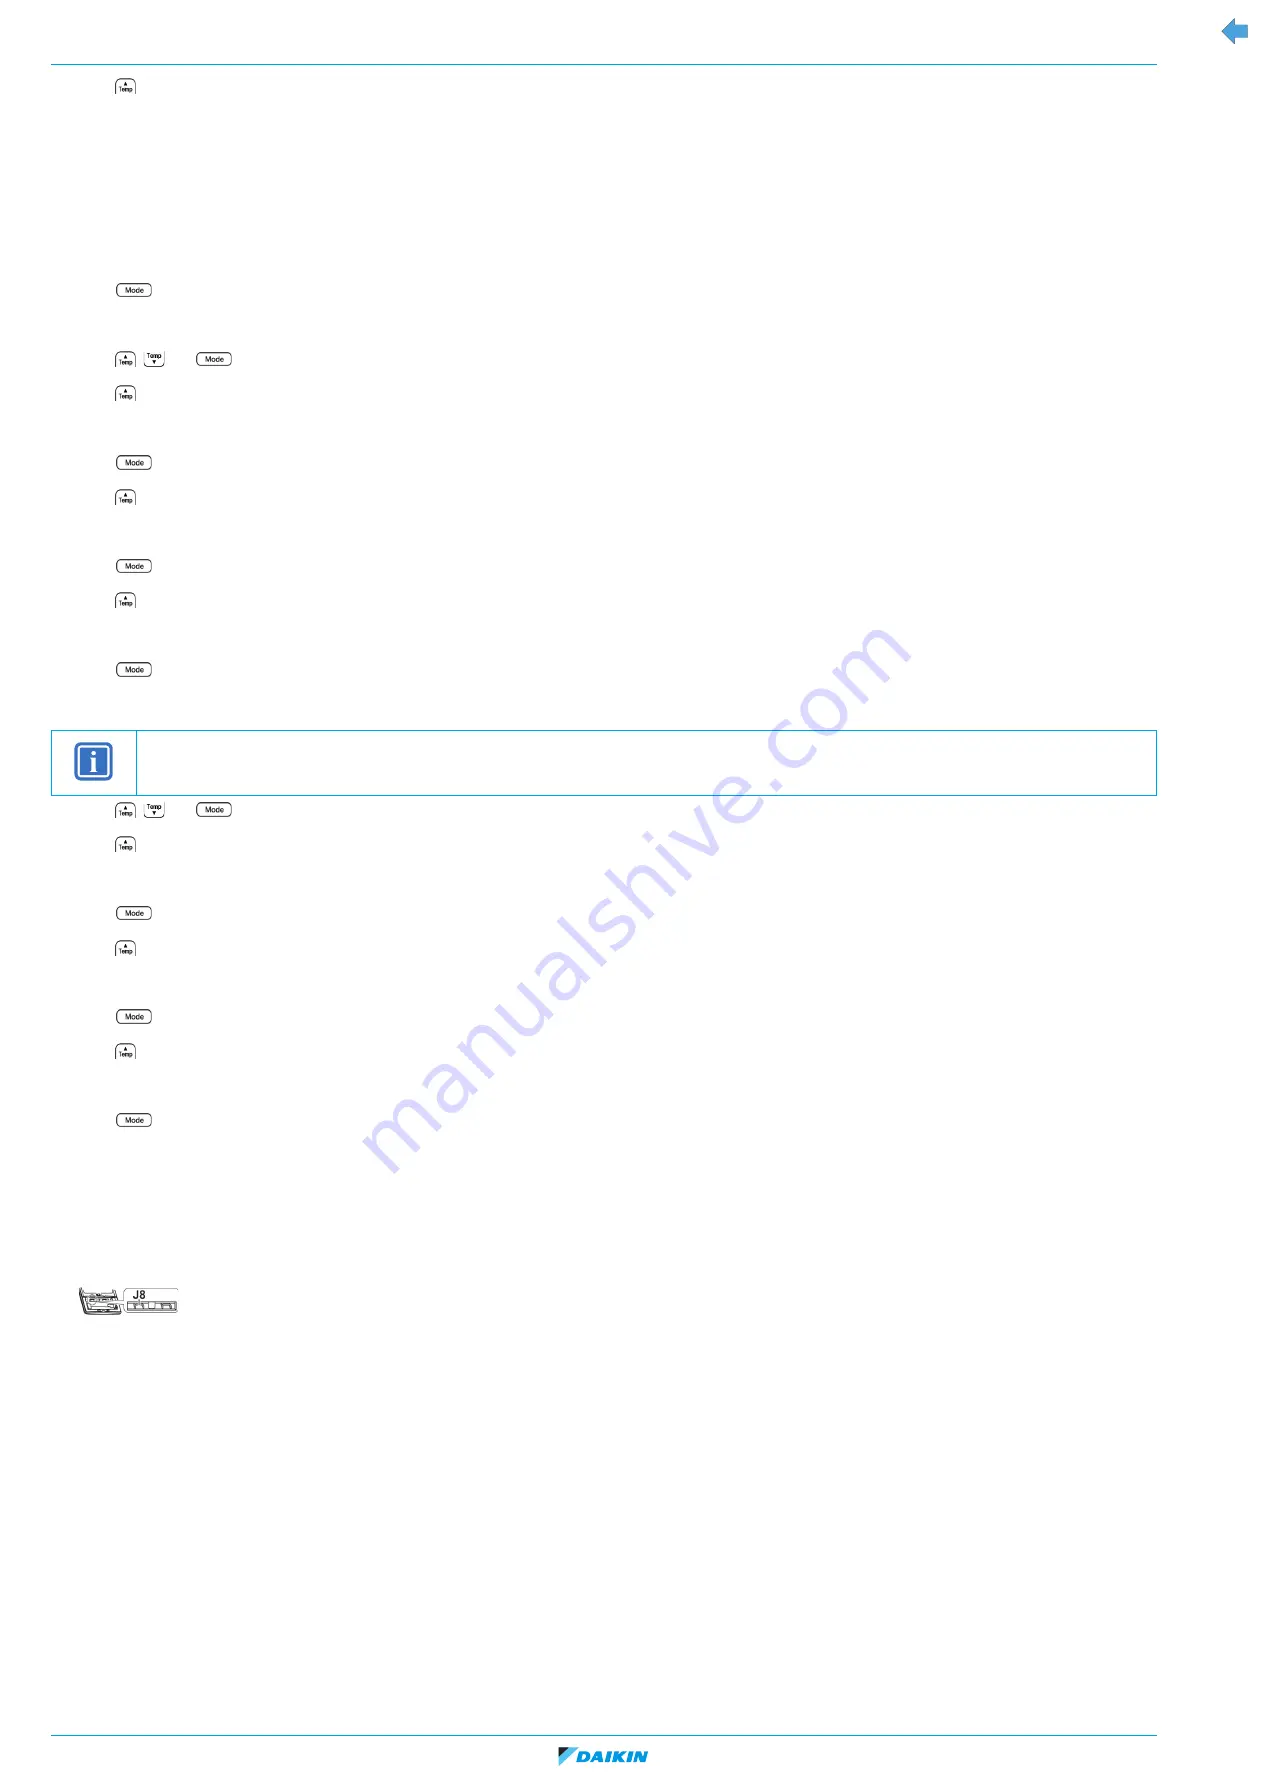
1. Cut the jumper J8 on the user interface of the indoor unit.

2. Turn ON the unit using the respective circuit breaker.

3. Start the unit operation (via the user interface, operation switch, ...).

I

NFORMATION

After power failure, the unit will automatically restart (default setting). It is possible to switch OFF auto restart. For example: after a long power failure, generators have to start-up. As 
there is limited energy and the air conditioners do NOT have priority, it is recommended to switch OFF auto restart.

Summary of Contents for FTXTA30AW

Page 1: ...Service Manual Optimized Heating 4 ESIE17 19C Indoor unit Outdoor unit FTXTA30AW RXTA30N FTXTM30 40M RXTM30 40N FTXTP25 35K RXTP25 35N FVXM25 35F RXTP25 35N9 ATXTP25 35K ARXTP25 35N...

Page 2: ...edge No express or implied warranty is given for the completeness accuracy reliability or fitness for particular purpose of its content and the products and services presented therein Specifications a...

Page 3: ...pter PCB 21 2 2 1 9 C4 00 Liquid pipe thermistor for heat exchanger abnormality 22 2 2 1 10 C9 00 Suction air thermistor abnormality 22 2 2 1 11 CC 00 Humidity sensor abnormality only for FTXTA A mode...

Page 4: ...5 2 2 4 Others 46 2 3 Symptom based troubleshooting 47 2 3 1 Indoor unit 47 2 3 2 Outdoor unit 47 2 3 3 System 47 2 3 4 Others 47 2 4 Component checklist 48 2 4 1 Indoor unit 48 2 4 2 Outdoor unit 49...

Page 5: ...Remote controller 106 5 1 3 1 Change power saving mode OFF to ON 106 5 1 3 2 Change fan OFF to ON in cooling thermo off 108 5 1 3 3 Set target temperature in heating DFu4 109 5 1 3 4 Set unit in inve...

Page 6: ...91 Figure 3 22 Locking the expansion valve motor 92 Figure 3 23 Locking the expansion valve motor 93 Figure 3 24 Removing the high pressure switch 94 Figure 3 25 Remove screws main PCB 95 Figure 3 26...

Page 7: ...ESIE17 19C 19 08 19 Version 1 1 Page 7 Optimized Heating 4 Figure 5 16 FVXM F 117 Figure 5 17 RXTA N RXTM N RXTP N RXTP N9 ARXTP N 117...

Page 8: ...ESIE17 19C Page 8 19 08 19 Version 1 1 Optimized Heating 4...

Page 9: ...ers 1 1 Version log Version log 9 Safety precautions 10 General operation 14 How to use 15 Version code Description Date ESIE17 19 Release 03 04 2018 ESIE17 19A Update field settings 01 06 2018 ESIE17...

Page 10: ...lephone numbers for obtaining service In Europe EN378 provides the necessary guidance for this logbook 1 2 1 Meaning of symbols 1 2 2 Warnings WARNING Indicates a situation that could result in death...

Page 11: ...PCB WARNING RISK OF BURNING Do NOT touch the refrigerant piping water piping or internal parts during and immediately after operation It could be too hot or too cold Give it time to return to normal t...

Page 12: ...ARNING After finishing the electrical work confirm that each electrical component and terminal inside the electrical components box is connected securely Make sure all covers are closed before startin...

Page 13: ...n 1 1 Page 13 Optimized Heating 4 1 2 4 Information INFORMATION Make sure refrigerant piping installation complies with applicable legislation In Europe EN378 is the applicable stand ard INFORMATION M...

Page 14: ...ompression ratio is calculated from deviation between actual and target condensation and evaporation temperature Tc condensing temperature is used in heating mode Te evaporation temperature is used if...

Page 15: ...he Alt Back Arrow keys or the arrow in the top right hand corner of this page can be used to return to the previously viewed page NO YES NO YES N N N N N NO O O O O O Y Y Y Y Y YE E E E E ES S S S S S...

Page 16: ...ir The possible causes have been sorted to probability of occurrence and speed of execution 1 4 2 3 The repair chapter The chapter Repair on page 65 handles the removal and replacement of the major co...

Page 17: ...ven if stop operation is carried out malfunction contents are displayed when inspection mode is entered The malfunction code enables you to tell what kind of malfunction caused operation to stop 2 1 1...

Page 18: ...h no pressure sensor 29 EA 00 4 way valve abnormality 29 F3 00 Discharge pipe temperature abnormality 30 F6 00 High pressure abnormality or refrigerant overcharge 31 F8 00 System shutdown due to compr...

Page 19: ...is detected in approxi mately 10 continuous seconds Unit will stop operating Manual reset via user interface Manual reset via outdoor unit Possible cause Check Corrective action Faulty outdoor unit m...

Page 20: ...logged Clean the air filter Dust accumulation on indoor heat exchanger Check if indoor heat exchanger is dirty dusty Clean the indoor heat exchanger Faulty indoor heat exchanger thermistor Check indoo...

Page 21: ...procedures Replacing procedures Replacing streamer unit on page 70 Trigger Effect Reset The capacity setting adaptor is not con nected or not recognised by the indoor PCB Unit will stop operating Powe...

Page 22: ...or source which could cause elec trical interference Avoid electrical interference Internal wiring is not OK Check if wiring between PCB s is correct refer to wiring diagram Correct wiring Trigger Eff...

Page 23: ...installed Check the wiring to indoor PCB Adjust power to the indoor PCB Replace indoor PCB when HAP LED is not blinking in regular intervals Install correct spare part or update indoor PCB Adjust wir...

Page 24: ...PCB Check if the HAP LED is blinking in regu lar intervals Check if the correct spare part is installed Check if the outdoor main PCB receives power Restore the power to the outdoor main PCB Replace o...

Page 25: ...nt when required Humidity in refrigerant ice formation in expansion valve Check for humidity in the refrigerant In case of suspicion of humidity recover vacuum and recharge with virgin refriger ant No...

Page 26: ...Check for humidity in the refrigerant In case of suspicion of humidity recover vacuum and recharge with virgin refriger ant Non condensables in refrigerant Check for non condensables in refriger ant...

Page 27: ...es power Restore the power to the outdoor main PCB Replace outdoor main PCB when HAP LED is not blinking in regular intervals Faulty outdoor inverter PCB Check outdoor inverter PCB Check if the HAP LE...

Page 28: ...interface Possible cause Check Corrective action Outdoor temperature is out of operation range Check the outdoor temperature Wait until the temperature is within opera tion range Faulty compressor Ch...

Page 29: ...ower supply imbalance 10 Power drop Short cir cuit Check if the power supply is conform with regulations No fluctuations in frequency Adjust power supply when required Power reset via outdoor unit Fau...

Page 30: ...r unit Check if correct hybrid is installed Make official combination hybrid and out door unit Check procedures Replacing procedures 4 way valve on page 49 Replacing 4 way valve coil on page 83 Replac...

Page 31: ...s on page 60 Product specific information on page 118 Trigger Effect Reset Outdoor heat exchanger thermistor meas ures temperature 57 C 65 C depend ing on model Unit will not stop operating Automatic...

Page 32: ...e INFORMATION It is recommended to perform the checks in the listed order INFORMATION If all procedures listed above have been performed and the problem is still present contact the helpdesk Trigger E...

Page 33: ...hen HAP LED is not blinking in regular intervals Faulty outdoor inverter PCB Check outdoor inverter PCB Check if the alive led is blinking in regular intervals Check if the correct spare part is insta...

Page 34: ...required Power reset via outdoor unit Check procedures Replacing procedures Compressor on page 51 Replacing compressor on page 84 Electronic expansion valve on page 53 Replacing expansion valve body o...

Page 35: ...regu lar intervals Check if the correct spare part is installed Check if the outdoor main PCB receives power Restore the power to the outdoor main PCB Replace outdoor main PCB when HAP LED is not bli...

Page 36: ...ting Manual reset via user interface Power reset via outdoor unit Possible cause Check Corrective action Blown fuse Check fuse on outdoor main PCB Replace fuse if blown Faulty outdoor unit main PCB Ch...

Page 37: ...Trigger Effect Reset Switch box temperature is too high when the compressor is off Unit will not stop operating Automatic reset when temperature drops Unit will stop operating Manual reset via remote...

Page 38: ...grease on the outdoor unit PCB Adjust silicon grease when required Check procedures Replacing procedures Fan motor on page 55 Replacing DC fan motor assembly on page 87 Refrigerant thermistors on page...

Page 39: ...is detected Unit will stop operating Manual reset via user interface Possible cause Check Corrective action Refrigerant circuit is clogged Check for possible blockage Replace blocked part when requir...

Page 40: ...procedures Replacing procedures Compressor on page 51 Replacing compressor on page 84 Electronic expansion valve on page 53 Replacing expansion valve body on page 89 Trigger Effect Reset No transmissi...

Page 41: ...ir cuit Check if the power supply is conform with regulations No fluctuations in frequency Adjust power supply when required Power reset via outdoor unit Faulty capacity adapter on outdoor PCB Check i...

Page 42: ...or main PCB when HAP LED is not blinking in regular intervals Check procedures Replacing procedures Refrigerant thermistors on page 60 Main PCB on page 56 Replacing main PCB on page 95 Trigger Effect...

Page 43: ...in refrigerant Check for non condensables in refriger ant In case of suspicion of non condensables recover vacuum and recharge with virgin refrigerant Faulty compressor Check compressor Check connect...

Page 44: ...when required Momentary drop of voltage Wait until compressor restarts Momentary power failure Wait until compressor restarts Faulty outdoor unit main PCB Check if the HAP LED is blinking in regu lar...

Page 45: ...OFF see installation manual Check procedures Replacing procedures Main PCB on page 56 Replacing main PCB on page 95 Fan motor on page 55 Replacing DC fan motor assembly on page 87 Trigger Effect Rese...

Page 46: ...oubleshooting 2 2 Error based troubleshooting Page 46 19 08 19 Version 1 1 Optimized Heating 4 More info 2 2 4 Others Not applicable Check procedures Replacing procedures Main PCB on page 56 Replacing...

Page 47: ...3 Symptom based troubleshooting 19 08 19 Version 1 1 Page 47 Optimized Heating 4 2 3 Symptom based troubleshooting 2 3 1 Indoor unit Not available 2 3 2 Outdoor unit Not available 2 3 3 System Not app...

Page 48: ...Heating 4 2 4 Component checklist Overview of component checklists 2 4 1 Indoor unit Not applicable Indoor unit 48 Outdoor unit 49 4 way valve 49 Compressor 51 Electronic expansion valve 53 Fan motor...

Page 49: ...rts If no pressure is measured perform a pressure test and fix any leaks If pressure is measured the 4 way valve is stuck in the middle confirm by determining the position of the 4 way valve as descri...

Page 50: ...Unplug 4 way valve connector from PCB and measure the resistance of the 4 way valve coil If the measured resistance does not range 1000 2000 replace the 4 way valve coil refer to Replacing 4 way valve...

Page 51: ...essor insulation 2 Switch on the Daikin unit and measure the U V W inverter voltages All voltages must be identical if not replace the inverter PCB 3 Switch off the Daikin unit via the user interface...

Page 52: ...3 M 8 Replace the compressor if the windings and or insulation measurements fail refer to Replacing compressor on page 84 9 Run the compressor and measure the current in each phase the current for eac...

Page 53: ...replaced refer to Replacing expansion valve body on page 89 PRELIMINARY ACTIONS 1 Switch off the Daikin unit via the user interface 2 Switch off the Daikin unit with the field supplied circuit breake...

Page 54: ...Page 54 19 08 19 Version 1 1 Optimized Heating 4 Connector pin 2 6 connected Connector pin 3 6 connected Connector pin 4 6 connected 3 If one or more of the windings have no continuity replace the exp...

Page 55: ...it with the field supplied circuit breaker 3 Remove plate work when required refer to Basic removal on page 76 PROCEDURE 1 Check fuse on PCB replace if blown see table Component checklist on page 118...

Page 56: ...to Replacing electrical noise filter on page 80 5 Switch off the Daikin unit via the user interface 6 Switch off the Daikin unit with the field supplied circuit breaker 7 Remove plate work when requir...

Page 57: ...ot replace the inverter board refer to Replacing inverter PCB on page 87 15 Switch off the Daikin unit with the field supplied circuit breaker 16 Wait a few minutes and confirm that the LED s on the I...

Page 58: ...tact is not open refer to Replacing high pressure switch on page 94 6 Lower the refrigerant circuit pressure to 30 bar 7 Measure the switch contacts between high pressure switch connector pins 1 2 the...

Page 59: ...essor has been running for 5 minutes measure the temperature before and after the muffler 3 If a temperature difference above 3 C is measured over the muffler it indicates the muffler is obstructed an...

Page 60: ...lower and higher temperature 4 If the measured resistance does not match the listed value the thermistor must be replaced E g R3T air thermistor main PCB connector S90 pin 1 2 type 1 Measured tempera...

Page 61: ...8 61 46 26 44 05 41 95 21 22 23 24 25 26 27 28 29 23 91 22 85 21 85 20 90 20 00 19 14 18 32 17 54 16 80 41 42 43 44 45 46 47 48 49 10 21 9 81 9 42 9 06 8 71 8 37 8 05 7 75 7 46 61 62 63 64 65 66 67 68...

Page 62: ...35 1 5 36 4 25 10 51 5 3 4 78 1 4 27 5 169 7 1 0 35 5 25 5 9 8 52 3 3 78 5 1 3 27 0 164 24 0 5 34 5 26 9 6 52 5 3 3 79 1 3 26 5 158 99 0 33 6 26 5 9 4 53 3 2 79 5 1 3 26 0 153 92 0 5 32 7 27 9 2 53 5...

Page 63: ...3 5 17 40 5 3 66 5 2 93 0 9 12 5 67 27 14 16 6 40 5 5 2 67 1 9 93 5 0 8 12 0 65 34 14 5 16 2 41 5 1 67 5 1 9 94 0 8 11 5 63 48 15 15 8 41 5 5 68 1 9 94 5 0 8 11 0 61 68 15 5 15 5 42 4 9 68 5 1 9 95 0...

Page 64: ...ESIE17 19C Part 2 Troubleshooting 2 5 Other capacity range Page 64 19 08 19 Version 1 1 Optimized Heating 4 2 5 Other capacity range Not applicable 0...

Page 65: ...uid state R32 can be charged in gas phase Make sure to use a digital scale no charging cylinder Execute correct vacuum drying procedure after repair work 0 1 MPa 760 mmHg 750 Torr 1 bar for at least 1...

Page 66: ...the stop valves Connect both stop valve service ports to the manifold In case of 3 service ports at the stop valves Connect 1 hose to the suction stop valve service port and 1 hose to the service por...

Page 67: ...liquid stop valve and gas stop valve 2 Carry out pump down operation 1 Vacuum pump 2 To recovery pump INFORMATION See instruction of the recovery pump supplier how to recover the refrigerant WARNING...

Page 68: ...urface and use correct tool such as reamer or scraper note that excessive deburring can thin the pipe walls and cause cracking of the pipe Make sure the flare has the correct size use a flare gauge Ma...

Page 69: ...please check the Daikin Business Portal http www mydaikin eu Go to the tab After sales support on the left side and then select Technical support You will then find a button Service tools which gives...

Page 70: ...URE Removal 1 Remove front panel Figure 3 3 Removing the front panel Indoor unit 70 Replacing streamer unit 70 Replacing humidity sensor 72 Replacing R32 sensor only for FVXM F model 74 Outdoor unit 7...

Page 71: ...3 Unit specific repair procedures 19 08 19 Version 1 1 Page 71 Optimized Heating 4 2 Lose connection click stream unit out and replace with new unit Figure 3 4 Replacing the streamer unit Installation...

Page 72: ...Basic removal on page 76 PROCEDURE Removal 1 Disconnect the humidity sensor connector from the indoor unit PCB 2 Carefully click the complete humidity sensor PCB assembly 1 out of the indoor unit Figu...

Page 73: ...ersion 1 1 Page 73 Optimized Heating 4 3 Connect the humidity sensor harness to the appropriate connector on the indoor unit PCB WARNING RISK OF FIRE When reconnecting a connector to the PCB do not ap...

Page 74: ...only for FVXM F model PRELIMINARY ACTIONS 1 Switch off the Daikin unit via the user interface 2 Switch off the Daikin unit with the field supplied circuit breaker 3 Remove plate work PROCEDURE Remova...

Page 75: ...ecific repair procedures 19 08 19 Version 1 1 Page 75 Optimized Heating 4 Figure 3 9 Removing casing of the sensor 4 Remove PCB connectors put new PCB in casing Figure 3 10 Removing PCB connectors Ins...

Page 76: ...2 Switch off the Daikin unit with the field supplied circuit breaker PROCEDURE Removal 1 Loosen and remove 1 screw 1 that fix the refrigerant connection cover Figure 3 11 Removing refrigerant connect...

Page 77: ...3 2 1 3 Removing the front plate PRELIMINARY ACTIONS 1 Switch off the Daikin unit via the user interface 2 Switch off the Daikin unit with the field supplied circuit breaker PROCEDURE Removal 1 Remov...

Page 78: ...sulation PRELIMINARY ACTIONS 1 Switch off the Daikin unit via the user interface 2 Switch off the Daikin unit with the field supplied circuit breaker PROCEDURE Removal 1 Remove the top plate 2 Remove...

Page 79: ...ge 76 PROCEDURE Removal 1 Remove the insulation 1 2 Unplug all connectors from the main PCB 2 see Component checklist on page 118 3 Remove all electrical power wiring 3 from the wire terminals 4 4 Rem...

Page 80: ...Version 1 1 Optimized Heating 4 Figure 3 15 Removing the switch box Installation 1 Proceed in reverse order 1 Insulation 6 Wire clamp 2 Main PCB 7 Screw 3 Electrical power wiring 8 Right side plate as...

Page 81: ...l 1 Remove any parts that block the way to the 4 way valve 2 Cut the 4 way valve pipes 2 3 Remove the 4 way valve 5 4 Recuperate the putty 3 5 Recuperate the insulation 4 Figure 3 16 Removing the 4 wa...

Page 82: ...r 3 3 Unit specific repair procedures Page 82 19 08 19 Version 1 1 Optimized Heating 4 2 Proceed in reverse order INFORMATION Install the putty on the 4 way valve Install the compressor sound insulati...

Page 83: ...4 Remove any part that block the way to the 4 way valve coil PROCEDURE Removal 1 Loosen and remove the screw 1 that fixes the 4 way valve coil 2 2 Cut the tie wraps that fix the 4 way valve coil wirin...

Page 84: ...ks the way to the compressor PROCEDURE Removal 1 Remove the terminal cover 3 and unplug the compressor wiring 4 and take picture 2 Using a pipe cutter cut the compressor pipes 5 below the soldered joi...

Page 85: ...res 19 08 19 Version 1 1 Page 85 Optimized Heating 4 Figure 3 18 Removing the compressor 1 Screw 6 Nut 2 Partition plate assembly 7 Compressor 3 Terminal cover 8 Putty 4 Compressor wiring 9 Dampers 5...

Page 86: ...es cover the compressor pipes with a wet cloth to prevent overheating the compressor and the oil in the compression pipe 6 Proceed in reverse order CAUTION The oil in the compressor is hygroscopic Rem...

Page 87: ...an blade assembly single fan outdoor unit on page 97 PROCEDURE Removal 1 Remove the insulation 1 from the switch box 2 Unplug the fan motor connector 3 from the main PCB 3 Release the fan motor assemb...

Page 88: ...ge 88 19 08 19 Version 1 1 Optimized Heating 4 Figure 3 19 Removing the DC fan motor assembly Installation 1 Proceed in reverse order 1 Insulation 5 Harness retainer 2 Fan motor assembly harness 6 Scr...

Page 89: ...k the way to the expansion valve body PROCEDURE Removal 1 Recuperate the putty 1 2 Using a pipe cutter cut the expansion valve body pipes 2 3 Remove the expansion valve body 3 Figure 3 20 Removing the...

Page 90: ...SIE17 19C Part 3 Repair 3 3 Unit specific repair procedures Page 90 19 08 19 Version 1 1 Optimized Heating 4 2 Proceed in reverse order INFORMATION Install the putty on the expansion valve body piping...

Page 91: ...xpansion valve motor PROCEDURE Removal 1 Remove the expansion valve motor 1 from the expansion valve body 2 2 Unplug expansion valve motor connector from PCB 3 Cut all tie wraps that fix the expansion...

Page 92: ...ng the expansion valve motor 1 lock it on the expansion valve INFORMATION The expansion valve motor 3 is equipped with a pipe retention clip 1 The pipe retention clip 1 must be placed over the pipe 2...

Page 93: ...3 3 Unit specific repair procedures 19 08 19 Version 1 1 Page 93 Optimized Heating 4 Figure 3 23 Locking the expansion valve motor 1 Expansion valve motor 4 Notch 2 Metal bracket 5 Expansion valve bo...

Page 94: ...Remove high pressure switch connectors 1 from the high pressure switch 2 2 Using a pipe cutter cut the high pressure switch pipe 3 3 Remove the high pressure switch 2 Figure 3 24 Removing the high pre...

Page 95: ...the Daikin unit with the field supplied circuit breaker 3 Remove plate work when required refer to Basic removal on page 76 4 Remove the switch box refer to Removing switch box on page 79 PROCEDURE R...

Page 96: ...1 1 Optimized Heating 4 1 Attach new heat conductive paste 2 before attaching the heat sink 1 to the power electronics Figure 3 27 Apply heat conductive paste 2 Proceed in reverse order CAUTION Make...

Page 97: ...Switch off the Daikin unit with the field supplied circuit breaker 3 Remove plate work when required PROCEDURE Removal 1 Remove the nut 1 that fixes the propeller fan blade assembly 2 2 Pull the prope...

Page 98: ...ESIE17 19C Part 3 Repair 3 3 Unit specific repair procedures Page 98 19 08 19 Version 1 1 Optimized Heating 4...

Page 99: ...gs filters inside the piping and is basically the same phenomenon as pump down Pressure differential between high and low pressure becomes low Indoor unit 99 Outdoor unit 100 Cooling Heating Different...

Page 100: ...and running current Water in the refrigerant freezes inside the electronic expansion valve and is basically the same phenomenon as pump down Dirt in the refrigerant clogs filters inside the piping and...

Page 101: ...eating 4 Part 5 Appendix This part contains the following chapters Field setting 103 Detailed information setting mode 111 Wiring diagram 112 Piping diagram 115 Component overview of unit 118 Product...

Page 102: ...ESIE17 19C Part 5 Appendix Page 102 19 08 19 Version 1 1 Optimized Heating 4...

Page 103: ...SU 4 Press to confirm 5 Press 6 Select 7 7 Press to confirm For symbol use hot wind without the frame How to activate fireplace logic 1 Set unit to heating mode symbol for heating on display light con...

Page 104: ...Press 6 Select 10 7 Press to confirm 8 Press 9 Select 0 0 auto restart OFF 1 auto restart ON 10 Press to confirm 5 1 1 2 5 To control cooling mode only Prerequisite Stop operation of the unit via the...

Page 105: ...lity setting jumper for improving defrost performance Improves defrosting performance by enabling the onsite setting of this function in the event frost remains when the equipment is used for heating...

Page 106: ...1 1 Remote controller ARC466A55 Figure 5 1 How to change power saving mode OFF to ON Remote controller ARC466A33 ARC466A55 Model Controller FTXTM M ARC466A55 FTXTP K ARC480A11 ATXTP K ARC480A11 Temp T...

Page 107: ...1 3 1 2 Remote controller ARC480A11 Figure 5 2 How to change power saving mode OFF to ON Remote controller ARC480A11 Temp Temp OFF SC FAN FAN 0 0 1 FAN 1 Temp Temp Select SU Select 10 Auto restart OF...

Page 108: ...e 5 4 How to change fan OFF to ON when in cooling thermo off Remote controller ARC480A11 Temp Temp MODE SC MODE MODE 0 0 1 MODE 1 Temp Select SU Select 4 FAN ON during cooling thermo off DISPLAY NORMA...

Page 109: ...remocon set temperature DFu4 offset 5 1 3 3 1 Remote controller ARC466A55 Figure 5 5 How to adjust target set temperature in heating operation Remote controller ARC466A55 Temp Temp MODE SC MODE MODE...

Page 110: ...mode Activate power transistor test operation from the indoor unit 1 Turn the power on 2 Please select trial operation FAN ONLY by R C Note trial operation described in each installation manual 3 Sta...

Page 111: ...2 Detailed information setting mode Optimized Heating 4 19 08 19 Version 1 1 Page111 5 2 Detailed information setting mode 5 2 1 Indoor unit Not applicable 5 2 2 Outdoor unit Not applicable 5 2 3 Remo...

Page 112: ...HG RII DQG WKHQ EDFN RQ DJDLQ RSHUDWLRQ ZLOO UHVXPH DXWRPDWLFDOO 1RWHV 6L H OHQJWK y y ZLGWK y y 5HIHU WR SXUFKDVLQJ VSHFLILFDWLRQ y 6 y XQOHVV RWKHUZLVH VSHFLILHG GLWDEOH GDWD IRU WKLV GUDZLQJ DUH DY...

Page 113: ...HU DSDFLWRU 6LJQDO UHFHLYHU 7UDQVIRUPHU a 0 LHOG ZLULQJ EODFN 5 UHG 8 EOXH 7 ZKLWH 51 JUHHQ HOORZ 25 RUDQJH 0DJQHWLF UHOD 5 25 6 LULQJ GLDJUDP 0 6 0 5 25 8 31 6 6 3 6 1 6 3 1 QWHOOLJHQW H VHQVRU 6 6WU...

Page 114: ...ESIE17 19C Part 5 Appendix 5 3 Wiring diagram Optimized Heating 4 Page 114 19 08 19 Version 1 1 5 3 2 Outdoor unit Figure 5 12 RXTA N RXTM N RXTP N RXTP N9 ARXTP N 5 3 3 Field wiring Not applicable...

Page 115: ...ESIE17 19C Part 5 Appendix 5 4 Piping diagram Optimized Heating 4 19 08 19 Version 1 1 Page115 5 4 Piping diagram 5 4 1 Indoor unit Figure 5 13 FTXTA AW...

Page 116: ...LHOG SLSLQJ LHOG SLSLQJ DQ PRWRU URVVIORZ IDQ 7KHUPLVWRU KHDW H FKDQJHU HDW H FKDQJHU LVWULEXWRU 5HIULJHUDQW IORZ RROLQJ HDWLQJ QGRRU XQLW HDW H FKDQJHU 7KHUPLVWRU KHDW H FKDQJHU DQ PRWRU LHOG SLSLQJ...

Page 117: ...ESIE17 19C Part 5 Appendix 5 4 Piping diagram Optimized Heating 4 19 08 19 Version 1 1 Page117 Figure 5 16 FVXM F 5 4 2 Outdoor unit Figure 5 17 RXTA N RXTM N RXTP N RXTP N9 ARXTP N...

Page 118: ...nt overview of unit 5 5 1 Indoor unit Not applicable 5 5 2 Outdoor unit Not applicable 5 6 Product specific information 5 6 1 Error codes Not applicable 5 6 2 Component checklist Not applicable 5 7 Sw...

Page 119: ...information is required Please fill out the following form before contacting your distributor FIELD INFORMATION REPORT Key person info Name Company name Your contact details Phone number E mail addres...

Page 120: ...1P Software version hydro PCB A5P Software version user interface Software version outdoor PCB Minimum water volume Maximum water volume Brine composition and mixture Brine freeze up temperature Space...

Reviews: