51
After carrying out the above mentioned connections, it is necessary to set up the machine, according to
the following:
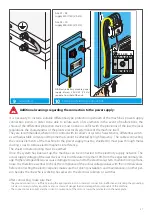
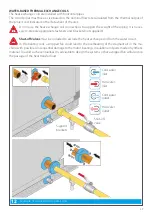
• Check that the batteries are correctly supplied (input / output).
• Ensure that all batteries are vented.
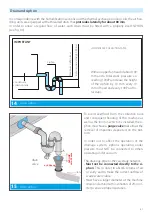
• Check that the drains are made and connected correctly, checking the correct flow of the condensate.
• Make the siphons and trigger them.
• Provide an anti-vibration joint between the ducts and the machine.
• Check the filters are installed correctly.
• Check the tightening of screws and bolts.
• Confirm that the structure is earthed.
• Confirm that the belt is correctly tensioned (only Modular rotary recuperator).
• Check that the recuperator belt is correctly tensioned (only Modular Rotary).
• Check the dampers are working correctly.
• Check that all the electrical components, such as microswitches, disconnectors, lights, pressure switch-
es, probes, inverters, etc. are correctly connected and powered.
• Remove any foreign materials from inside the machine.
• Check and keep the inside of the machine adequately clean.
• Remove the blocks of the rotary recuperators (Modular).
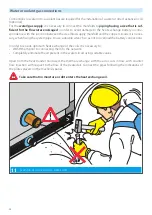
To perform the task in question, Personal Protective Equipment is required (for example, safety shoes,
safety glasses, helmet, gloves, etc.)
Once the operations to set up the machine after installation have been carried out, it is possible to pro-
ceed with the commissioning of the machine.
To avoid damaging the machine, make sure that the machine's dampers are in the correct position.
Do not start the motor-fan units without first checking the completion of the machine connections with
all the necessary ducts.
Check the correct installation of the prefilters.
After removing the filters from the packaging (they are placed in to prevent deterioration during trans-
port), insert the absolute and active charcoal pocket filters into the containment section, paying attention
to ensure a rigid assembly and a perfect seal of the gaskets.
Commissioning
7
Summary of Contents for Modular Plate
Page 15: ...15 Notes...
Page 28: ...28 Notes...
Page 33: ...33 VDI 6022 6...
Page 34: ...34 1 x TE8x35 1 x 8 5 1 x M8 2 x TE8x35 2 x 8 5 2 x M8 7...
Page 43: ...43 3 4 5 x 1 100mm 100mm 250mm 250mm 250mm 10 100mm 5mm...
Page 44: ...44 6 7 NO OK...
Page 45: ...45 H2O SOAP 8...
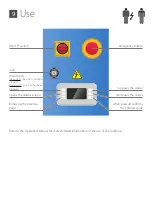
Page 46: ...46 9...
Page 47: ...47 Notes...
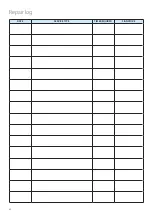
Page 62: ...62 Repair log DATE SERVICE TYPE TIME REQUIRED SIGNATURE...

