32
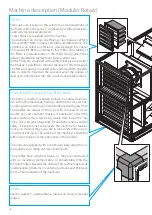
Step 2: Assemble the unit (if necessary)
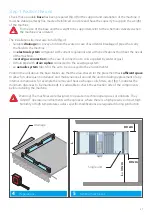
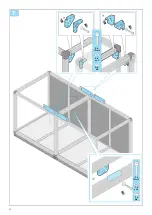
If additional modules are required, the units must be assembled directly at the installation site. The neces-
sary components for the assembly of the sections are placed inside a section of the machine, adequately
protected.
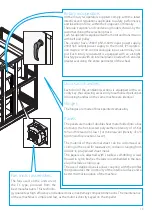
Gently join the sections after attaching the adhesive seal supplied with the machine on the whole
perimeter of contact, just on one side.
Fasten all the coupling screws provided with the machine, and then level the modules. Tighten all the
coupling screws entering into the units through the inspection doors. Tighten all the other screws, bolts,
knobs and anything else that may have been previously dismantled. It is not recommended to remove
fixed panels during installation.
The drawings on the following pages represent a generic and stylised unit, however the
connection procedure is the same for all types of units.
Summary of Contents for Modular Rotary
Page 15: ...15 Notes...
Page 28: ...28 Notes...
Page 33: ...33 VDI 6022 6...
Page 34: ...34 1 x TE8x35 1 x 8 5 1 x M8 2 x TE8x35 2 x 8 5 2 x M8 7...
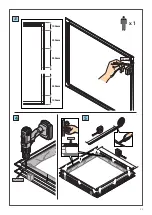
Page 43: ...43 3 4 5 x 1 100mm 100mm 250mm 250mm 250mm 10 100mm 5mm...
Page 44: ...44 6 7 NO OK...
Page 45: ...45 H2O SOAP 8...
Page 46: ...46 9...
Page 47: ...47 Notes...
Page 62: ...62 Repair log DATE SERVICE TYPE TIME REQUIRED SIGNATURE...

