17
5.2
Connecting electronically
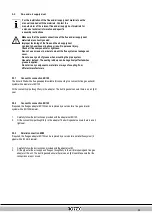
CAUTION
A socket with safety ground must be no further than 1 meter
from the unit.
The socket must be easily accessible.
When installing the unit in a damp space, a fixed connection is
obligatory, by means of an all-pole main switch with a
minimum contact gap of 3 mm.
If the mains cable is damaged or requires replacement for any
other reason, the replacement mains cable must be ordered
from the manufacturer or its representative. In case of any
doubt, contact the manufacturer or its representative.
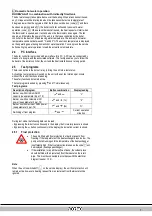
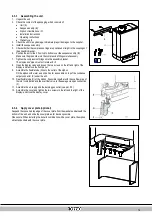
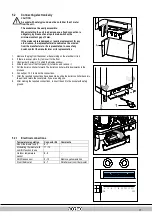
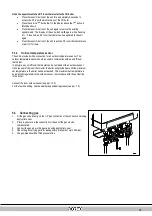
1.
Remove the plug from the socket, when working on the electrical circuit.
2.
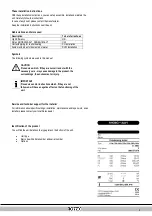
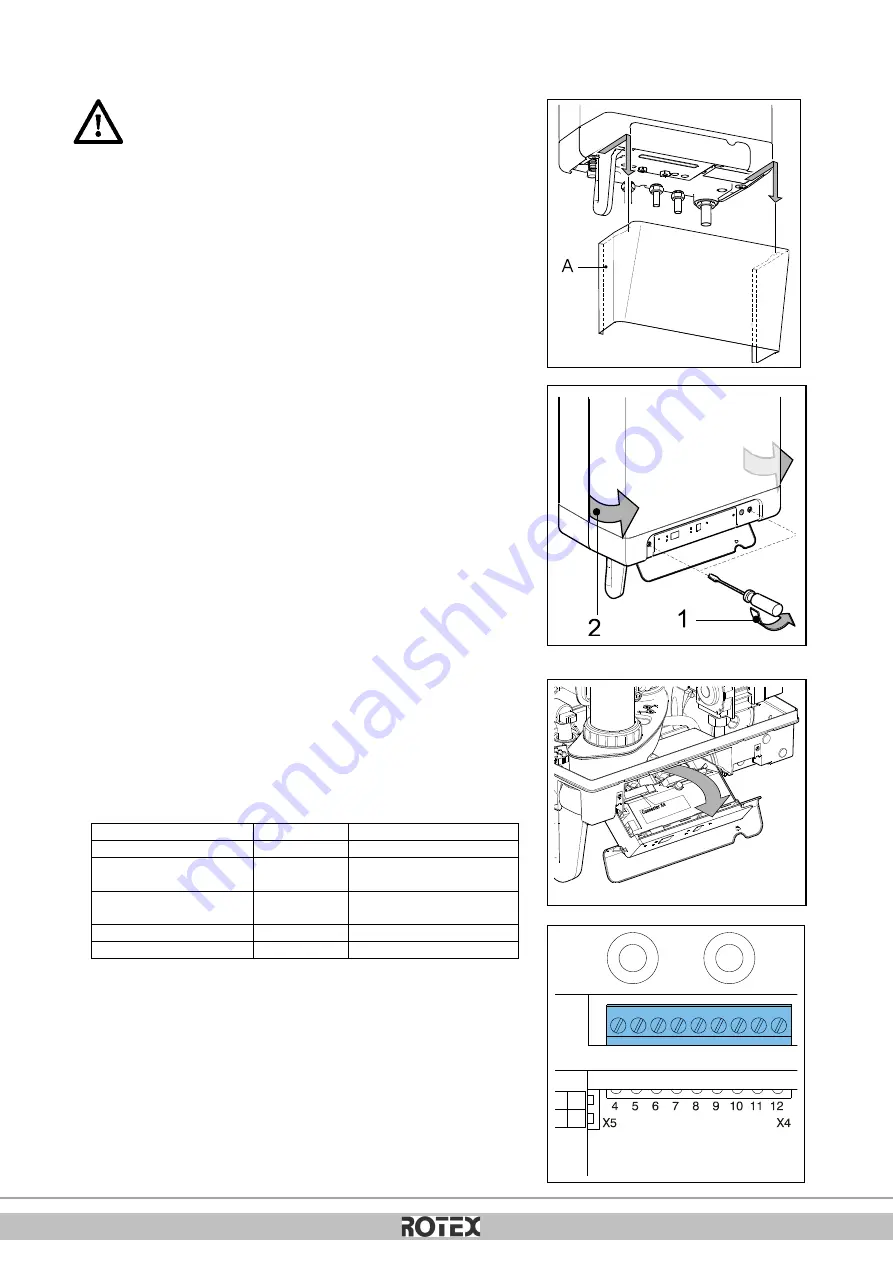
If there is a cover plate (A), remove it to the front.
3.
Unscrew both screws (1) behind the display window.
4.
Slide the bottom of the front panel (2) forwards, and remove it.
5.
Pull the boiler controller forward. The boiler controller will tip downwards in the
process.
6.
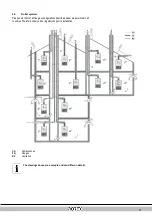
Consult par. 10.3 to make the connections.
7.
After the required connections have been made, slide the boiler controller back into
the unit and return the cover plate, if you are using one.
8.
After making the required connections, connect the unit to the socket with safety
ground.
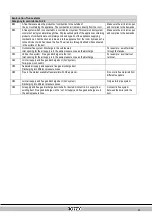
5.2.1
Electrical connections
Temperature regulation
Connector X4 Comments
Room thermostat on/off
6 - 7
-
Modulating thermostat with
comfort function in use
11 - 12
Outdoor temperature
sensor
8 - 9
-
DHW tank sensor
9 - 10
Remove yellow wire link
Frost thermostat
6 - 7
Parallel over room thermostat
Summary of Contents for Rotex GW-30 H12
Page 1: ...ROTEX 4P381271 88527701 02 2016 4P381271 88527701 02 2016...
Page 29: ...30...
Page 80: ...30...
Page 132: ...31...
Page 184: ...31...
Page 236: ...31...
Page 287: ...ROTEX Heating Systems GmbH 30...
Page 339: ...30...
Page 392: ...31...

