SiUS041829E
Troubleshooting
Part 6 Service Diagnosis
101
Troubleshooting
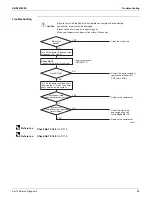
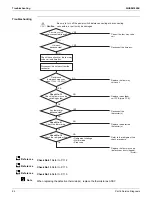
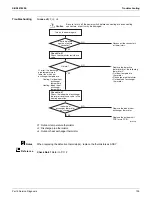
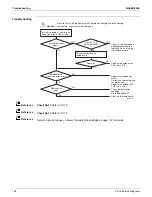
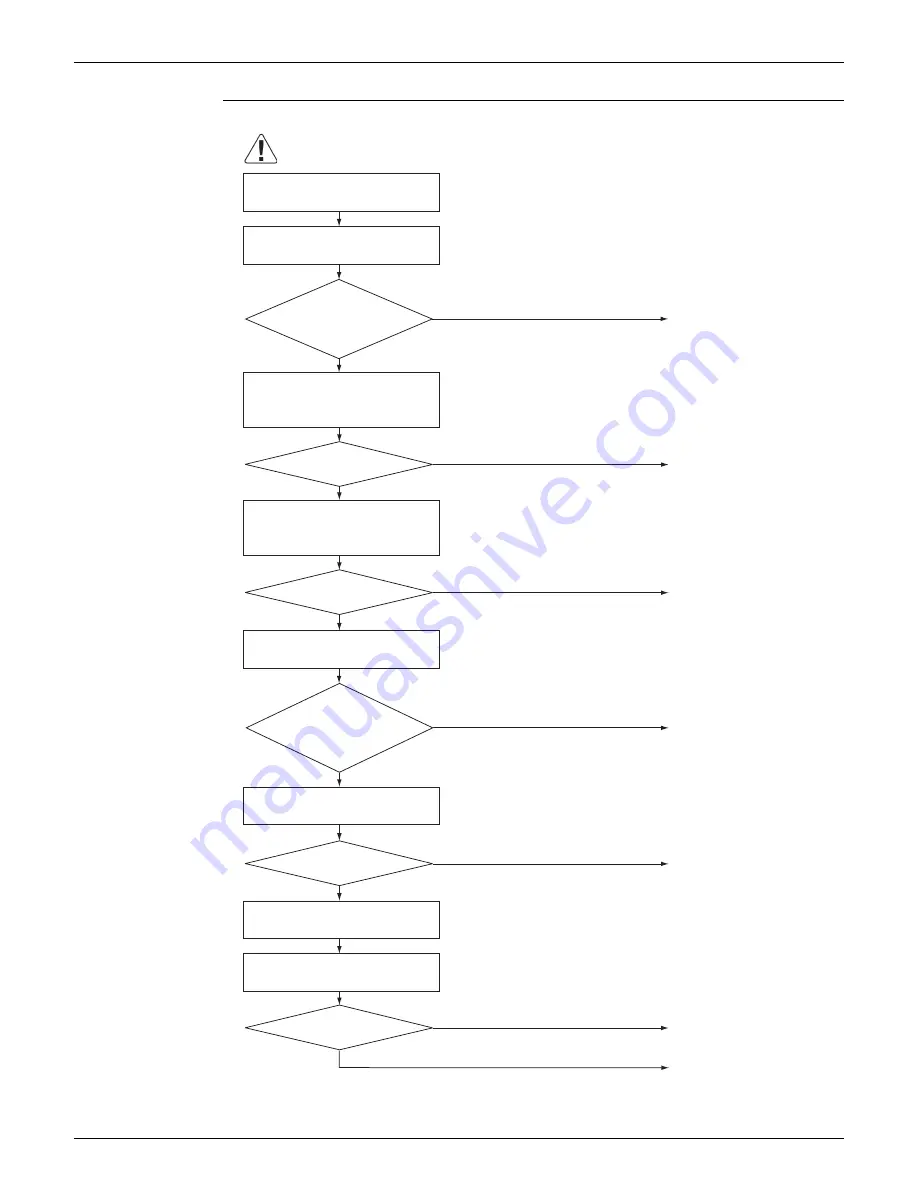
Caution
Be s
u
re to t
u
rn off the power switch before connecting or disconnecting
connectors, or parts may be damaged.
NO
YES
T
u
rn off the power.
Check the connection.
Check the power s
u
pply voltage.
Correct the power s
u
pply.
(R22764)
NO
NO
NO
NO
YES
YES
YES
YES
Check No. 20
Check the short circ
u
it of the diode
bridge.
Check No.15
Check with the inverter analyzer.
T
u
rn off the power. Disconnect the
harnesses U, V, and W.
T
u
rn on the power. Check the
electrolytic capacitor voltage.
Electrical
components or
compressor harnesses
connected as
specified?
Replace the o
u
tdoor
u
nit
PCB (main PCB).
Correct the power s
u
pply or
replace the o
u
tdoor
u
nit
PCB (main PCB).
Replace the compressor.
Reconnect the electrical
components or compressor
harnesses as specified.
Replace the o
u
tdoor
u
nit
PCB (main PCB).
Inverter analyzer:
RSUK0917C
Normal?
NO
YES
Check No. 18
Check the discharge press
u
re.
Replace the stop valve.
OK?
Within 320 VDC?
Any LED Off?
+ 100
– 50
Is the
power s
u
pply
voltage fl
u
ct
u
ation within
±10% from the rated
val
u
e?
Summary of Contents for RX09RMVJU9
Page 17: ...SiUS041829E Part 2 Specifications 13 1 Specifications 14 Part 2 Specifications ...
Page 125: ...SiUS041829E Check Part 6 Service Diagnosis 121 18 class R25105 1 2 3 4 Multimeter ...
Page 127: ...SiUS041829E Check Part 6 Service Diagnosis 123 18 class R20704 W V U DC_P1 DC_N1 ...
Page 143: ...SiUS041829E Operation Limit Part 8 Appendix 139 4 Operation Limit RX09 12 18RMVJU9 3D092209E ...


