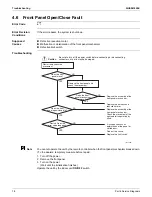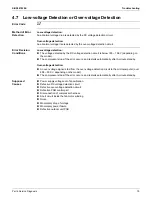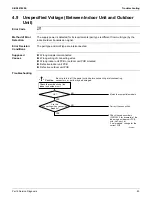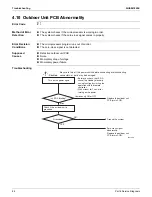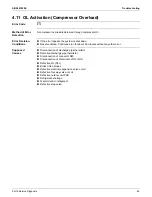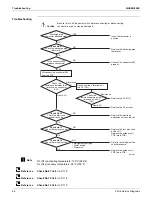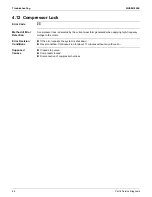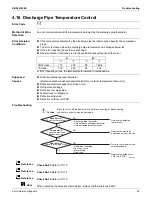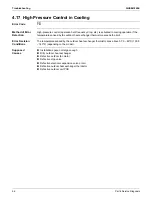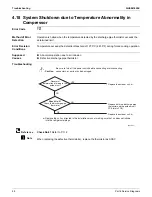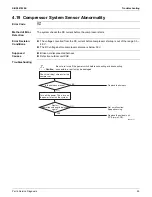
Troubleshooting
SiUS041829E
92
Part 6 Service Diagnosis
Reference
Reference
Reference
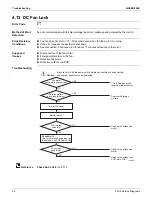
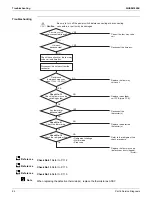
Troubleshooting
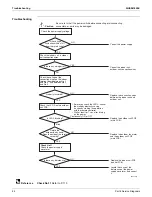
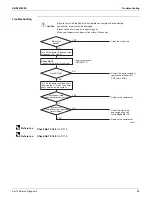
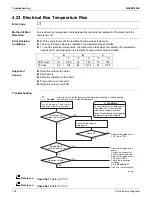
Check No.15
Check No.17
Check No.18
Caution
Be s
u
re to t
u
rn off the power switch before connecting or disconnecting
connectors, or parts may be damaged.
∗
An inp
u
t overc
u
rrent may res
u
lt from wrong internal wiring. If the system is interr
u
pted by an inp
u
t
overc
u
rrent after the wires have been disconnected and reconnected for part replacement, check the
(R21863)
NO
YES
YES
NO
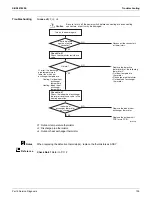
Start operation and meas
u
re the
inp
u
t c
u
rrent.
Check No. 18
Check the discharge press
u
re.
Check No. 17
Check the installation condition.
Check No.15
Check with the inverter analyzer.
T
u
rn off the power and disconnect
the harnesses U, V, and W.
T
u
rn off the power, and reconnect
the harnesses. T
u
rn on the power
again and start operation.
Replace the o
u
tdoor
u
nit
PCB (main PCB).
Correct the power s
u
pply or
replace the o
u
tdoor
u
nit
PCB (main PCB).
Any LED off?
Inp
u
t c
u
rrent
flowing above its stop level?
∗
Inverter analyzer:
RSUK0917C
Summary of Contents for RX09RMVJU9
Page 17: ...SiUS041829E Part 2 Specifications 13 1 Specifications 14 Part 2 Specifications ...
Page 125: ...SiUS041829E Check Part 6 Service Diagnosis 121 18 class R25105 1 2 3 4 Multimeter ...
Page 127: ...SiUS041829E Check Part 6 Service Diagnosis 123 18 class R20704 W V U DC_P1 DC_N1 ...
Page 143: ...SiUS041829E Operation Limit Part 8 Appendix 139 4 Operation Limit RX09 12 18RMVJU9 3D092209E ...

