Installation manual
27
RX(Y)Q5-10-1 RXQ RXYQ
RXYHQ1 RX(Y)Q14~18P7W1BA
VRVIII System air conditioner
4PW48461-1
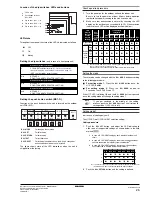
Setting mode 2
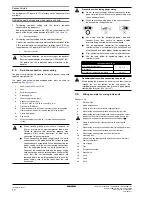
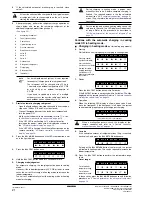
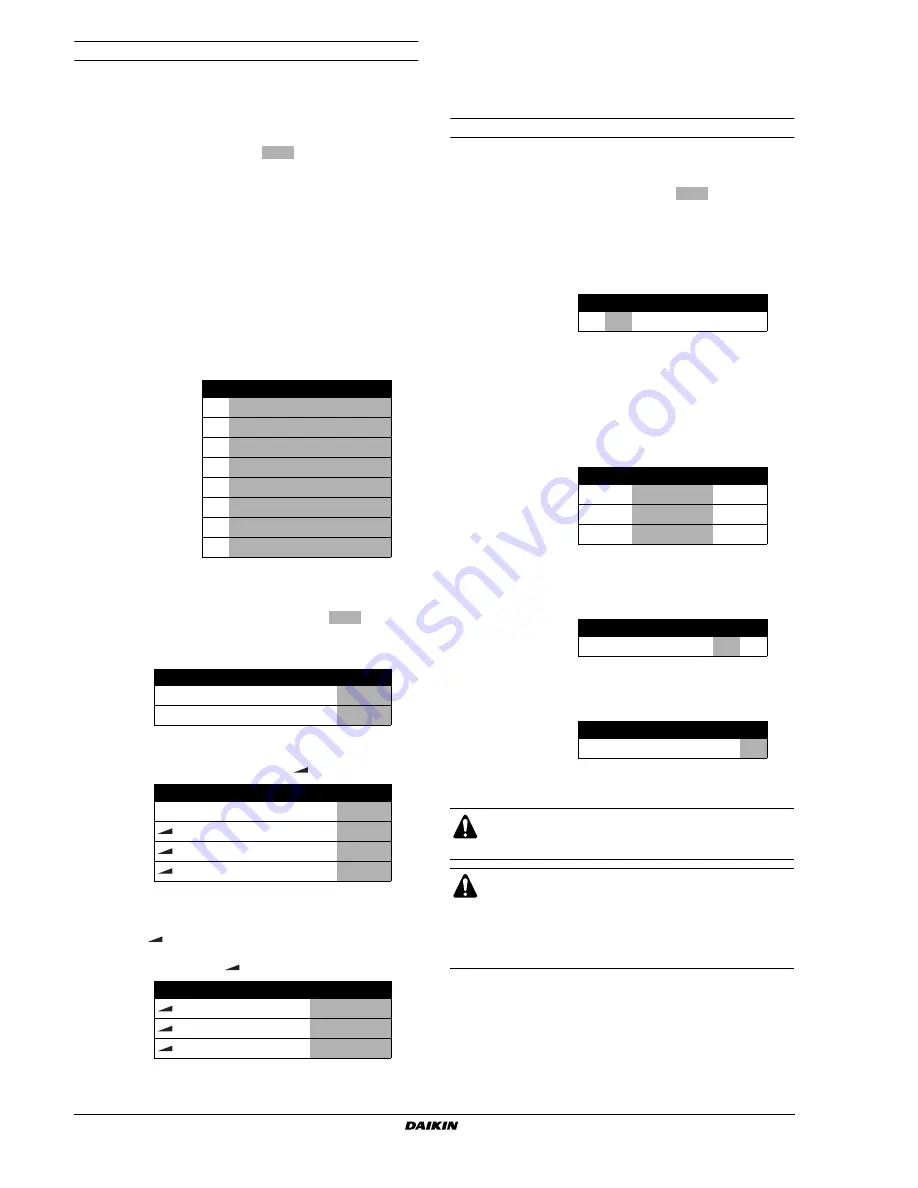
The H1P LED is on.
Setting procedure
1
Push the
button according to the required function
(A~H). The LED indication that matches the required function is
shown below in the field marked
:
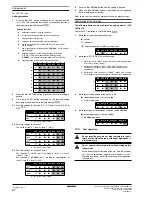
2
When the
button is pushed, the current setting is
defined.
3
Push the
button according to the required setting
possibility as shown below in the field marked
.
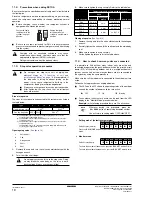
3.1 Possible settings for function A, B, C, G and H are
(ON) or
(OFF).
3.2 Possible settings for function D
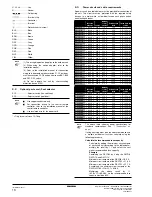
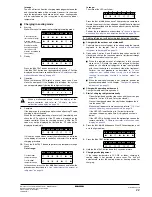
The noise of level 3 < level 2 < level 1 (
).
3.3 Possible settings for function E and F
For function E
(
)
only: the noise of level 3 < level 2
< level 1 (
).
For function F
(
)
only: the power consumption of
level 1< level 2 < level 3 (
).
4
Push the
button and the setting is defined.
5
When the
button is pushed again, the operation
starts according to the setting.
Refer to the service manual for more details and for other settings.
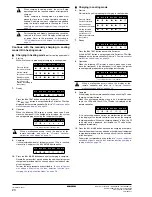
Confirmation of the set mode
The following items can be confirmed by setting mode 1 (H1P
LED is off)
Check the LED indication in the field marked
.
1
Indication of the present operation state
-
x
, normal
-
w
, abnormal
-
c
, under preparation or under test operation
2
Indication of COOL/HEAT selection setting
3
Indication of low noise operation state
-
x
standard operation (= factory setting)
-
w
operation
4
Indication of power consumption limitation setting
-
x
standard operation (= factory setting)
-
w
operation
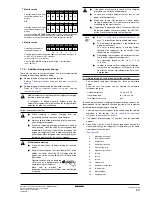
12.4. Test operation
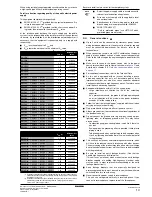
Possible functions
A
additional refrigerant charging operation.
B
refrigerant recovery operation/vacuuming operation.
C
setting of high static pressure.
D
automatic low noise operation setting at nighttime.
E
low noise operation level setting (
) via the external
control adapter.
F
power consumption limitation setting (
) via the external
control adapter.
G
enabling function of the low noise operation level setting
(
) and/or power consumption limitation setting
(
) via the external control adapter (DTA104A61/62).
H
check operation (without initial refrigerant decision)
H1P
H2P
H3P
H4P
H5P
H6P
H7P
A
w x w x w x
x
B
w x w x w x w
C
w x w x
x w x
D
w x w x w w x
E
w x w w x
x w
F
w x w w w w x
G
w x
x w w x
x
H
w x
x
x
x w w
H1P
H2P
H3P
H4P
H5P
H6P
H7P
w x
x
x
x c x
(a)
(a) This setting = factory setting
w x
x
x
x
x c
H1P
H2P
H3P
H4P
H5P
H6P
H7P
(a)
(a) This setting = factory setting
w x
x
x
x
x
x
w x
x
x
x
x c
w x
x
x
x c x
w x
x
x
x c c
H1P
H2P
H3P
H4P
H5P
H6P
H7P
w x
x
x
x
x c
(a)
(a) This setting = factory setting
w x
x
x
x c x
w x
x
x c x
x
BS2 SET
L.N.O.P
DEMAND
L.N.O.P
DEMAND
BS3 RETURN
BS2 SET
ON
OFF
ON
OFF
1
OFF
1
2
3
L.N.O.P
1
DEMAND
3
1
2
3
H1P
H2P
H3P
H4P
H5P
H6P
H7P
x
x w x
x
x
x
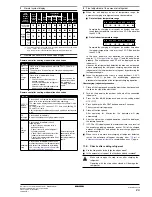
1
When set to COOL/HEAT change-over by each individual outdoor
unit circuit (= factory setting).
2
Indication on master unit when COOL/HEAT change-over is
carried out by outdoor system connected in multiple system-
combination.
3
Indication on slave unit when COOL/HEAT change-over is carried
out by outdoor system connected in multiple system-combination.
H1P
H2P
H3P
H4P
H5P
H6P
H7P
1
(a)
(a) This setting = factory setting.
x
x w x
x
x
x
2
x
x
x w x
x
x
3
x
x
x
x w x
x
H1P
H2P
H3P
H4P
H5P
H6P
H7P
x
x w x
x
x
x
H1P
H2P
H3P
H4P
H5P
H6P
H7P
x
x w x
x
x
x
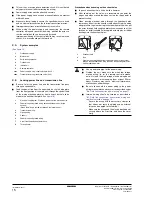
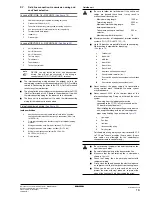
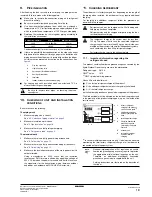
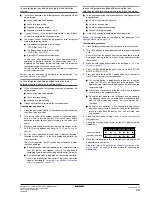
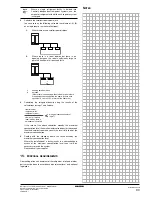
Do not insert fingers, rods or other objects into the air
inlet or outlet. When the fan is rotating at high speed, it
will cause injury.
Do not perform the test operation while working on the
indoor units.
When performing the test operation, not only the outdoor
unit, but the connected indoor unit will operate as well.
Working on a indoor unit while performing a test operation
is dangerous.
BS3 RETURN
BS3 RETURN
L.N.O.P
L.N.O.P
DEMAND
DEMAND
Summary of Contents for RXYHQ12P8W1B
Page 36: ...NOTES NOTES...
Page 38: ...4PW48461 1 Copyright Daikin...

