5-27
Chapter 5 User Menu
4.7 Setting the Punch
Set the punch type and punch for drum positioning pins.
OK
ESC
Punch
Off
4
3
2
1
OK
NEXT
ESC
OFF
Punch 1
Punch 2
Punch 3
Punch 4
NEXT
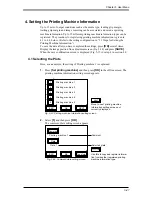
1.
Press
[Punch]
.
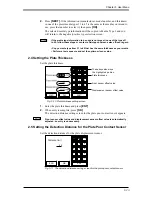
The punch selection screen appears.
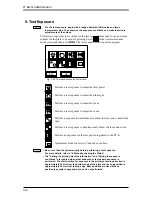
Fig. 5-32 Punch setting screen
NOTE
If [OFF] is selected, the plate will not be punched.
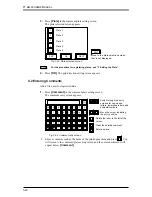
2.
Select the desired punch type from the registered punch types and then press
[OK]
.
The punch type will be linked to Printing machine 1, and you will return to the
punch setting screen.
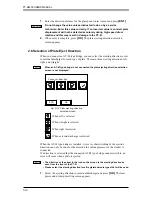
For the procedure for setting punch types, refer to “21. Setting the Punch Name.”
3.
After punch selection is complete, press
[OK]
.
The image position fine adjustment screen appears.
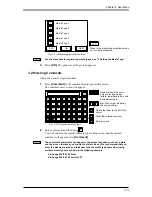
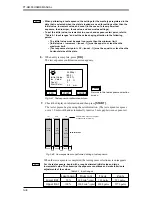
Fig. 5-33 Punch selection screen
Move to the punch selection screen
not currently displayed.
NOTE
Summary of Contents for PLATE RITE 4300
Page 10: ...x...
Page 11: ...Chapter 1 Ensuring Safety 1 This chapter gives information necessary for safe use of the PT R...
Page 26: ...PT R4300 USERS MANUAL 1 16 End of Chapter 1...
Page 38: ...PT R4300 USERS MANUAL 3 8 End of Chapter 3...
Page 39: ...This chapter explains the basic procedures for operating the PT R Chapter 4 Basic Operation 4...
Page 60: ...PT R4300 USERS MANUAL 4 22 End of Chapter 4...
Page 61: ...This chapter explains the procedures for setting PT R parameters Chapter 5 User Menu 5...
Page 122: ...PT R4300 USERS MANUAL 5 62 End of Chapter 5...
Page 157: ...This chapter explains this typical PT R problem and the solutions Chapter 8 Jamming 8...
Page 163: ...This chapter gives technical information on the PT R Chapter 9 Technical Information 9...

