4
LUBRICATION
OPERATION
If the tool is not used with an in-line lubrication system on
the air supply it is necessary to periodically lubricate the
tool with air tool lubrication.
USE ONLY THE AIR TOOL LUBRICANTS SUPPLIED WITH
THE TOOL.
Do not use other lubricants as they may
damage the tool.
Do not use detergent oil, WD-40, transmission fluid, motor
oil, or other lubricants not specifically designated as air tool
lubricants. These lubricants will cause accelerated wear to
the seals, o-rings, and bumpers in the tool, resulting in
poor tool performance and frequent maintenance.
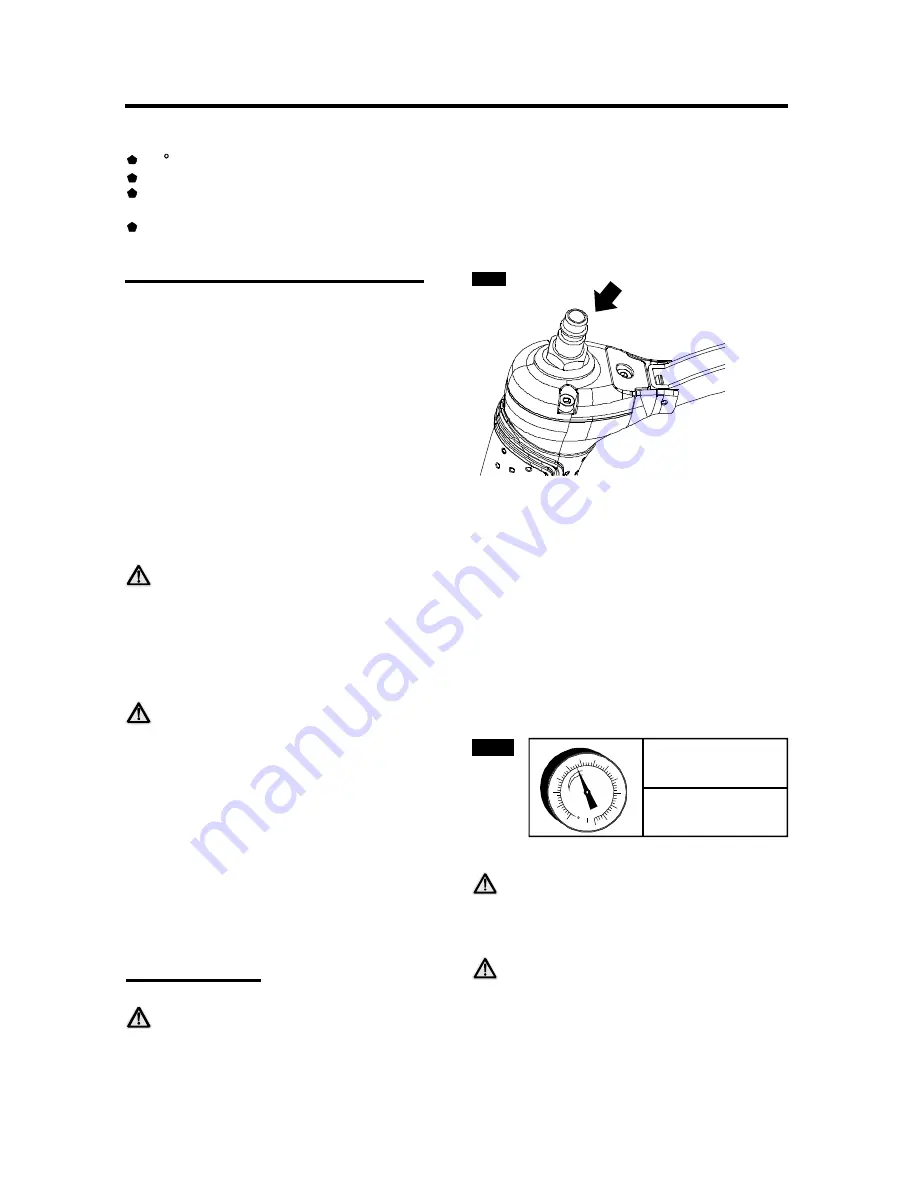
2-3 Drops of
Air Tool Lubricant
FIG. 2
CONNECTING AIR SUPPLY
Never use oxygen or other bottled gases as a power source.
Explosion may occur. Combustible gases and other bottled
gases are dangerous and may cause the tool to explode.
Never connect the tool to an air source that is capable of
producing air pressure exceeding 200PSI.
Excessive
pressure can cause abnormal operation or cause the tool to
burst, resulting in personal injury.
ADJUSTING AIR PRESSURE
Adjust the air pressure at recommended operating
pressure 70-110PSI
The correct air pressure is the lowest pressure which will
do the job. Using the tool at a higher than required air
pressure unnecessarily over stresses the tool.
according to the length of nails and
the hardness of workpiece.
Don't exceed
115PSI.
FEATURES
Under low use, lubricate once a day. Under heavy use,
lubricate twice a day. To lubricate, insert 2-3 drops of
lubricant into the air supply fitting attached to the tool
handle (FIG 2). Using too much oil will cause it to collect in
the tool and be noticeable in the exhaust.
ASSEMBLY/INSTALLATION
Follow the instructions below to prepare your tool for
operation.
All tool operators and their immediate supervisors must
become familiar with the operator safety instructions
before operating the tool.
Included with each tool are one copy of these
Operating/Safety Instructions. Keep this publications for
future reference.
Install a filter, regulator, lubricator unit and moisture trap
on your air delivery system per the manufacturer's
instructions for these devices. Additionally, install a
pressure gauge as close as practical to the tool,
preferably within 10 feet.
Select hoses with a minimum inner diameter of 1/4
inches and a maximum length of 100 feet.
1.
2.
3.
4.
To reduce the risk of injury from a hose bursting, select
hoses that are rated at least 200PSI.
Select fittings that are appropriate size for the selected
hoses. The tool and air hose must have a hose coupling
so that all pressure is removed from the tool when the
coupling joint is disconnected.
Never use non relieving couplers and/or female quick
disconnect couplings on the tool.
Non relieving couplings
and female couplings will trap high pressure air in the tool
when the air line is disconnected. This will leave the tool
charged with enough air after it has been disconnected to
drive a nail. Only MALE pneumatic type air connectors
should be fitted to the tool, so that high pressure air in the
tool is vented to atmosphere as soon as the air line is
disconnected.
Set the regulator at the air delivery system to a PSI that
falls within the tool's operating range of 70-110PSI. The
correct pressure is the lowest pressure that will do the
job.
5.
6.
70PSI Minimum
110PSI Maximum
FIG. 3
WARNING
WARNING
WARNING
WARNING
WARNING
360 exhaust direction.
Adjustable depth of drive.
New designed 4-IN-1 tool, ordinary 2-IN-1 tool and
flooring 2-IN-1 tool.
Nose interchangeable.


