Dakota Ultrasonics
16
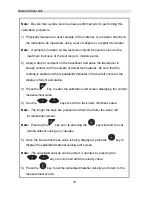
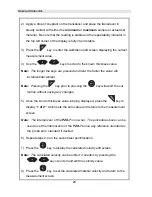
1) Apply a drop of couplant on the transducer and place the transducer in
steady contact with the disk (battery cover) located at the top of the unit to
obtain a measurement.
2) Be sure all six repeatability/stability bars in the top left corner of the display
are fully illuminated and stable, and last digit of the measurement is toggling
only +/- .001” (.01mm).
3) Press the
key to perform the manual zero. “PRB0” will briefly be
displayed on the screen, indicating the zero calculation is being performed.
5.2 Material Calibration
In order for the
PZX-7
to make accurate measurements, it must be set to the correct
sound velocity of the material being measured. Different types of materials have
different inherent sound velocities. For example, the velocity of sound through steel
is about 0.233 inches per microsecond, versus that of aluminum, which is about
0.248 inches per microsecond. If the gauge is not set to the correct sound velocity,
all of the measurements the gauge makes will be erroneous by some amount.
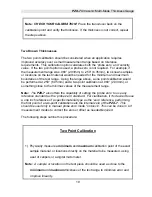
The
One Point
calibration is the simplest and most commonly used calibration
method - optimizing linearity over large ranges. The
Two Point
calibration allows for
greater accuracy over small ranges by calculating both the probe zero, as well as the
material velocity. The
PZX-7
provides three simple methods for setting the sound-
velocity outlined below:
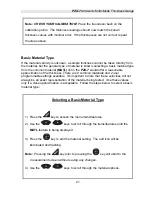
Known Velocity
If the material velocity is known, it can be manually entered into the
PZX-7
, rather
than have the
PZX-7
calculate the velocity value using a known thickness of the
same material type. The steps for entering the velocity are outlined below:
Using a Known Material Velocity
Summary of Contents for PZX-7
Page 2: ......


