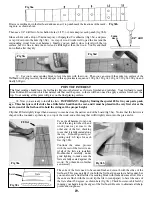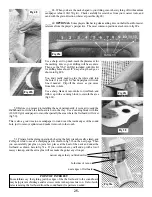
_____27. Notice that only one brace is outlined on the back panel, but there are little circles drawn to show the ends of the other
two braces. Connect those circles with a straight edge to mark the location of the other two braces, as shown in fig 27a.
Find the three back braces and mark where to trim them so they don’t
interfere with the back kerfing (step 27b).
Fig 27a
Fig 27b
Trim braces
to length (or
fit the ends
into the back
kerfing), as
before.
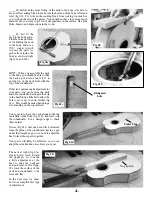
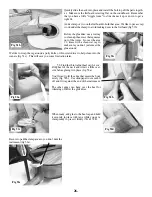
_____28. Notice how the underside of
the back braces are curved. This curve
matches the 15’ (4.57m) radius curve
on one edge of the spacer block (fig
28a).
This means you can use the spacer
block to support the clamping pressure
when gluing each brace in place, thus
forming an arched back panel.
Make sure you have at least one clamp
that will reach to the middle of the
brace, as shown in fig 28b.
When ready, glue each brace in place
separately, being careful to center it on
the centerline over the outline you drew
for that brace in the previous step, and
supporting it with the curved side of
the spacer block underneath.
Fig 28a
Fig 28b
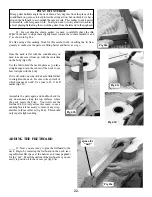
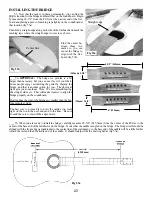
_____29. When all three back braces
are dry, find the flat back braces and
mark and cut them to fit between the
other braces, to cover the center seam,
as shown in fig 29a.
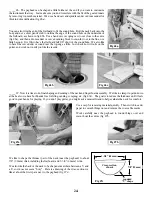
It is best to sand these parts before
gluing them in place. They look best
when the top surface is sanded smooth
and the top edges are rounded over
gently (fig 29b).
Fig 29a
Fig 29b
13.
Summary of Contents for PARLOR
Page 36: ......


