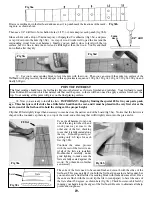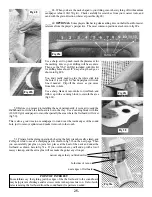
Balance the back panel on a long flat board beneath the centerline to support this pressure. Use long clamps or weights to press
these braces in place with glue (fig 29c). Add scrap wood under the clamps to distribute the pressure evenly over this flexible
flat bracing. Notice the end braces are cut just short of the pencil line marking the heel and tail blocks (fig 29d).
Fig 29c
Fig 29d
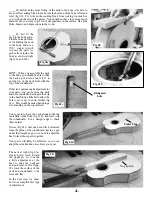
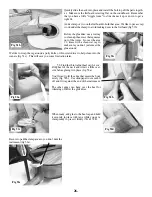
Use this curved sanding block to shape and smooth the back
edge of the instrument frame, as shown in fig 30c.
PLEASE NOTE: Keep the sanding block oriented across
the frame as shown, perpendicular to the centerline of the
body. This is the direction of the curve in the back panel,
and it will give you nice firm glue joints around the perim-
eter of the frame when clamping the back in place.
Turn the frame over on top of the back panel and check carefully
to see that the braces do not interfere with the kerfing (fig 30d).
Take your time with this. Trim any braces that are too long to
fit inside the frame. If you end up applying clamping pressure
to an area where the braces are in the way of the kerfing, you
might break something!
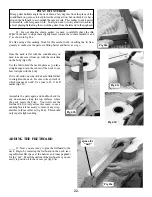
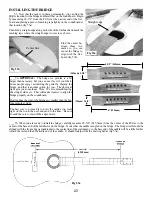
_____30. Put double-stick carpet tape on the curved edge of
the large spacer block that was holding the frame (fig 30a).
Fig 30a
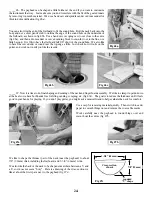
Fig 30b
Fig 30c
Fig 30d
14.
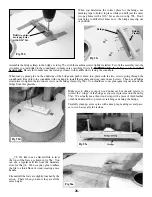
Then cut strips of coarse (60 grit) sandpaper to fit along the
edge and press the paper against the adhesive tape (fig 30b).
You may need to butt two strips end-to-end.
Summary of Contents for PARLOR
Page 36: ......


