23.
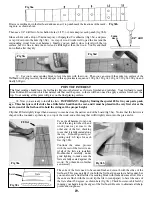
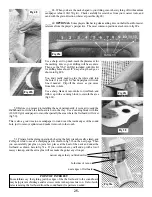
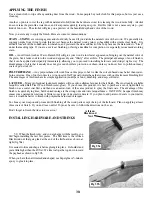
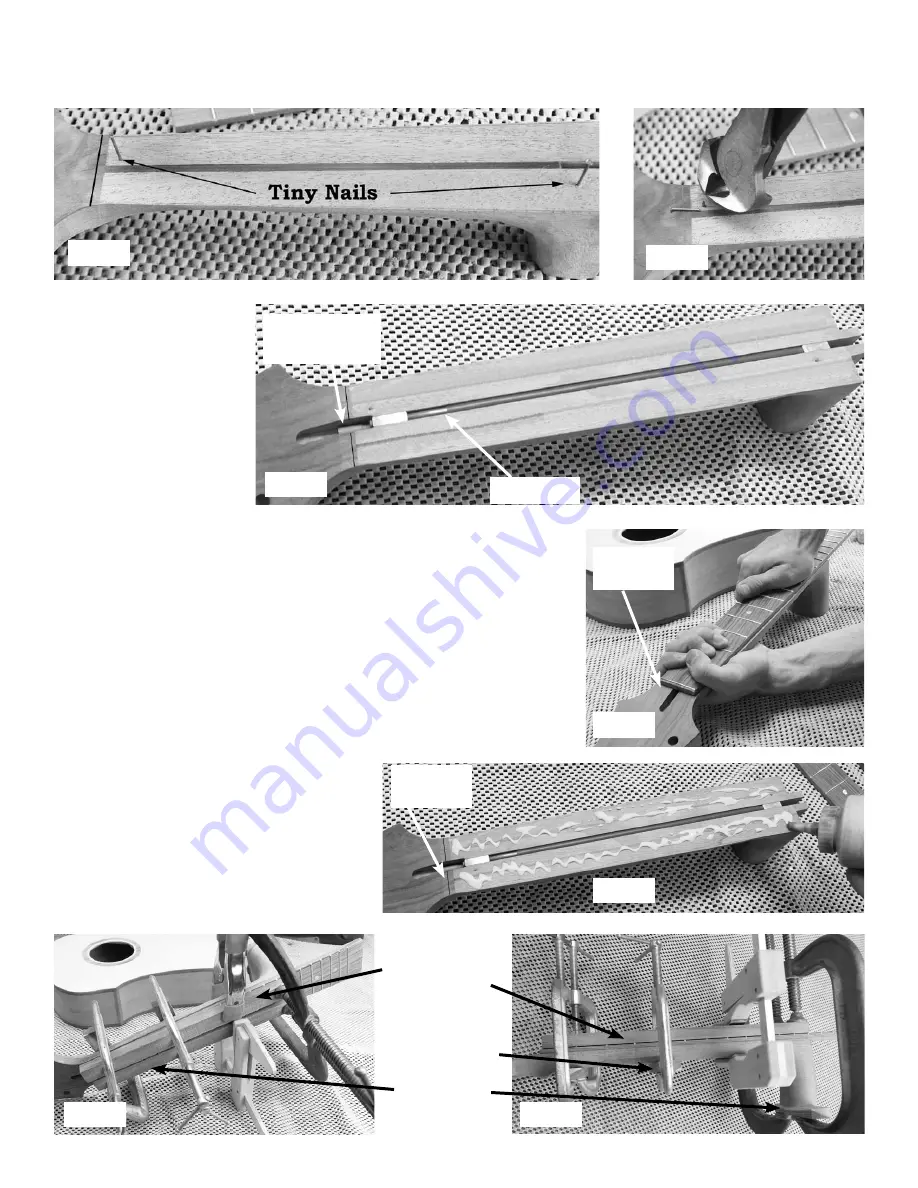
We recommend installing two tiny nails partway into the neck: one near each end, as shown in fig 43b. Clip the nails close to the
wood (fig 43c). These studs will help prevent the fretboard from slipping out of position as you glue and clamp it to the neck.
Replace the fretboard on the neck so the tiny
nails “fall” into the pin-prick dents made earlier.
Remember to leave enough flat space at the peg-
head end for the “nut”.
Fig 43b
Fig 43c
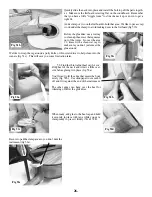
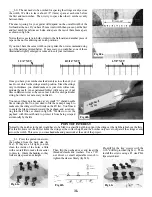
When ready for gluing and clamping, squirt
glue on the neck, as shown in fig. 45b
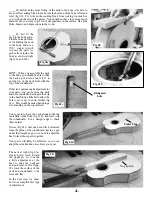
_____45. Carefully place the fretboard back over the neck, aligning it with your
outline, and leaving enough flat space for the “nut” near the peghead, and press
the fretboard firmly down against the neck, especially where the tiny nails are
located (fig 45a). This will create pin-pricks under the fretboard to keep the
parts from sliding out of position during gluing.
space for
“nut”
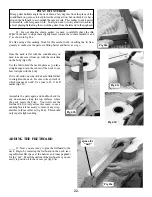
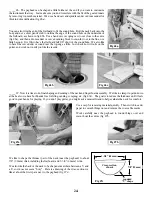
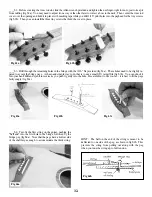
Get some clamps and scrapwood ready for clamping the fretboard onto the
neck. Look at the following photos to see how we press these parts together.
Fig 45a
space for
“nut”
Fig 45b
Notice the scrap
wood pads
under the metal
c-clamps. These
are important for
protecting the
instrument wood
from dents
(figs 45c & 45d).
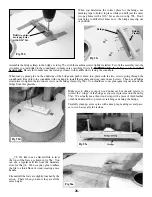
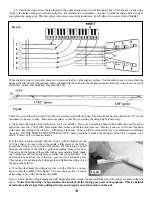
_____44. Push the truss
rod into the slot in the neck,
with the barrel nut fac-
ing the peghead (fig 44).
HINT: We like to orient
the truss rod so the adjust-
ment barrel nut rests at the
bottom of the slot instead of
the top. That is the normal
orientation on production
guitars.
Truss Rod
Fig 44
Barrel nut for
adjustment
Fig 45c
Fig 45d
Summary of Contents for PARLOR
Page 36: ......


