25.
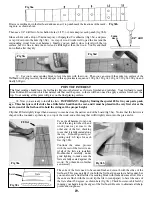
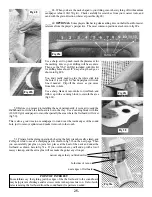
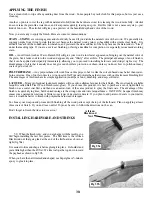
_____48. When you have the neck shaped to your liking, smooth everything off with medium
sandpaper (about 100-150 grit). Check carefully for scratches from your coarser tools, and
sand with the grain direction wherever possible (fig 48).
_____49.
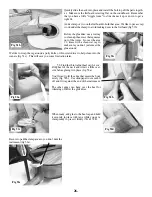
OPTIONAL:
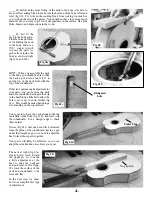
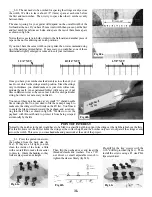
Some players like having side-marking dots on the fretboard for easier
reference from the player’s perspective. The most common positions are shown in fig 49a.
Use a sharp awl to punch-mark the placement for
the marking dots so your drilling will be accurate.
Then use the 5/64” drill bit included with this kit
for drilling holes about 1/8” deep along the edge, as
shown in fig 49b.
You don’t really need to glue the white stick into
the hole if it is a tight fit, but Superglue will work
fine if needed. Clip off the excess as you move
from hole to hole.
Use a sharp blade or razor knife to trim flush, and
follow up with a sanding block to smooth the area
(fig 49c).
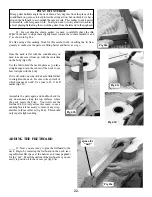
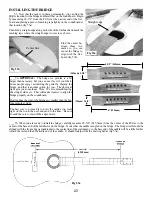
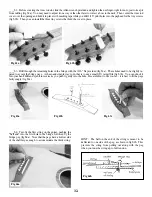
____50. Before you proceed to installing the neck permanently, it is smart to sand the
soundboard now when the fretboard is not in the way. Use a sanding block with fine
(180-220 grit) sandpaper to smooth especially the area where the fretboard will cover
(fig 50).
This is also a good time to use sandpaper to round over the inside edges of the sound
hole, just to remove splinters and make it smooth to the touch.
Fig 48
Fig 49a
Fig 49b
Fig 49c
Fig 50
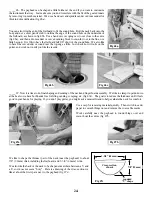
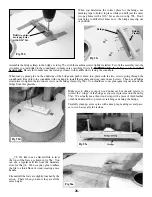
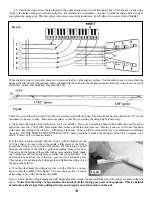
____51. Prepare for the gluing operation by having the bolt, wrench, small c-clamp, and
a scrap of wood to use as a clamping pad, as shown in fig 51b on the next page. Then
you can carefully put glue on just a few places at the heel of the neck and under the
fretboard, as shown here in fig 51a. If you overdose here, you’ll end up with a lot of
messy cleanup, and the extra glue will not make the guitar any stronger.
narrow edges that you fitted earlier
both sides of tenon
near edges of fretboard
Fig 51a
POINT OF INTEREST
Some luthiers say that gluing just the edges of the the fretboard to the soundboard
may help prevent shrinkage and/or stress cracks in the spruce later on. It also facili-
tates removing the fretboard from the soundboard if repairs are needed.
Summary of Contents for PARLOR
Page 36: ......


