DMP-8000 Content Standards Quick Guide
DD3002238
Rev 05
09 June 2020
201 Daktronics Drive
Brookings, SD 57006-5128
www.daktronics.com/support
800.325.8766
Page 2 of 8
If working with the Adobe
®
Premiere
®
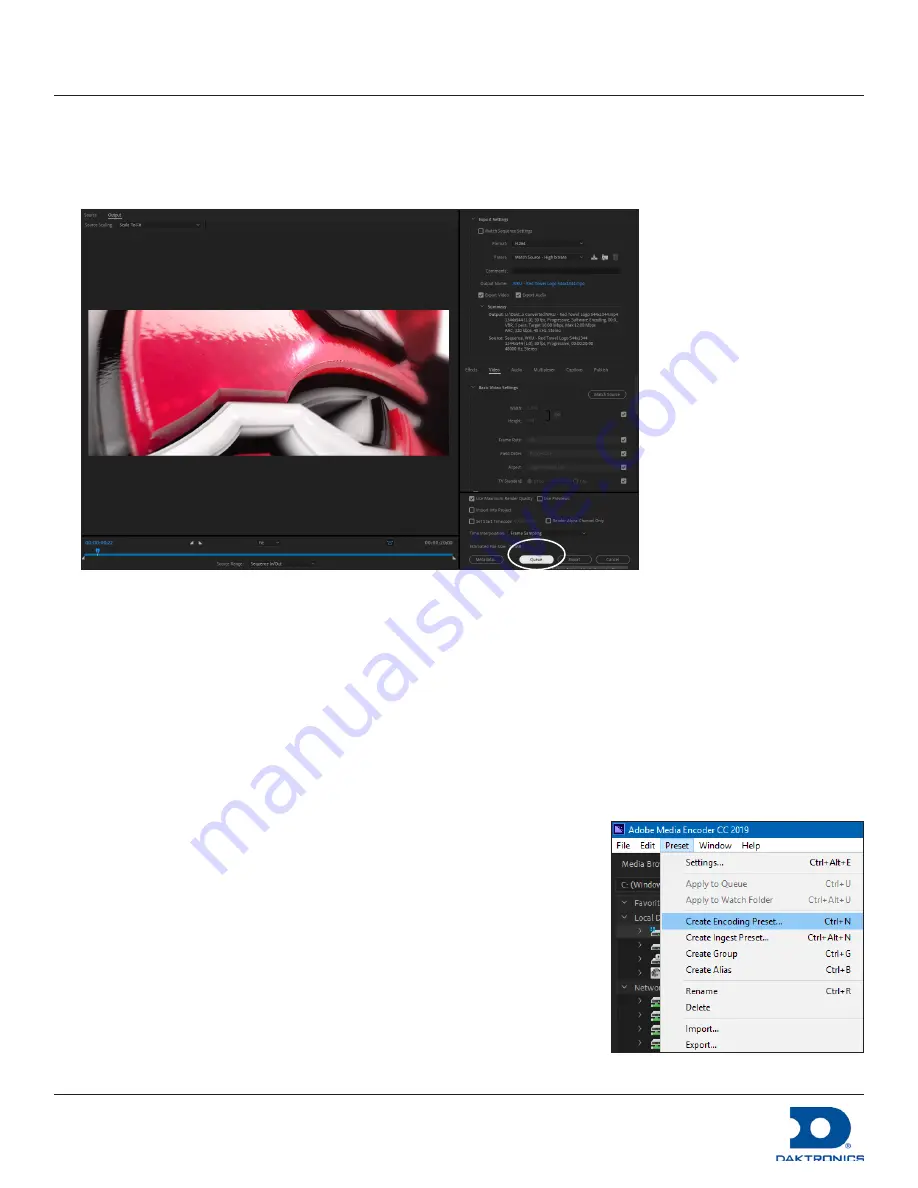
Pro program, follow these steps:
1.
Go to
File
>
Export
>
Media
. An
Export Settings
window opens.
2.
Click
Queue
in the
Export Settings
. The Adobe
®
Media Encoder program opens
automatically.
Figure 2:
Adobe
®
Premiere
®
Pro — Export Settings Queue
3.
Create a Preset (during initial setup only) or use a pre-configured Preset (after initial setup). Refer to
.
Adobe
®
Media Encoder Presets
Use Adobe
®
Media Encoder (AME) presets to produce content with a lossless file compression. This results in
perfect image quality and no noticeable soft edges. These settings also enable the content to load quickly,
which is an advantage in situations with multiple synchronized zones.
Because this is a lossless file compression, it can only achieve 4:1 compression on average. The 4:1 file
compression means that the files may be large depending on the content. Animations with large areas of solid
color will compress better than other types of animations.
Create a Preset
Create a Preset for any needed display size(s).
1.
Go to
Preset
>
Create Encoding Preset
. Refer to
. The
Preset
Settings "New Preset"
window opens.
2.
Enter a descriptive name in the
Preset Name
field (e.g.
Preset 3 H.264
no alpha
). Refer to
3.
Select the appropriate output format from the
Format
field drop-down
list.
• Preset 1 and Preset 2:
QuickTime
• Preset 3:
H.264
Figure 3:
AME - Create Preset
Summary of Contents for DMP-5000 Series
Page 54: ...This page intentionally left blank...
Page 56: ...This page intentionally left blank...
Page 60: ......
Page 70: ......
Page 74: ...This page intentionally left blank...
Page 78: ......


