Network and Communication Installation
10
7 Network and Communication Installation
This section explains how to set up communications with a Galaxy
®
Small Matrix GS6
display through a network or an individual computer. Refer to the available standard
communication options in the provided quick guides and reference manuals for more
information.
Daktronics is not responsible for setting up a customer's network system, neither a Local
Area Network (LAN) ror a Wide Area Network (WAN).
See
Legacy Remote Display Configuration (p.35)
for legacy display configuration.
Network and Communication Installation
Recommendations
• Complete all network and communication installation prior to turning on the display.
• Have a laptop on site with Internet access (preferred).
• Work with the customer's IT professional for network integration.
Galaxy
®
Small Matrix GS6 displays use DHCP by default, which allows automatic display
configuration by the customer's network, and eliminates manual configuration of the
player.
When the display is connected to a network that supports DHCP, a default DHCP name
similar to “DMP8.xx.xxxx” or “DMP5.xx.xxxx”, where “xxxx” represents a unique identifier for
the display, is shown in the display boot sequence.
Requirements For Communication Through A Network
The display must be allowed to establish an outgoing internet connection on Port 80
(http) and Port 443 (https).
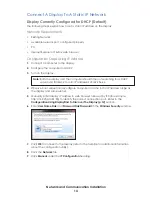
Connect A Display to A DHCP Network
Display Currently Configured For DHCP (Default)
The following steps explain how to configure a display and connect to a network that
supports DHCP. Using the display's DHCP name is desired for communication.
Network Requirements
• DHCP Server
• Existing Network
•
Available network port, configured properly
Installation/Start-up Steps
1�
Ensure the display has an established link with the network.
2�
Turn on the display.
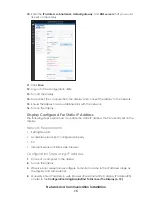
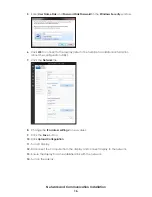
Display Configured For Static IP Address
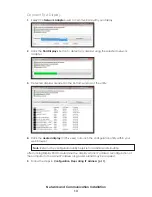
The following steps explain how to reconfigure a display for DHCP network when it has
previously been configured for a static IP address.


