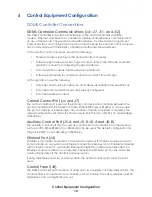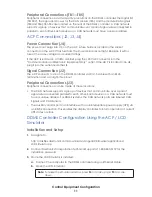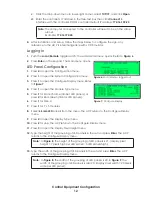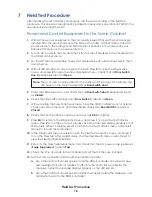
Control Equipment Configuration
14
Set Date and Time
1.
In the System Configuration menu, press
3
to open the Set Date and Time menu.
2.
Enter the timezone by pressing the number of the timezone.
3.
Select whether to enable or disable Daylight Savings Time (DST). If DST is enabled, the
controller automatically adjusts the time for daylight savings.
4.
Set the date and time with the keypad; type a
2
for a.m. or a
7
for p.m. Press
Enter
to
set the time and date. The ACP returns to the System Configuration menu.
Peripheral Configuration
DDMS sets do not require manual configuration but may have an optional manual
configuration. Complete the following steps to auto detect all peripherals.
1.
From the Main Menu, press
4
to open the Configuration menu.
2.
Press
3
to open the Peripheral Configuration menu.
3.
Press
5
to open the Delete All and Auto Detect menu.
4.
Press
1
to confirm the deletion and start the auto detection procedure. When this
procedure completes, you can view the peripherals by pressing
4
on the keypad
from the Diagnostics menu or by pressing
2
on the keypad from the Peripheral
Configuration menu.
Communication Configuration
The Communication Configuration menu enables configuration items, such as
communication protocol, to be set.
To navigate to the Communication Configuration menu from the Main Menu:
1.
Press
4
to open the Configuration menu.
2.
Press
2
to open the Communication Configuration menu.
Note:
The options listed in the Communication Configuration menu vary
depending on hardware platform.
Central Control Port
The Central Control Port menu controls settings for the controller’s serial communication
ports: central control, auxiliary control, and internal modem control. Refer to
to
view the Central Control Port menu. Once a configurable option is set, the changes take
effect immediately.
Note:
If setting the date and time immediately after configuring the LED panels,
press
Esc
to return to the System Configuration menu.

