10
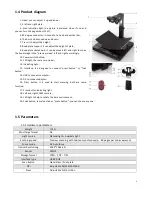
2. Main menu.
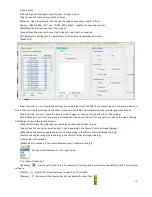
Click the logo and dropdown menu appears as right picture.
[Open] open the files and import the pictures.
Attention: Open the pictures with the right naming and manually modify it if not.
Choose
“
ABCD_000X_Left
”
and
“
ABCD_000X_Right
”
together to open the pictures.
[Save]Save the pictures and cover the original.
[Save as]Save the pictures to cover the original or select path as required.
[JPG parameters setting] Set the parameters of DPI pixels and compression quality.
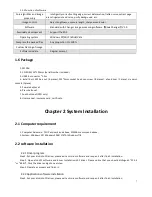
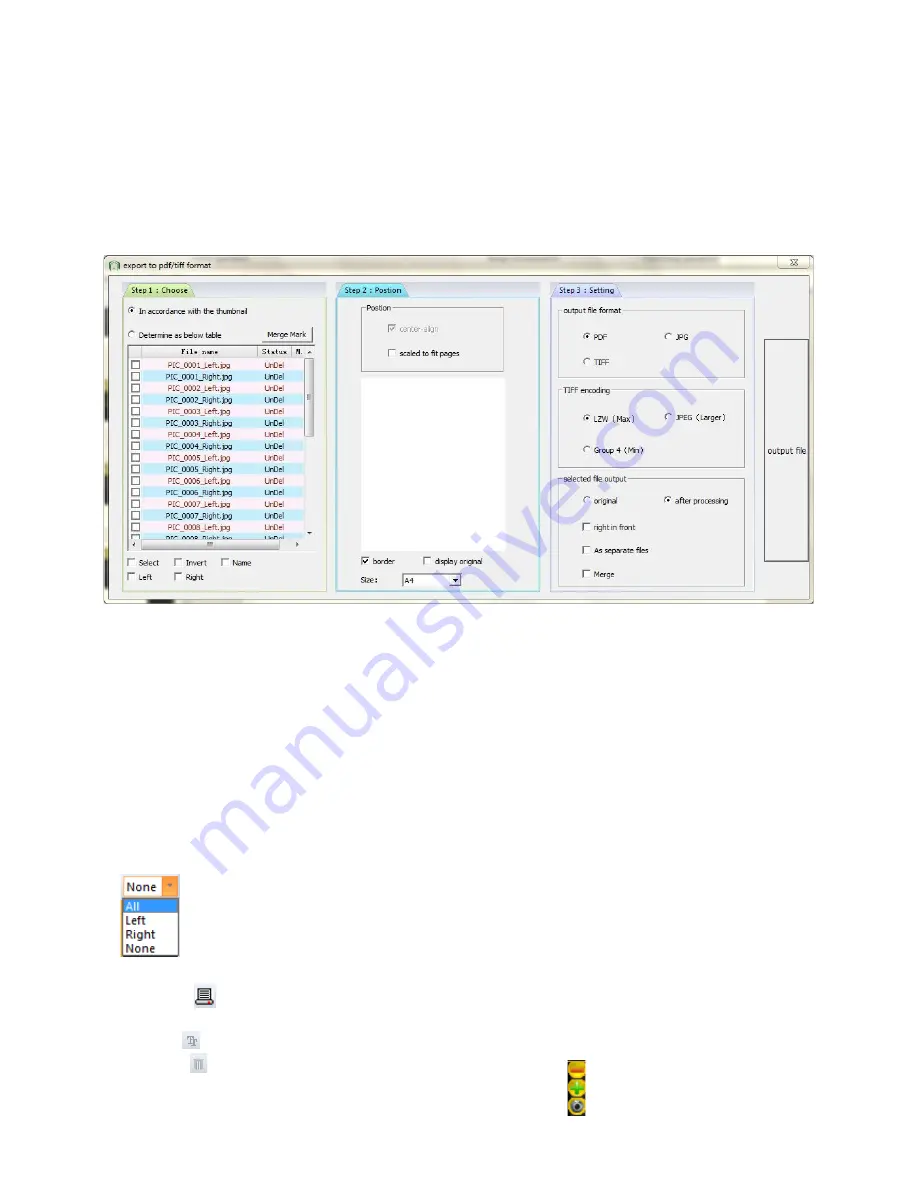
[Make PDF]
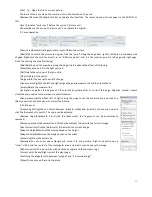
Step 1.Choose. You can choose the pictures you need to generate the PDF.There are two ways to choose the pictures.
One is choose in the thumbnail and the other is choose in the table.The marked picture can be merged when output.
Step 2.Position. You can output the pictures with fit pages or choose the size as A4, B5 or the original.
Step 3.Setting. There are three formats to output and when you choose TIFF you can also choose the way of coding.
Tick [Merge] to finish the setting of step1.
[Output file]Output the picture as your setting and choose the folder to save.
[Undo] Undo the previous operation and it is only applying in the [Smart Cut] and [Image Flipping].
[Redo] Redo the previous operation and it is only applying in the [Smart Cut] and [Image Flipping].
[Restore the original image] only applying in the [Smart Cut] and [Image Flipping].
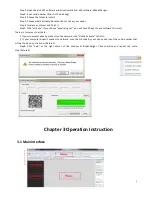
3. Status Bar of thumbnail.
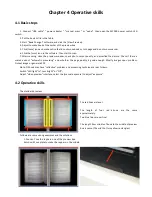
[SMB] Size of thumbnail. It can switch between small, medium and large.
You can switch between all, left, right, none.
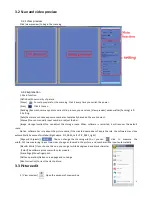
4. Toolbar of thumbnail.
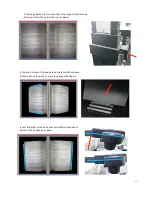
[Rename]
You can set the prefix (1-‐50 characters) of picture and it will restore the default prefix if you restore
software;
Switch the picture between “original” and “finished”
;
[Switch]
Remove all the thumbnails but not delete the local files
;
[Remove]


