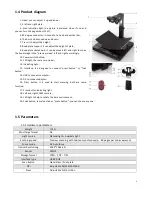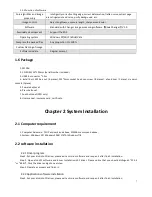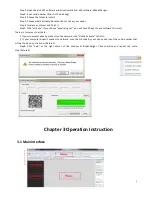
background image


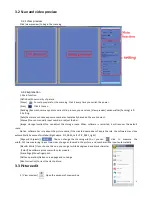
3.2   Scan   and   video   preview   

3.2.1   View   preview   

Click   [view   preview]   to   begin   the   scanning


3.2.2   Explanation   

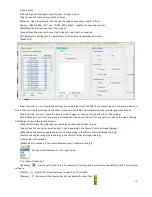
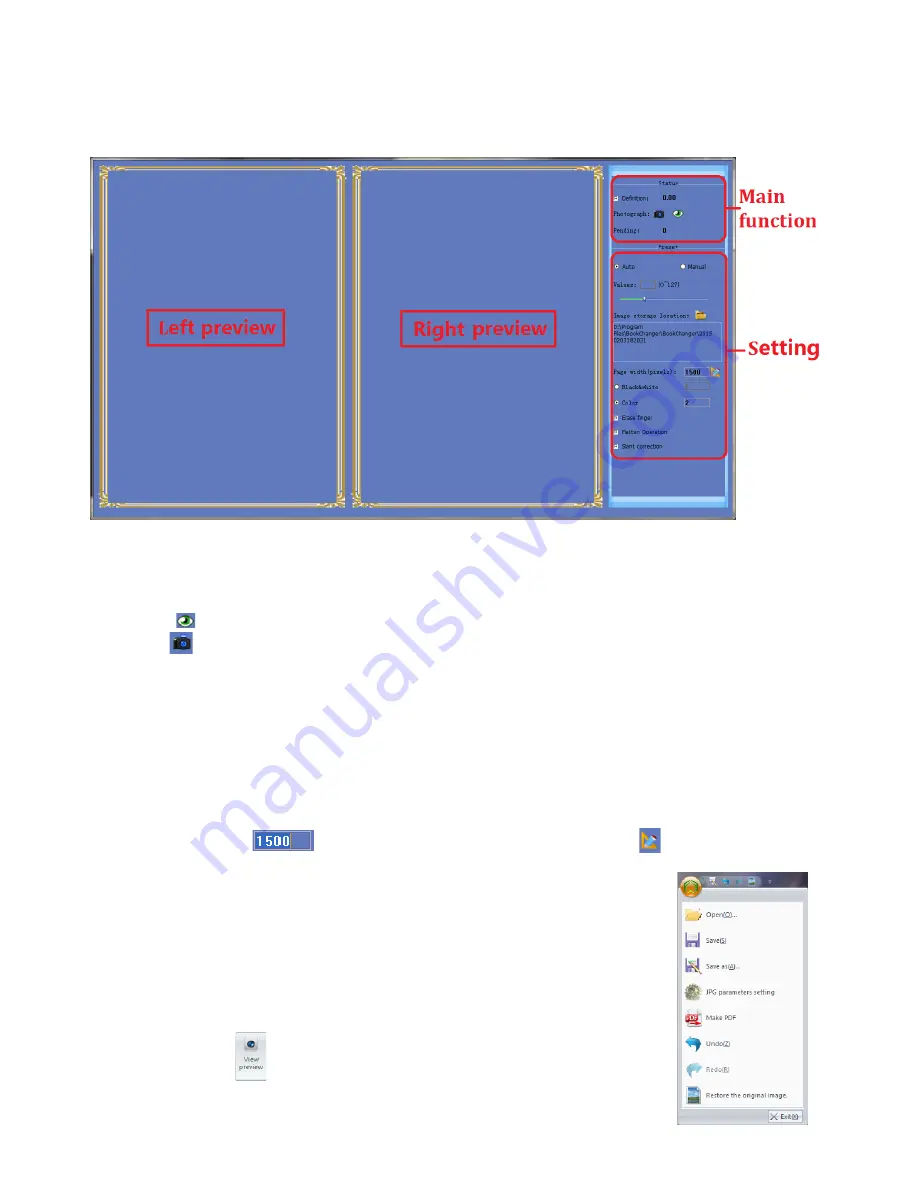
1.   Main   function.   
[Definition]Shows   clarity   of   picture.   
[Focus]                               

Focus   to   prepare   for   the   scanning.   Click   it   every   time   you   switch   the   power.   

[Scan]   

Click   it   to   scan.   

[Pending]   Records   how   many   pictures   are   still   in   process,   you   can   close   [View   preview]   window   after   [Pending]   is   0.   
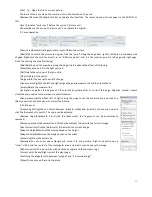
2.   Setting.   
[Auto]Camera   can   choose   exposure   number   automatically   based   on   the   environment.       
[Manual]You   can   manually   input   number   or   adjust   the   bar.   
[Image    storage    location]You    can    adjust    the    storage    route.    When    software    is    restarted,    it    will    recover    the    default   

route.   

Notice:   software   has   rule   about   the   picture   name,   if   the   created   name   doesn’t   apply   the   rule,   the   software   may   close   

automatically   because   of   mistake.   (Right   name:   PIC_0001_Left   +   PIC_0001_right)   

[Page   width   (pixels)]   

You    can    change    the    scanning    width;    or    you    can   

click    to    measure    the   

width.   Put   two   measuring   lines   at   two   sides   of   page   as   showed   in   the   picture,   and   number   will   be   input   automatically.   

[Black   &   White]   If   you   choose   this   one,   you   can   get   white   background   and   black   character.       

[Color]The   software   processes   with   color   module.   

[Erase   finger]Move   fingerprint.   
[Flatten   operation)Flatten   curved   page   and   cut   edge.   
[Slant   correction]Correct   the   slant   picture.   

3.3   Picture   edit   


1.   [View   preview]   

Open   the   window   of   preview   box.   

Summary of Contents for Changer M1000

Page 1: ...Dalian Changer Technology Co Ltd Changer M1000 User Manual...

Page 2: ...system installation 7 2 1 Computer requirement 7 2 2 software installation 7 Chapter 3 Operation Instruction 8 3 1 Main interface 8 3 2 Scan and video preview 9 3 3 Picture edit 9 Chapter 4 Operative...

Page 3: ...o avoid accident and you can contact local service 4 If the inside machine is wet please dry it at ventilated place Do not dry on high heat to avoid burning down components 5 Electrical cord or video...

Page 4: ...without any discomfort Changer M1000 intelligent software can automatically handle the complicated work including distortion correction page extraction background purification and so on Using M1000 al...

Page 5: ...s Picture2 Step 3 Fix the vertical bar with the screw do not mistake the direction screw on the M3 hex nut and fix them as Picture 3 Step 4 Plug LED light FPC plug 2PIN and main light FPC plug 10PIN i...

Page 6: ...ce it is designed to connect press button or foot button 14 USB to connect computer 15 DC to connect adapter 16 Press button it is used to start scanning both are same function 17 Press button indicat...

Page 7: ...ocket head cap screw 8 pieces allen driver 1 piece six point sockets 1piece 5 Power adapter x1 6 Press button x1 7 Foot button x1 PRO only 8 User manual insurance card certificate Chapter 2 System Ins...

Page 8: ...ou choose keep tying out you will have 30 days to use software Picture1 There are two ways to activate 1 If your computer already connects to the network click Online Activate to finish 2 If your comp...

Page 9: ...e When software is restarted it will recover the default route Notice software has rule about the picture name if the created name doesn t apply the rule the software may close automatically because o...

Page 10: ...ith fit pages or choose the size as A4 B5 or the original Step 3 Setting There are three formats to output and when you choose TIFF you can also choose the way of coding Tick Merge to finish the setti...

Page 11: ...Inclination angle Set the degree of tilt and click anywhere after to correct the page Negative number means clockwise and positive number means counterclockwise Hand measuring Click from left to right...

Page 12: ...re is mistake about automatic processing and whether the page quality is good enough Modify images upon problem Output image or generate PDF Note Oil book may have reflective problem and processing te...

Page 13: ...view box Solution Adjust the vertical bar up or down 3 Top and bottom of the book are not parallel with window Solution Move the plate or press the pages with fingers 4 Left and Right of the book are...

Page 14: ...unction caused by improper storage such as rodents or liquid and so on 5 Malfunction caused by unauthorized disassemble and ultra vires modification 6 Malfunction caused by the repair operated by the...

Reviews: