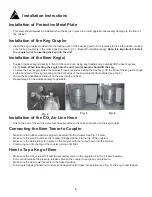
Installation of Protective Metal Plate
•
This plate should always be installed when the keg is in place to protect against unnecessary damage to the fl oor of
the cabinet.
Installation Instructions
Installation of the Beer Keg(s)
•
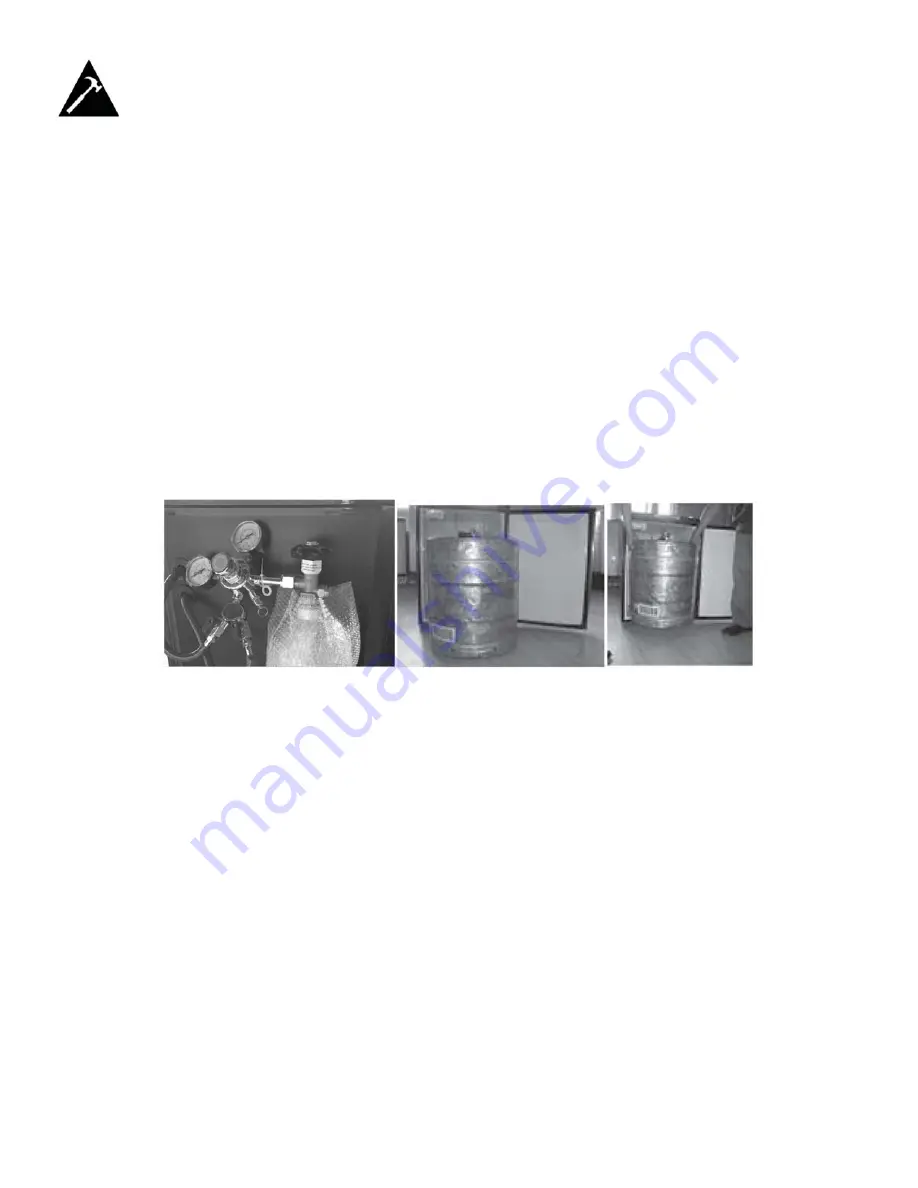
Position the beer keg(s) directly in front of the open door. Using keg handles only, carefully lift the beer keg (see
Fig.5).
Note: When inserting the keg(s) into the unit, two (2) people should lift the keg.
•
To place the beer keg(s) inside the cabinet, brace your knees behind the beer keg. Lift the front of the keg just enough
so the front end of the keg is resting on the front edge of the keg cooler bottom cabinet (see Fig. 6).
•
Grasp the keg handles and slide it all the way into the cabinet.
•
Repeat steps for the additional keg if applicable.
Installation of the Keg Coupler
•
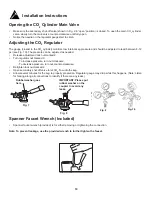
Insert the keg coupler provided into the locking neck of the beer keg and turn it clockwise to lock into position, making
sure the keg coupler is in the closed position (see Fig. 7). (Repeat for additional keg).
Note: It is important to install
the coupler prior to inserting the keg into the unit.
Installation of the CO
2
Air Line Hose
•
Attach the end of the air line (coloured) hose provided to the hose connection on the keg coupler.
Connecting the Beer Tower to Coupler
•
Make sure the rubber washer is properly inserted into the coupler. See Fig. 7 below.
•
Make sure the small round bead is in place (dropped down into the top of the coupler).
•
Make sure the ball retainer is in place on the coupler, with the “arms” down into the coupler.
•
Place wing nut into the top of the coupler turning until tight.
How to Tap a Keg of Beer
•
Make sure the CO
2
is turned off and the secondary valve on the regulator is in the “closed” position.
•
Pull out and release the pressure release valve on the coupler to purge any air pressure.
•
Make sure the beer tower faucet is in the closed position.
•
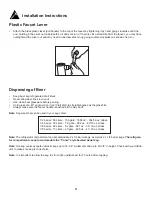
Pull coupler tapping handle out and press downward until it locks into position (see Fig. 8), the keg is now tapped.
9
Fig. 4
Fig. 5
Fig.
6


