DISPENSING OF BEER
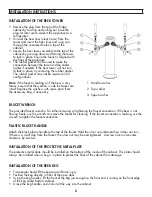
• Keep beer keg refrigerated at all times.
• Never allow beer lines to dry out.
• Use clean glassware before pouring.
• Hold glass at a 45° angle, when it is 2/3 full,
start to straighten glass as the glass fi lls.
• Always make sure the faucet handle is pushed
all the way back.
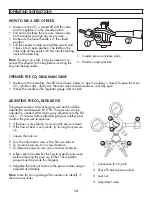
Note:
The refrigerator compartment cannot
accommodate the “Coors” style beveled barrel keg.
Note:
This keg cooler accepts domestic kegs up to
16-1/8” in diameter and up to 23-3/8” in height.
Check with the distributor to make sure the keg is
correct size.
Note:
It is important to allow the keg to sit upright
and undisturbed, for 2 hours before tapping.
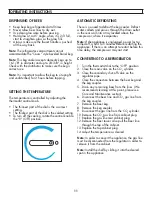
SETTING THE TEMPERATURE
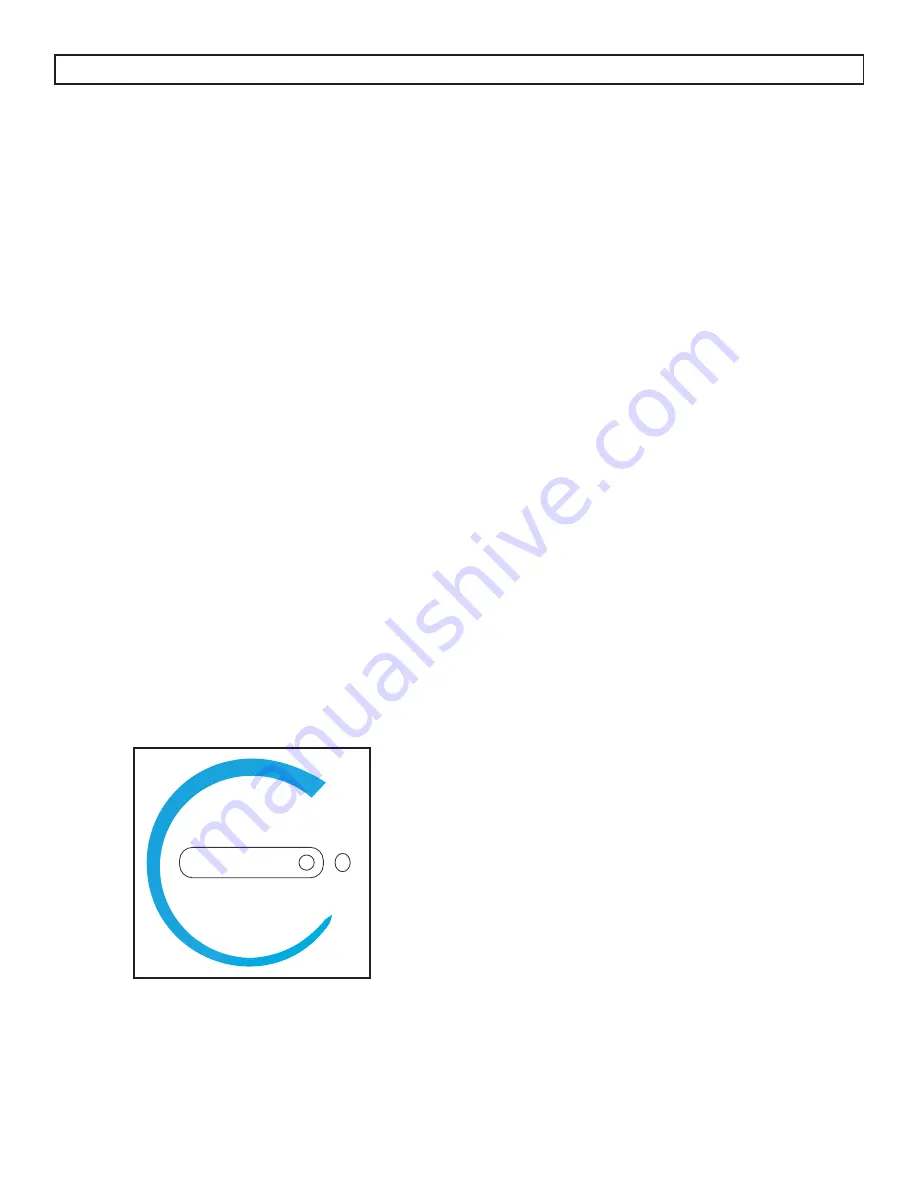
The temperature is controlled by adjusting the
thermostat control knob.
• The thinnest part of the dial is the warmest
setting.
• The thickest part of the dial is the coldest setting.
• To turn off the cooling, rotate the control knob to
the “0” (OFF) position.
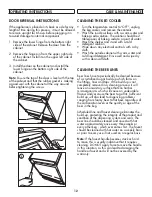
AUTOMATIC DEFROSTING
There is no need to defrost the keg cooler. Defrost
water collects and passes through the drain outlet
in the rear wall into a tray located above the
compressor, where it evaporates.
Note:
If the appliance is unplugged, power lost or
turned off, wait 3 to 5 minutes before restarting the
appliance. If there is an attempt to restart before this
time delay, the compressor may not start.
CONVERTING TO A REFRIGERATOR
1. Turn the thermostat dial to the “OFF” position.
2. Close the main valve on the CO
2
cylinder.
3. Close the secondary shut-off valve on the
regulator pipe.
4. Close the connection between the beer keg and
the keg coupler.
5. Drain any remaining beer from the lines. (We
recommend cleaning at this point, please see
Care and Maintenance section).
6. Disconnect the beer line and CO
2
gas line from
the keg coupler.
7. Remove the beer keg.
8. Remove the keg coupler.
9. Disconnect the gas line from the CO
2
cylinder.
10. Remove the CO
2
gas line from cabinet plug.
11. Replace the gas line rear cabinet plug.
12. Remove the beer tower. Also pull the beer line
through the top of the cabinet.
13. Replace the top cabinet plug.
14. Adjust the temperature as desired.
Note:
In order to convert the appliance, the gas line
must be disconnected from the regulator in order to
remove it from the cabinet.
Note:
Install the shelf by sliding it into the desired
spot in the appliance.
OPERATING INSTRUCTIONS
11

