background image

67

66

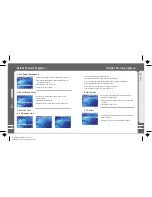
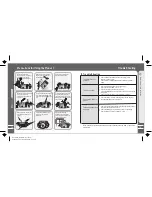
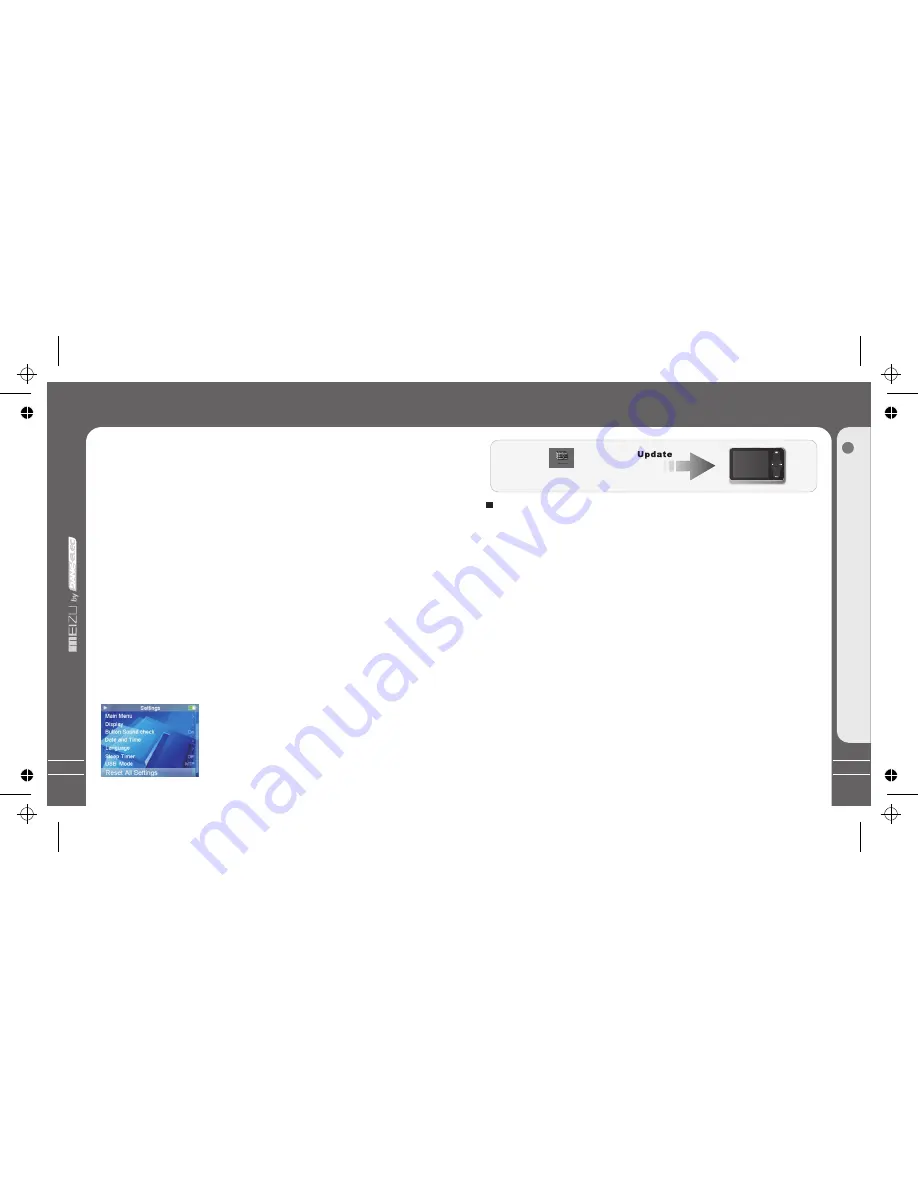
10. Reset All Settings

Detailed Features by Menu

·

Initialize all the settings to the original factory settings. 

·

Select Reset All Settings and click the Enter key, it pops 

    up the window.

·

Slide and select 'Yes' or 'Cancel', when you select 'Yes', 

    all the settings will be initialized to the original factory ones. 

Upgrading Product Firmware

 Software.zip

The latest software

What is Firmware of the Player?
F

irmware of the player is a program embedded in the hardware, which activates various features.

By upgrading, you can enhance the features and eliminate the bugs.

Notice for Legal Limitations and Responsibilities Regarding Firmware
1/ The performance and menu of Player may change without prior notice through upgrading 
firmware of regular or beta versions supported by the manufacturer.
2/ We recommend that users should personally back up important files and data saved in the 
player to their PC before upgrading firmware.
3/ All upgrades are intended for overall enhancement of performance. The upgrades will be 
provided when available based on our company's judgment.
4/ Some beta versions of the firmware may have minor bugs that will be corrected in the official 
versions of the firmware. This should be noted by the users before an action.

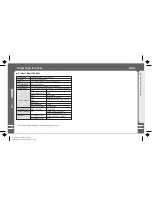
Conditions for Upgrading Firmware

1/ Upgrading the  firmware requires the basic environment where the UMS feature of the 
Windows OS works properly.
2/ You can check the player in 'My Computer' on Windows 98/ME/XP/2000/2003.
3/ 'Removable Disk' (which represented your player memory) must be displayed for an upgrade 
purpose. If it is not displayed, we recommend that you check the menu that asks whether or not 
to use a USB Device from the main board CMOS, or reinstall Windows, or have the USB port on 
the main board examined.

Guide to Firmware Upgrade

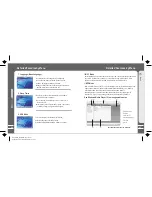
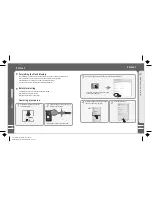
Use WMP to play songs, it will add the songs to Library automatically.
You may also drag the media files on your PC to Library. It will automatically classify the 
songs according to the Artists, Albums after adding.
1. Add to Library: Click 'Add to Library' on the bottom left corner of the windows, you also 
can click the file to add it. 2. Classify files (Detail see to instruction of Media Player.)
a. On the Content section, click the desired folder.
b. On the Detail Information section, click the options (Title, Artist, Album, Rating, Genre 
or Leighth, etc.), It will be sorted ascendingly and in alphabetically.
c. Click the options again, it will be sorted descendingly.

  G

u

id

e

 t

o

 F

ir

m
w

a

re

 U

p

g

ra

d

e

5

·

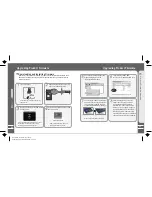
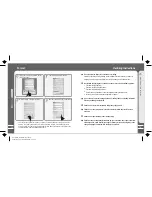
Transfer songs to Mini Player with WMP 10

Set MTP to USB mode, connect Mini Player to your PC. It appears "MTP Media Player"  
on the Taskbar, select 'Using Windows Media Player' on the pop-up window. Then select 
'Automatic' and follow the steps to start Sync. It appears 'Synchronization is complete' 
after finishing it.
Note: There are two methods for you to transfer songs to Miniplayer: Automatic and Manual. 
During MTP mode, you also can transfer the songs and files directly. Click My Computer, 
then double click Mini Player, you will find Data and Media folders. Put the desired songs to 
Media folder, and other files to Data. ( Pictures should be put to the foler Data - PICTURES, 
Video files to Data-VIDEO)

Dane-Elec_MiniPlayer SL_manual

donderdag 29 november 2007 12:13:21

Summary of Contents for MINIPLAYER

Page 1: ...SL Version Portable Media Player Portable Media Player Dane Elec_MiniPlayer SL_manual donderdag 29 november 2007 12 13 04...

Page 2: ...to DaneDigital website The DaneDigital home page provides the overview of company and products other related information and answers to common questions Firmware and software updates are also availabl...

Page 3: ...n CD Downloading from the PC Saving Files Disconnecting to Your PC 25 27 28 29 30 31 32 33 34 35 36 37 38 39 40 43 44 45 Using Buttons Menu Controls Using Browser Listening to Music Update the Music L...

Page 4: ...n the player make sure it has enough power press the Power On Off button for over 3 seconds Click it again to start play When there is no button operation for about 3 minutes while the player is stopp...

Page 5: ...and Boasts a Stylish and Luxurious Design with Stainless Steel Surface L ble Disk Built in Microphone Supports High Quality Recording Synchronized Song Lyrics Display and ID3 Supported Text Reader TX...

Page 6: ...D Window Earphone NEXT PREVIOUS POWER PLAY STOP USB Port HOLD 3 Right Side 1 Top MENU Strap Note Design and specifications are subject to change without notice Sliding touch Keypad ENTER MIC Getting S...

Page 7: ...ection Film on the Front Panel ProtectionFilmonthePlayer Touch Keypad Getting Started 1 Sliding touch keypad Touch keypad Lay your finger on one Sliding lightly on keypad end of keypad Clicking Key Ke...

Page 8: ...de the playback progress bar shows the elapsed and remaining time of current song Slide your finger on touch keypad up and down to adjust the volume Click Enter key the sliding bar will display a diam...

Page 9: ...er Connect the small end to player large end to PC 1 During Power Off Connect it to the computer using the USB cable supplied in the package during the player powered off It will be charged using the...

Page 10: ...of segments in the icon 2 During Power On Connect it to the computer using the USB cable supplied in the package during the player powered on It will charge its built in battery and appears as the fi...

Page 11: ...you grab the player as picture it is easier to handle them System Requirement Pentium 133MHz or Higher 32MB Main Memory or Higher 40MB Hard Disk Space or More CD ROM Drive USB Port 2 0 Windows 98SE ME...

Page 12: ...yer Downloading from the PC Music files can be transferred to the player using the following steps set MSC as USB mode Select the desired music to download to the player from the computer Click the Ed...

Page 13: ...your PC Copy the Files in the Player into your PC 1 With the USB cable connect the USB ports of the player and your PC It should not use a USB hub It is assumed that you connect to the USB port on th...

Page 14: ...y settings All data will be deleted 5 To adjust the volume in the music operation menu sliding your finger on the touch keypad To increase volume To decrease volume in the video operation menu click t...

Page 15: ...eck if the HOLD is on 2 Continuous playback time About 26hrs 128kbps volume 20 EQ normal LCD off Sliding Press Press ListeningtoMusic Quick Start 3 28 Open Browser Click the Menu key sliding the keypa...

Page 16: ...ssorting by all artists and unknown artists Albums Assorting by all albums and unknown albums Song Order assort All Songs only You can assort the songs by Title File name Artist and Album During Main...

Page 17: ...Speaker Type E Volume restriction There are level 5 40 optional Sound Effect Click Click SoundEffect Quick Start 3 Click the Enter key briefly Click the Enter key briefly Sliding up and down on the to...

Page 18: ...To adjust sound effect from value 0 9 F Speaker Type To provide Hearphone and Speaker options The player does not have a built in speaker Spatializer Sound Effect Click Click Spatializer Sound Effect...

Page 19: ...ng Lyrics Copy the lyric files from your PC to the Player Insatiable lrc Song Title Song Info It will display three lines of lyrics on the screen during playing the current line will be highlighted in...

Page 20: ...ter key briefly Click the Enter key briefly Click the Enter key briefly Slideshow Settings Photo Library Searching for a picture Function up down to select previous next image Click the Enter key to d...

Page 21: ...ideo files before saving to the player Install the converter tool enclosed in the CD disk Use the program to convert your avi and other formats of video files After the conversion you can save the fil...

Page 22: ...The subtitle file and video file should be saved under the same content I e If a video file named Video avi then the subtitle should be Video srt 4 They can be converted that the files are in srt smi...

Page 23: ...touch keypad Play Video Play Video 1 Function up and down to select the video to play 2 Click the Enter key to start playback 3 During playback click the Menu key to increase the volume click the Ent...

Page 24: ...47 46 This page was intentionnaly left blank This page was intentionnaly left blank Dane Elec_MiniPlayer SL_manual donderdag 29 november 2007 12 13 17...

Page 25: ...49 48 This page was intentionnaly left blank This page was intentionnaly left blank Dane Elec_MiniPlayer SL_manual donderdag 29 november 2007 12 13 17...

Page 26: ...51 50 This page was intentionnaly left blank This page was intentionnaly left blank Dane Elec_MiniPlayer SL_manual donderdag 29 november 2007 12 13 17...

Page 27: ...e is enough during Voice Recording 2 If it displays The Memory is Full on the LCD to record delete files and or folders on the player in order to make some space available 3 The recording file will be...

Page 28: ...the provided USB cable 2 Save the selected text file into your player from PC You might also create a new directory in your player disk namely EBOOK Then save the text file into that folder 3 Disconne...

Page 29: ...ll boxes into the destination position you win the game Click the Enter key to start the game Click the Menu to move it up Enter key to move it down Previous key to left and Next to right Long click t...

Page 30: ...player Select Settings click the Enter key and apply it Slide up and down on the kaybad select Important Tips and click the Enter key then you will find the tips 3 Main Menu Detailed Features by Menu...

Page 31: ...perating mode Click Power on off Key to resume the backlight C Background Blend This is the feature to adjust the blend of background photo Select Background Blend and click the Enter key Using your f...

Page 32: ...ter key to select On Off option and apply it 5 Button Sound Check 62 B Time Format Detailed Features by Menu The player provides two formats to display the time Select Time Format option Click the Ent...

Page 33: ...nu Language Detailed Features by Menu MSC Mode Menu 4 Select the MSC mode connect Mini Player to your PC It will appear Removable Disk on your PC Double click it you may use the player to copy delete...

Page 34: ...y must be displayed for an upgrade purpose If it is not displayed we recommend that you check the menu that asks whether or not to use a USB Device from the main board CMOS or reinstall Windows or hav...

Page 35: ...ent as soon as the cable is connected the message Searching for new device appears Upgrading Product Firmware Then it displays M6SL EBN resource bin in the Removable Disk After finish upgrading restar...

Page 36: ...er program Connecting the player to your PC Backup all data stored in the player Operating procedures Press the Power ON OFF button to start the player Connect the player and your PC via USB connectio...

Page 37: ...n Be careful when storing the set and do not use or place it at the following places Places with high humidity Places with strong magnetic fields Places with extreme temperatures Directly under the su...

Page 38: ...your future s reference Trouble Shooting Trouble Shooting There is no sound The player does not power on Characters in LCD are broken Failed download of music audio file Check whether the HOLD switch...

Page 39: ...o 56 256kbps stereo Bit Rate 32kbps 128kbps Micr 76 Memo 78mm 46 5mm 7 3mm H W T 48g Including Battery TFT LCD QVGA 2 41 320x240 260000 color High speed USB2 0 Built in basic Flash Memory 2GB 4GB 8GB...

Page 40: ...Memo 80 Dane Elec_MiniPlayer SL_manual donderdag 29 november 2007 12 13 28...

Reviews: