20
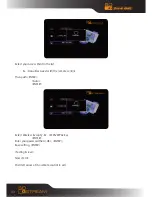
SETUP MENU
Directly press “Setup” button on the remote controller to enter the setup menu. It is possible to confi-
gure Photo, Audio, Video, Network and System.
Select any option by pressing and
on the remote controller, and press ENTER to confirm or press
RETURN to exit. Press SETUP button again on remote control to exit from setup menu.
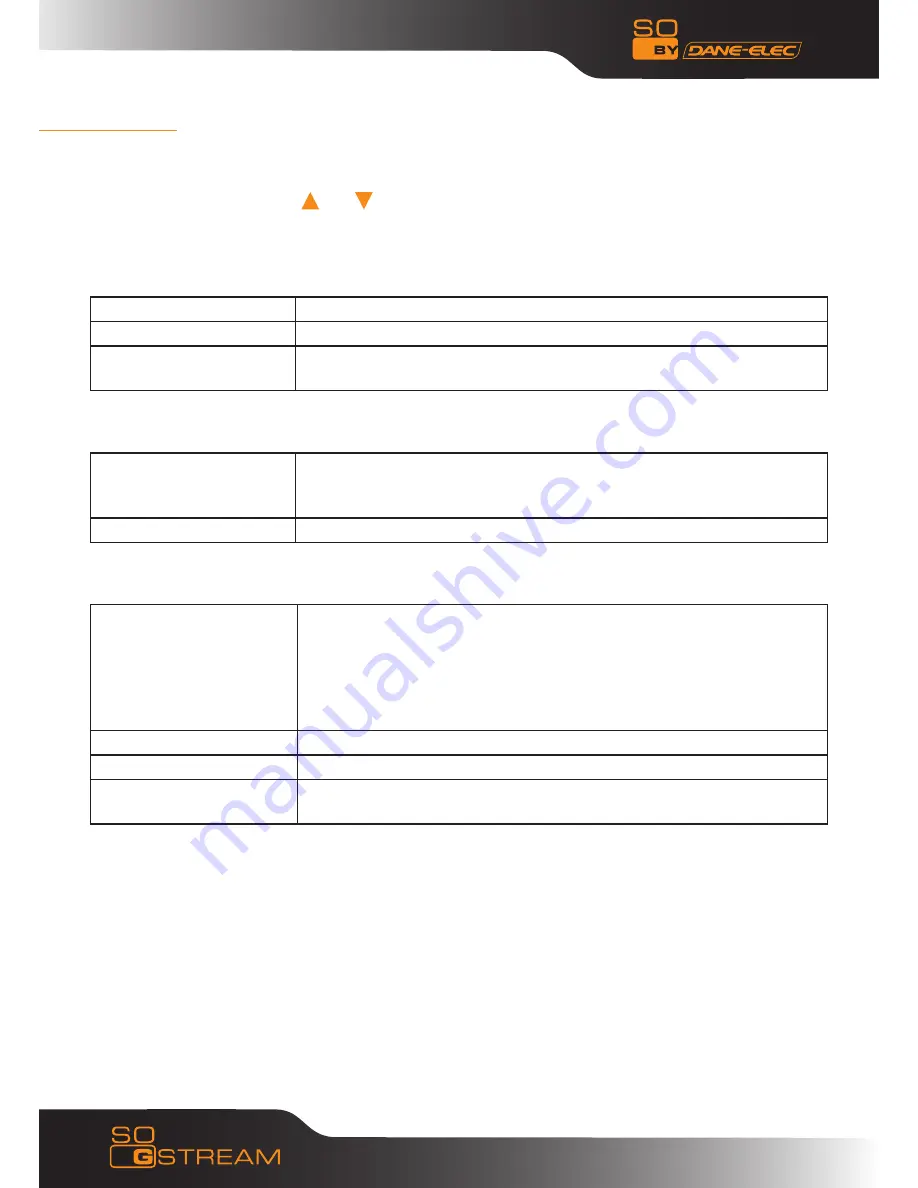
Changing Photos Settings
Slide Show
Set time interval of slide show.
Transition Effect
There are many types of playback options
Background Music
the music must be in the same folder, choose background music position
by the navigation
Changing Audio Settings
Night Mode
There are “On” “off” and “Comfort modes.
In comfort mode, it restrict the volume automatically so that it would not
affect the people rest or working.
Digital output
There are HDMI LPCM,HDMI RAW,SPDIF LPCM and SPDIF RAW
Changing Video Settings
Screen Ratio
Pan Scan 4:3, Display a wide picture on the entire screen and cuts off the
redundant portions when a standard 4:3 TV is connected.
Letter Box 4:3, Display a wide picture with two black borders on top and
bottom of 4:3 screen when a standard 4:3 TV is connected.
16:9: Compress the image to convert the whole image when a 16:9 TV is
connected.
Brightness
Select to set brightness levels.
Contrast
Select to set contrast levels.
TV System
Select to adjust TV system. As NTSC, PAL, 480P, 576P, 720P 50HZ, 720P
60HZ, 1080I 50HZ, 1080I 60HZ.
Changing HDMI settings
Connect the HDMI cable before usage, adjust TV mode to HDMI, then video appears on TV screen. Please
refer to “changing audio settings” and “changing video settings” if you want to change HDMI settings.


