20
2
3
4
Wi-Fi Configuration
Ethernet Connection
Internet
Click on «Wi-Fi» to access the Wi-Fi interface of the DSlide.
On this new interface, the Wi-Fi module starts a scan to reasearch available
Wi-Fi networks.
The list of nearby detected networks is displayed on the right, select the
Wi-Fi network corresponding to your router by clicking on its name. An icon
indicating the power of the signal is displayed on the right of the network
name.
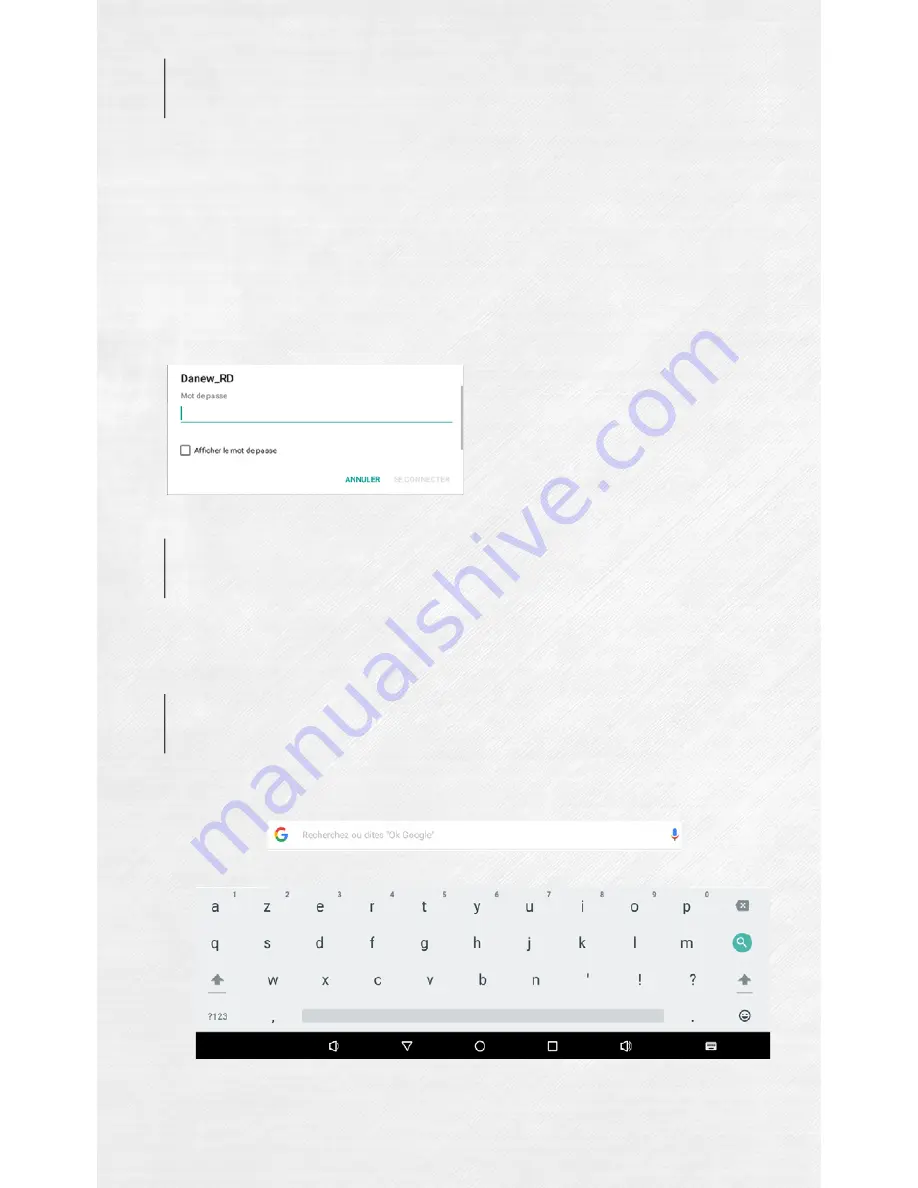
Once the network name selected, a new window is displayed and prompts for
a manual entry of the password.
Your DSlide can also connect to Internet through a Ethernet cable. You need
a Usb Ethernet adapter to connect to the USB port of your tablet (sold
separately). Once connected to Ethernet, the configuration will be performed
automatically.
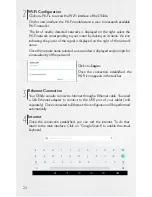
Once the connection established, you can surf the internet. To do that,
return to the main interface. Click on “Google Search” to enable the virtual
keyboard.
Click on «
Login»
Once the connection established, the
Wi-Fi icon appears in the task bar.


