AK-CH
650
Capacity
controller RS8ER302 © Danfoss 2016-02
35
10
Example continued:
Signal
Module
Point
Terminal
Signal type /
Active at
Brine return temperature S3
1
1 (AI 1)
1 - 2
Pt 1000
Brinef supply temperature S4
2 (AI 2)
3 - 4
Pt 1000
Capacity limitation
3 (AI 3)
5 - 6
Sluttet
Pump flow switch
4 (AI 4)
7 - 8
Åben
Thermostat sensor in plant
room - Saux1
5 (AI 5)
9 - 10
Pt 1000
External main switch
6 (AI 6)
11 - 12
Sluttet
Outdoor temperature - Sc3
7 (AI 7)
13 - 14
Pt 1000
Discharge temperature - Sd
8 (AI 8)
19 - 20
Pt 1000
Suction gas temperature- Ss
9 (AI 9)
21 - 22
Pt 1000
Suction pressure - P0
10 (AI 10)
23 - 24
AKS32-12
Condensing pressure - Pc
11 (AI 11)
25 - 26
AKS32-34
Compressor 1 / VSD
12 (DO 1)
31 - 32
ON
Compressor 2
13 (DO 2)
33 - 34
ON
Compressor 3
14 (DO 3)
35 - 36
ON
Compressor 4
15 (DO 4)
37 - 38
ON
16 (DO 5) 39-40-41
Liq. injec. in heat exchanger
17 (DO6) 42-43-44
ON
Pump 1
18 (DO7) 45-46-47
ON
Pump 2
19 (DO8) 48-49-50
ON
Speed control of compressor
24
-
0-10 V
25
-
Signal
Mod-
ule
Point
Terminal
Active at
Fan 1
2
1 (DO 1)
25-26-27
On
Fan 2
2 (DO 2)
28-29-30
On
Fan 3
3 (DO 3)
31-32-33
On
Fan 4
4 (DO 4)
34-35-36
On
Defrost
5 (DO 5)
37-38-39
On
Fan in plant room
6 (DO 6)
40-41-42
On
Alarm
7 (DO 7)
43-44-45
Off
8 (DO 8)
46-47-48
Signal
Module
Point
Terminal
Active at
Compressor 1 Gen. Safety
3
1 (DI 1)
1 - 2
Open
Compressor 2 Gen. Safety
2 (DI 2)
3 - 4
Open
Compressor 3 Gen. Safety
3 (DI 3)
5 - 6
Open
Compressor 4 Gen. Safety
4 (DI 4)
7 - 8
Open
VSD, compressor speed
5 (DI 5)
9 - 10
Open
Frost protection
6 (DI 6)
11 - 12
Open
DI alarm, Receiver level
7 (DI 7)
13 - 14
Open
8 (DI 8)
15 - 16
Hint
In appendix B, 16 general installation types are illustrated.
If your installation is nearly similar to one of those illus-
trated, you can advantageously use the given connection
points.
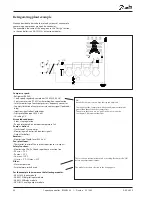
Determine the connection points
All connections must be programmed with module and point, so
in principle it does not matter where the connections are made, as
long as it takes place on a correct type of input or output.
• The controller is the first module, the next one is 2, etc.
• A point is the two or three terminals belonging to an input or
output (e.g. two terminals for a sensor and three terminals for a
relay).
The preparation of the connection diagram and the subsequent
programming (configuration) should take place at the present
time. It is most easily accomplished by filling in the connection
survey for the relevant modules.
Principle:
Name
On module
On Point
Function
fx Compressor 1
x
x
Close
fx Compressor 2
x
x
Close
fx Alarm relay
x
x
NC
fx Main switch
x
x
Close
fx P0
x
x
AKS 32R 1-6 bar
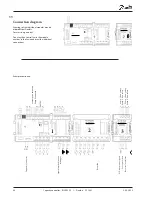
The connection survey from the controller and any extension
modules are uploaded from the paragraph "Module survey. E.g.
controller module:
module Point
Signal
Module
Point
Terminal
Signal type /
Active at
1 (AI 1)
1 - 2
2 (AI 2)
3 - 4
3 (AI 3)
5 - 6
4 (AI 4)
7 - 8
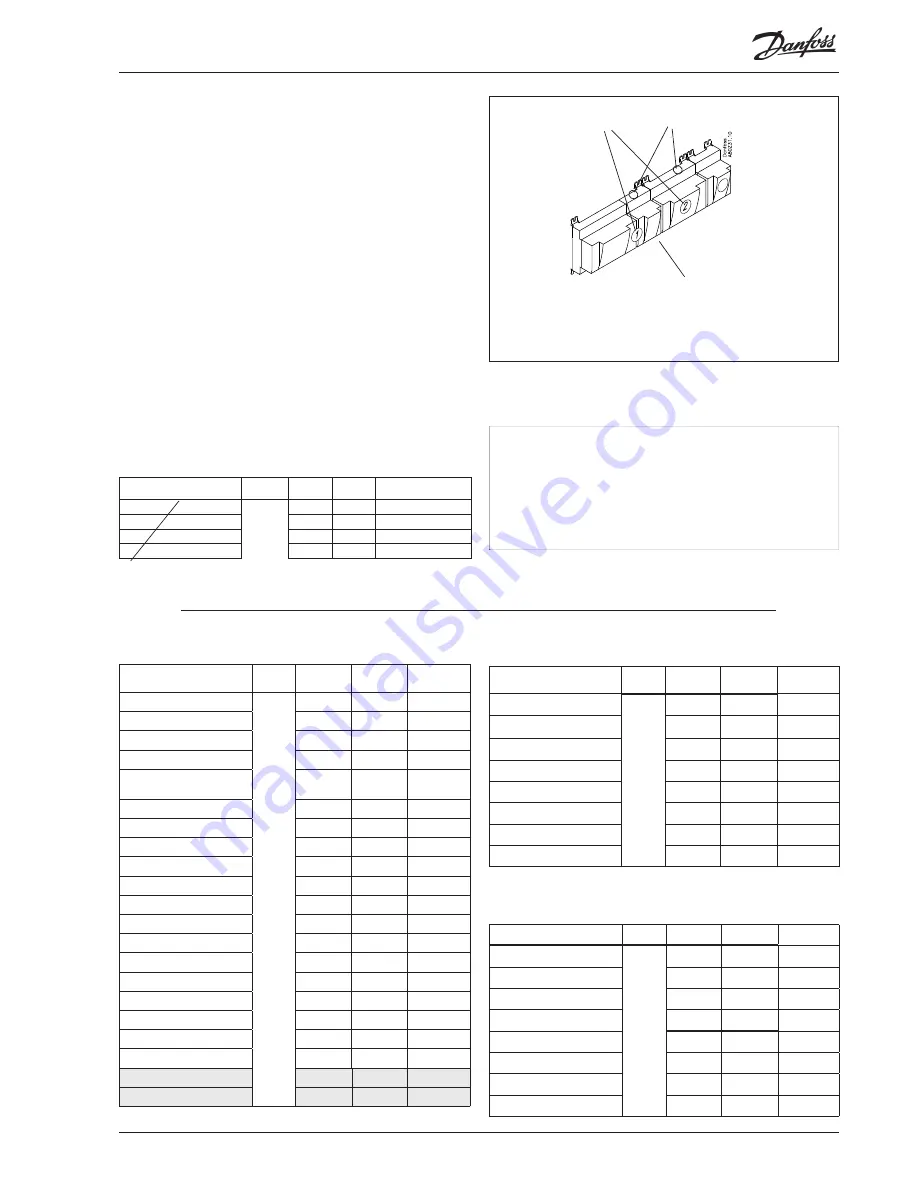
Mind the numbering.
The right-hand part of the
controller module may look like
a separate module. But it isn’t.
- Columns 1, 2, 3 and 5 are used for the programming.
- Columns 2 and 4 are used for the connection diagram.


