8
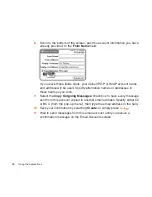
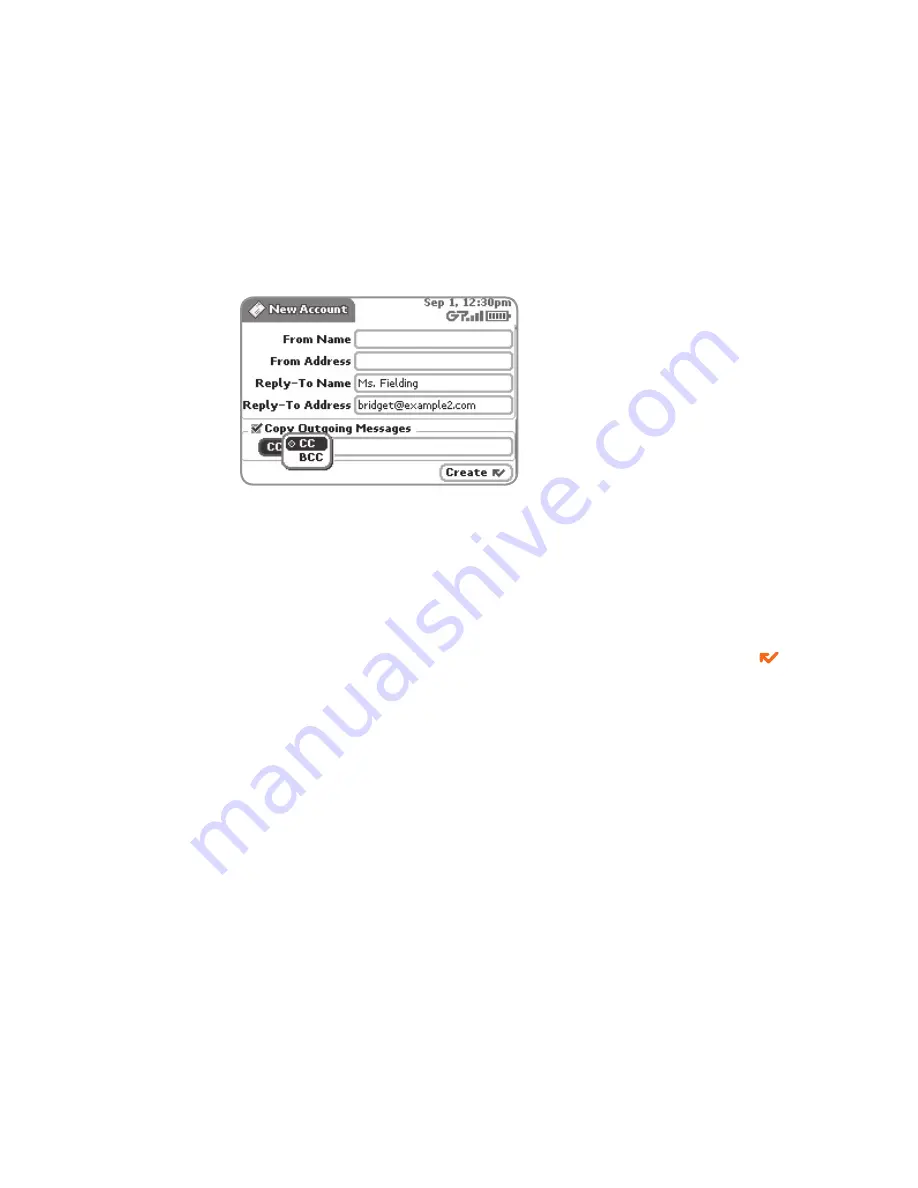
Scroll to the bottom of the screen, past the account information you have
already provided, to the
From Name
field:
If you leave these fields blank, your default POP or IMAP account name
and address will be used. Specify alternative names or addresses in
these fields as you wish.
9
Select the
Copy Outgoing Messages
check box to have every message
sent from this account copied to another email address. Specify either CC
or BCC (from the pop-up menu), then type the email address in the field.
10
Save your information by selecting
Create
; or simply press
DONE
.
11
Wait to send messages from this email account until you receive a
confirmation message on the Email Accounts screen.
38
Using the Applications

