Taking Photos
February 12, 2002
T-Mobile Device Owner’s Manual
122
Capture a Photo
To take a photo, the camera must first be inserted in the jack
and
you must be viewing the Capture screen. If
you’ve just inserted the camera, the Capture screen will open automatically; however, if you’ve been to another
screen after inserting the camera, you’ll need to return to the Capture screen:
1
Open the Snapshots menu and click
Capture New
.
2
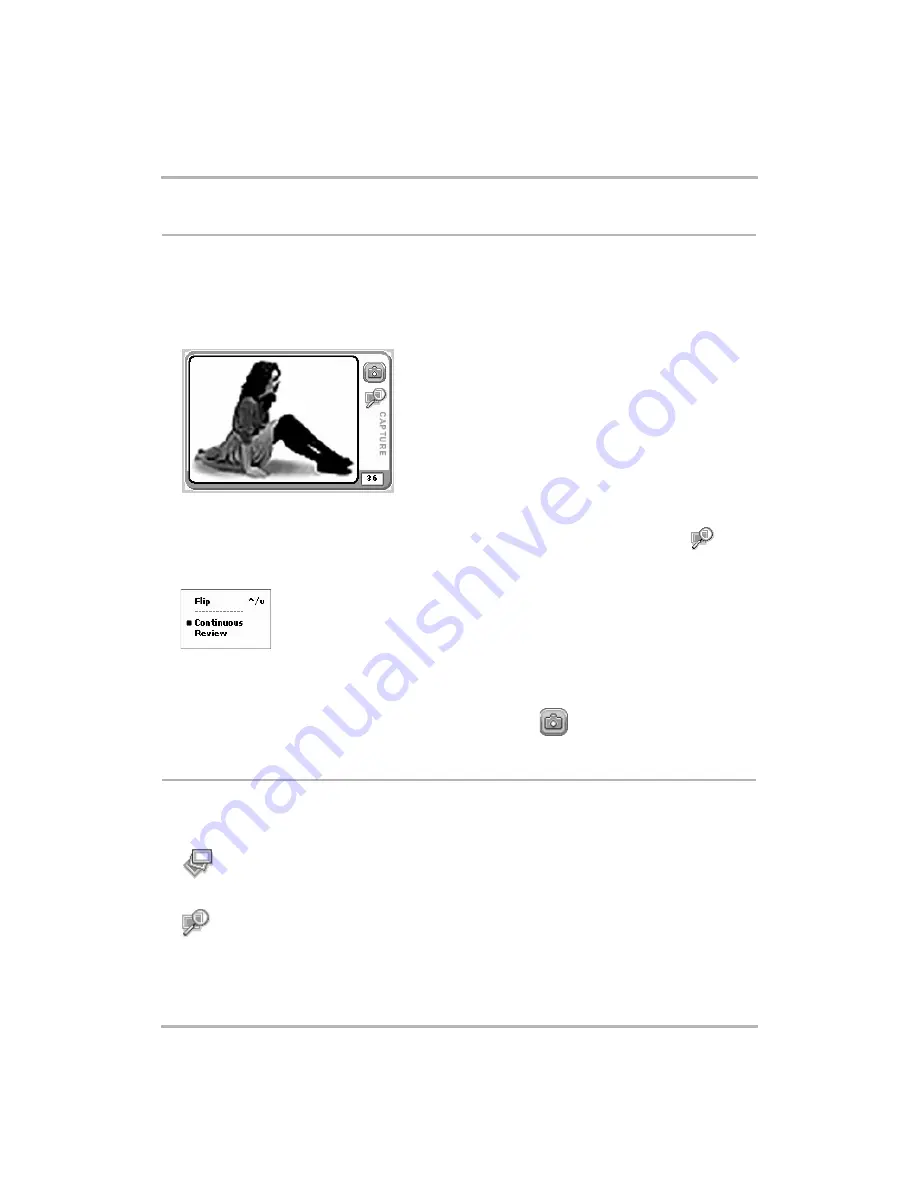
The Capture screen appears with the image currently in focus in the “viewfinder”:
3
You must now select a capture mode. (Read more in
• By default, the Capture screen opens in
Review mode
, indicated by the Review mode icon:
.
• If you’d rather capture in
Continuous mode
, then open the Capture menu and click
Continuous
. Note
that the currently-selected mode is marked with a bullet:
4
Position the camera so the image you want to capture displays in the “viewfinder” on the Capture screen. If
the image is upside down, use the
Flip
menu option to right it. You can also use the D-pad’s up and down
arrow keys to right the picture.
5
When you’re ready to capture the image, click the “shutter” button
.
About Capture Modes
There are two “modes” you can be in when taking a picture:
Continuous
You can take many photos in a row, without being prompted to save or delete
the picture. Photos are saved to your device for later review on the
Review
After you capture an image, it is displayed on the screen. Then you can rename
it, retry (delete), or keep it.


