82
V/OCT CALIBRATION
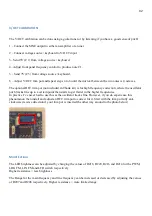
The V/OCT calibration can be done using a guitar tuner or by listening if you have a good sense of pitch!
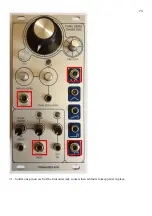
1 – Connect the SINE output to either an amplifier or a tuner.
2 – Connect voltage source / keyboard to V/OCT input.
3– Send 3V (C1) from voltage source / keyboard.
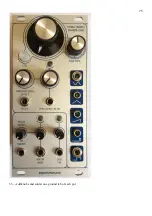
4– Adjust front panel frequency control to produce note C1.
5 – Send 7V (C5) from voltage source / keyboard.
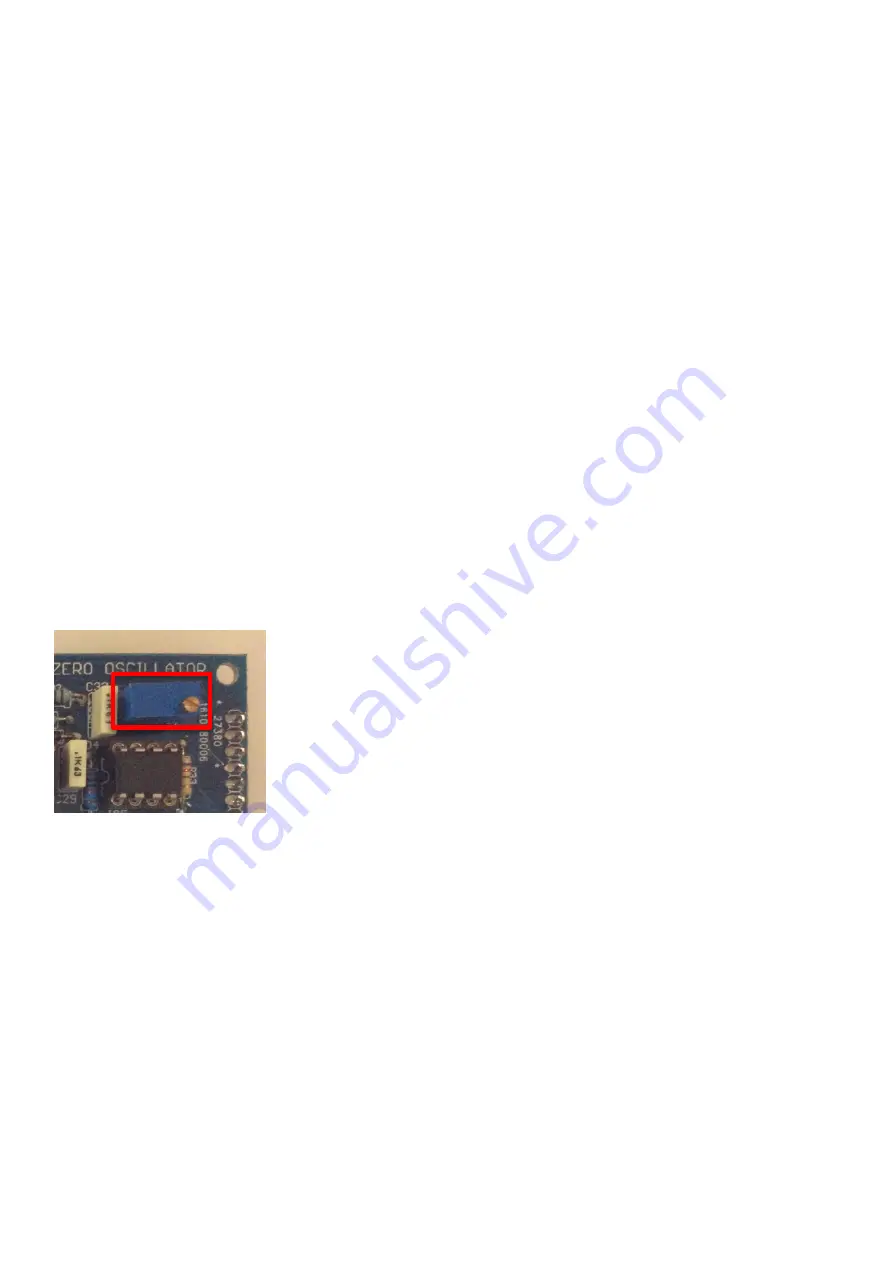
6 – Adjust V/OCT trim pot and repeat steps 4 to 6 until the interval between the two notes is 4 octaves.
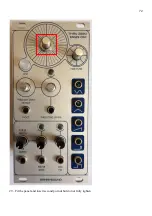
The optional HFC trim pot (not included in Thonk kit) is for high frequency correction, where the oscillator
pitch tracks fine up to a certain point then starts to get flatter in the higher frequencies.
In practice I’ve never had to use this as the oscillator tracks fine. However, if you do experience this
phenomenon then install and adjust an HFC trim pot to correct for it. Start with the trim pot fully anti-
clockwise (reverse direction if your trim pot is inserted the other way around to the photo below).
Modifications
The LED brightness can be adjusted by changing the values of R218, R220, R216 and R214 for the PWM,
LOG FM, LIN FM and LFO switch respectively.
Higher resistance = less brightness
The Range for the main frequency and fine frequency can be increased or decreased by adjusting the values
of R207 and R206 respectively. Higher resistance = more limited range.
Summary of Contents for EN129 Thru Zero Oscillator
Page 4: ...4 Section 1 Main PCB Resistors 1 15 x 100k resistors...
Page 5: ...5 2 7 x 10k resistors...
Page 6: ...6 3 6 x 1k resistors...
Page 7: ...7 4 3 x 220k resistors...
Page 8: ...8 5 3 x 2M2 resistors...
Page 9: ...9 6 2 x 1k5 resistors...
Page 10: ...10 7 2 x 1k8 resistors...
Page 11: ...11 8 2 x 6k8 resistors...
Page 12: ...12 9 2 x 470k resistors...
Page 13: ...13 10 1 x 390r resistors...
Page 14: ...14 11 1 x 2k2 resistors...
Page 15: ...15 12 1 x 33k resistors...
Page 16: ...16 13 1 x 150k resistors...
Page 17: ...17 14 1 x 200k resistors...
Page 18: ...18 15 1 x 56k resistors...
Page 19: ...19 16 1 x 1M resistors...
Page 20: ...20 17 1 x 8M2 resistors...
Page 22: ...22 Inductors 19 2 x bead inductors...
Page 24: ...24 Capacitors 21 1 x 47pF capacitor located in diode bag...
Page 25: ...25 22 12 x 100nF capacitors...
Page 26: ...26 23 1 x 1nF polystyrene capacitor...
Page 27: ...27 24 2 x 100pF capacitors...
Page 31: ...31 28 1 x 100r blue trimpot V OCT...
Page 33: ...33 Board Connector 30 Female connector...
Page 36: ...36 3 1 x 2k TEMPCO resistor solder the tempco so that it s touching the matched pair below it...
Page 43: ...43 Section 3 Pots PCB Resistors 1 x 39K resistor...
Page 44: ...44 1 4 x 120k resistors...
Page 46: ...46 3 2 x 100k resistors...
Page 47: ...47 4 2 x 10k resistors...
Page 48: ...48 5 1 x 2k2 resistor...
Page 49: ...49 6 1 x 3k3 resistor...
Page 50: ...50 7 1 x 22k resistor...
Page 51: ...51 8 1 x 30k resistor...
Page 52: ...52 9 1 x 150k resistor...
Page 53: ...53 10 1 x 1M5 resistor...
Page 54: ...54 11 1 x 5M6 resistor...
Page 56: ...56 Capacitors 13 2 x 100nF capacitors...
Page 58: ...58 15 1 x 1uF NP capacitor This electro capacitor is non polar so orientation does not matter...
Page 66: ...66 23 3 x B100k blue body plastic shaft pots...
Page 67: ...67 24 2 x B100K green body metal shaft pots B100K...
Page 69: ...69 26 9 x jack sockets...
Page 70: ...70 27 Insert 1 x pot nut this nut will sit below the panel...
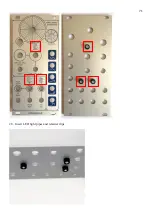
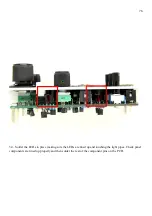
Page 71: ...71 28 Insert LED light pipes and retainer clips...
Page 72: ...72 29 Fit the panel and insert second pot nut but do not fully tighten...
Page 75: ...75 33 Add knobs and solder one ground tab of each pot...
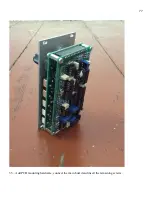
Page 77: ...77 35 Add PCB mounting hardware connect the main board and insert the remaining screws...
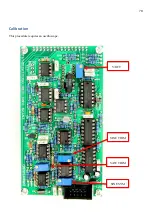
Page 78: ...78 Calibration This procedure requires an oscilloscope SINE SYM SAW TRIM SINE TRIM V OCT...
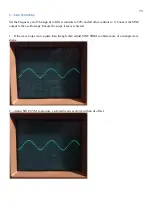
Page 81: ...81 3 Saw Trim Connect the oscilloscope to the SAW output Adjust SAW TRIM to obtain a saw wave...


