22
3.1 How to unpack and mount the MTS4-outdoor enclosure
Introduction
This section provides information about unpacking and mounting the MTS4-outdoor en-
closure.
Transport
The MTS4-outdoor enclosure including options and MTS4 is designed to withstand
public transport (lorry transport) ETSI EN 300019-2-2.
Necessary tools
The following tools are needed for the installation:
27 mm wrench
5 mm hexagon socket spanner (Allen)
8, 10 and 13 mm socket wrench
Torx 20, 25 and 30 screw driver
Riveting tool for 4mm rivets
WARNING!
The enclosure has a weight in the rage of 300-1000kg depending on configuration, why
precaution shall be taken to avoid any risk of personal injury lifting and handling the
cabinet for transport and installation.
Use approved means of lifting aids.
Do not get underneath the enclosure when lifted from ground.
Secure the cabinet to prevent it from tripping over.
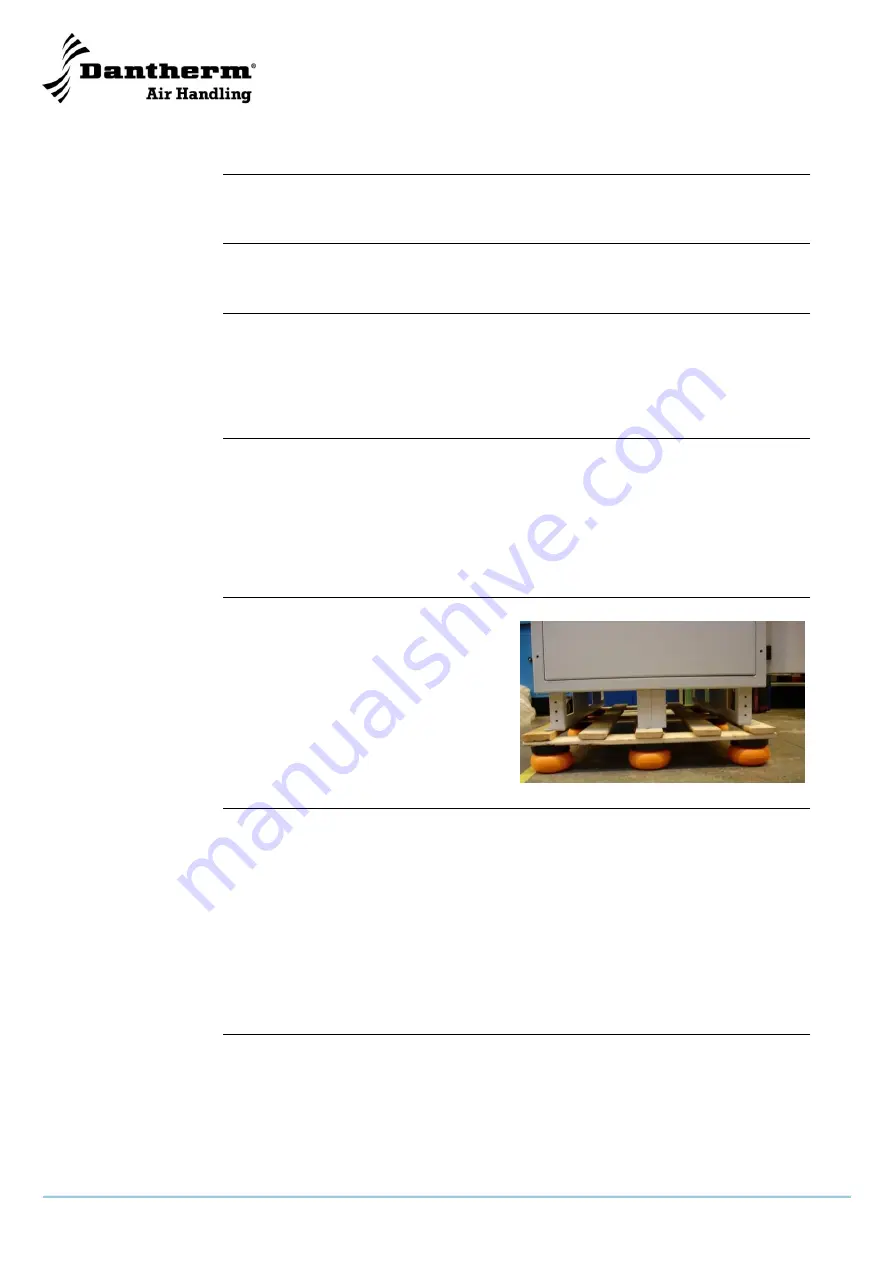
Lifting the enclo-
sure
All lifting of the enclosure must be done
through the plinth. The plinth offers multiple
ways of applying lifting aids:
3 passages going between front
and back (left, mid and right)
2 passages going between left and
right
These can further be used for forklifts or
similar.
Foundation
The enclosure shall be installed on an even horizontal secure ground, such as a con-
crete foundation or similar that is designed for the weight of the fully populated enclo-
sure.
Use tarboard or similar as separator between the concrete foundation and the plinth.
This can also be used to compensate for possible misalignment on foundation, which
can cause cabinet doors not to be working optimal.
Detailed drawing of the mounting holes in the plinth (bottom) of the enclosure can be
found in Appendix A (mounting template). The mounting template is showing the big
enclosure that includes the hydrogen bottle compartment.
NB: Reserve extra space if the hydrogen bottle compartment may be added later.
Continued overleaf


