35
0
4
5
8
9
3
•
V
e
rsi
o
n
2
.3
•
1
6
.0
3
.2
0
1
2
3.4 How to install the MTS4 into the outdoor enclosure,
continued
Procedure,
continued
Step
Action
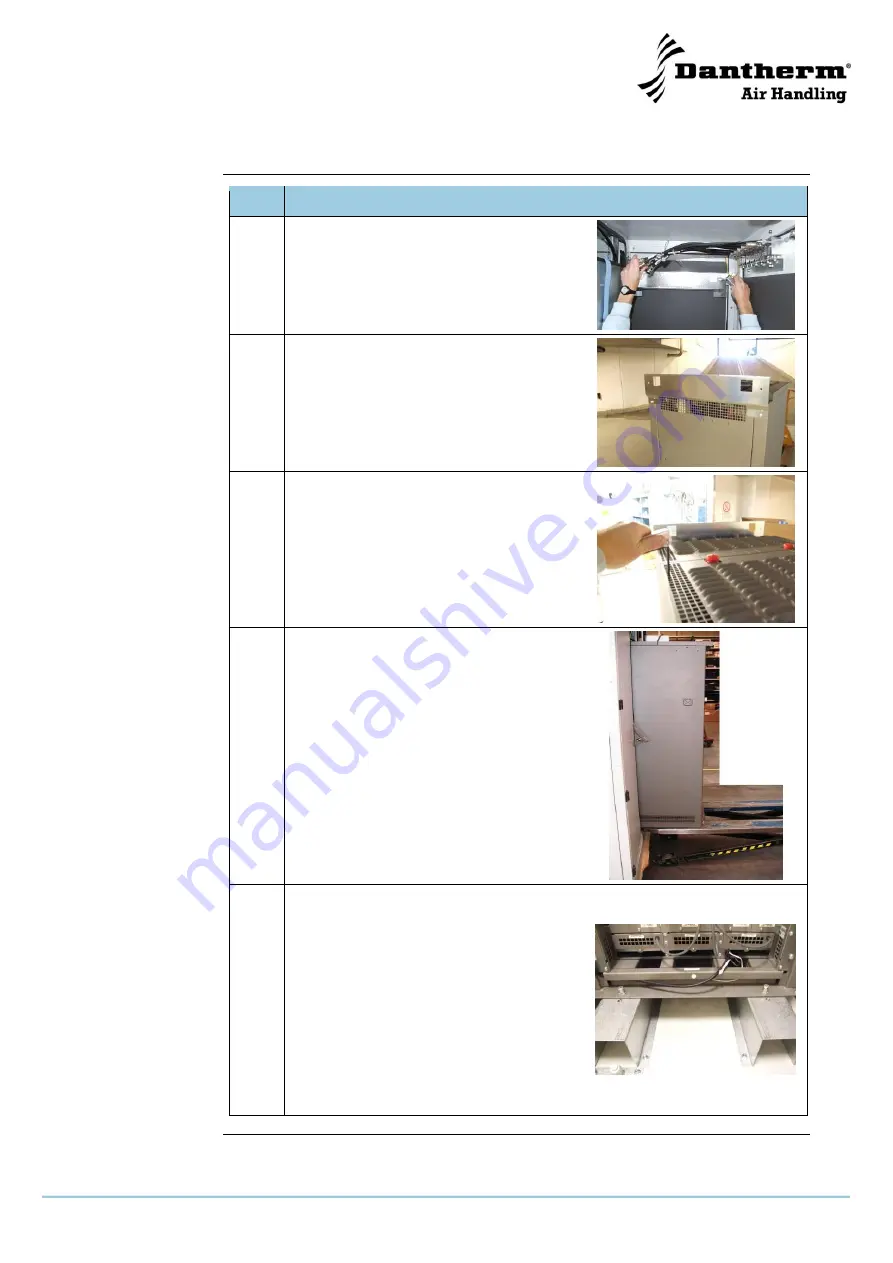
4
Remove the fixing bracket which is situat-
ed inside the outdoor enclosure
5
Mount the bracket at the rear of the MTS
using two of the screws which was previ-
ously used for holding the lifting eyes
6
For optimum access to the junction panel
of the MTS when it is mounted in the en-
closure, it is advised to remove the top lid
from the MTS before fitting it in the outdoor
enclosure.
7
Depending on the site where the mounting
of the MTS is taking place, some lifting aid
might be needed to get the MTS4 into the
outdoor enclosure.
Always follow local regulations regarding
personal lift and transportation as the
MTS4 can have a max weight of up to 150
kg.
8
Once the MTS4 is inside the outdoor en-
closure it should be secured at the rear top
and in the bottom front.
Two M8X50 are used for fixing the MTS4
in the front. The screws are let through the
guides on the bottom front flange of the
MTS4 and the holes on the ducts under-
neath. Use the M8 nuts and a washer to
secure the screw from inside the ducts.
Don’t tighten the screws until all four
screws are mounted.
Continued overleaf


