Extending/replacing a Sensor Box in an active installation
An installation can be extended without powering down the Control Unit .
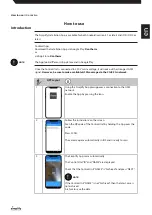
When a new Sensor Box is connected, scan the Control Unit QR code, press “REGISTER” in the
App, and then the Control Unit will upload every minute for the next hour . This enables quick
data transfer from the connected Sensor Box .
1
Scan the Control Unit .
Press “NEXT” .
Press “SENSORS” .
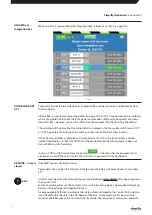
Press + (iOS “add sensor”) and scan the Sensor Box that you want to connect to the
system and name it .
2
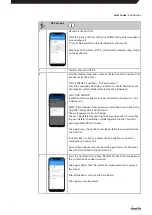
Press “ADD SENSOR" . Then press “REGISTER” .
The Sensor Box will then automatically be connected to the rest of the installation .
3A
If a Relay Box or Integration Box is connected, they will automatically become “AC-
TIVE”!
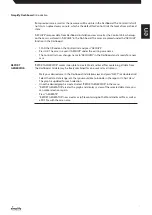
Sensor Boxes become “ACTIVE” in the Dashboard the next time the Control Unit up-
loads data to the Dashboard, which happens after a few minutes .
3B
If the connection is a Sensor Box, connected Sensor Probe, where the Sensor Box
becomes “ACTIVE” .
Sensors become “ACTIVE” in the Dashboard the next time the Control Unit uploads
data to the Dashboard, which occurs after a few minutes .
If a Sensor Box is deleted by mistake during installation, the Sensor Box and its data will remain
in “ARCHIVE” after archiving
.
Replacing a Sensor Probe in an active installation
1
Replace the Sensor Probe .
2
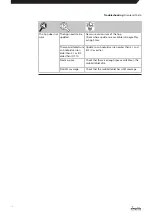
Wait for about 60 seconds, until the Sensor Box discharges completely, then insert the
Sensor Probe again .
3
Wait 2 beeps for battery and Sensor Probe okay and 3 beeps for connection to the
Control Unit
4
The sensor becomes “ACTIVE” in the Dashboard the next time the Control Unit up-
loads data to the Dashboard, which happens after a few minutes .
!
NOTE!
Installation
: Extending/replacing a Sensor Box in an active installation
14

